On this page you’ll find links to some videos we found helpful, from both professionals and accomplished amateurs alike. We’ve also listed the products we used with links to where you can buy them, as well as listing some of the tools we used in the process.
Videos
What we Used – Product Links
SikaTack Pro window adhesive kit
This kit has everything you need to prepare surfaces and attach your bonded windows. The primer bottle has enough for about 4 or 5 windows but the tube of glue was just enough to do one window of dimensions 1360mm x 665mm.
Sikaflex 521 UV
For the bathroom window we used a wooden frame on the inside of the van to screw the body of the window to. For the outside though we used an adhesive sealant to stick the outer frame to the body of the van and ensure a lasting wate-tight seal.
Edge Trim
This is used to cover the edges of the hole you cut to insert the window in order to give a nice even finish.
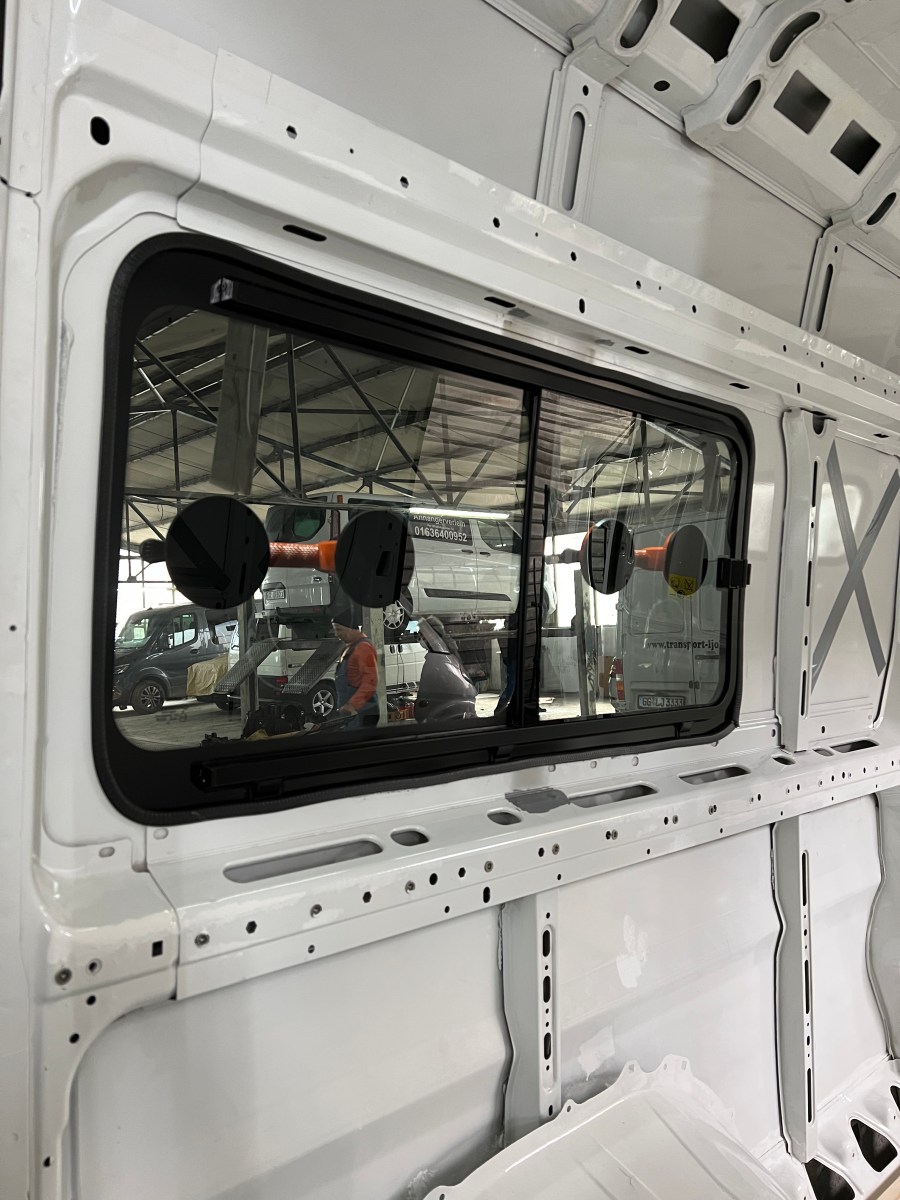
Glass Suction Cups
Even with these the job was tricky because the windows are really heavy. You need to be able to attach the window to the side of the van without disturbing the adhesive, then readjust it to get the perfect fit with the lines and contours of the van. I’m not sure if you can even do the job without these, so I highly recommend investing in a pair.
Other Equipment Used
| Equipment | Usage |
| Dewalt cordless drill | drilling the guide holes for the jigsaw |
| Dewalt cordless jigsaw | cutting the holes in the skin of the van |
| Dewalt cordless sander | smoothing down the jagged edges of the hole |
| Metal rasp (or file) | finishing the job started by the sander, smoothing awkward corners |
| Duct tape | holding the window in place while the adhesives set |
| Masking tape | marking out the cut lines and reducing metal shards flying about |
| Industrial vacuum cleaner | attached to the cutting and sanding equipment |
