
With all the electrical wiring in place (see previous post) we could now start applying the insulation and adding the walls. However, installation actually started as soon as we had cleaned and removed the wall boards that came with the van.
Step 1 – wall supports
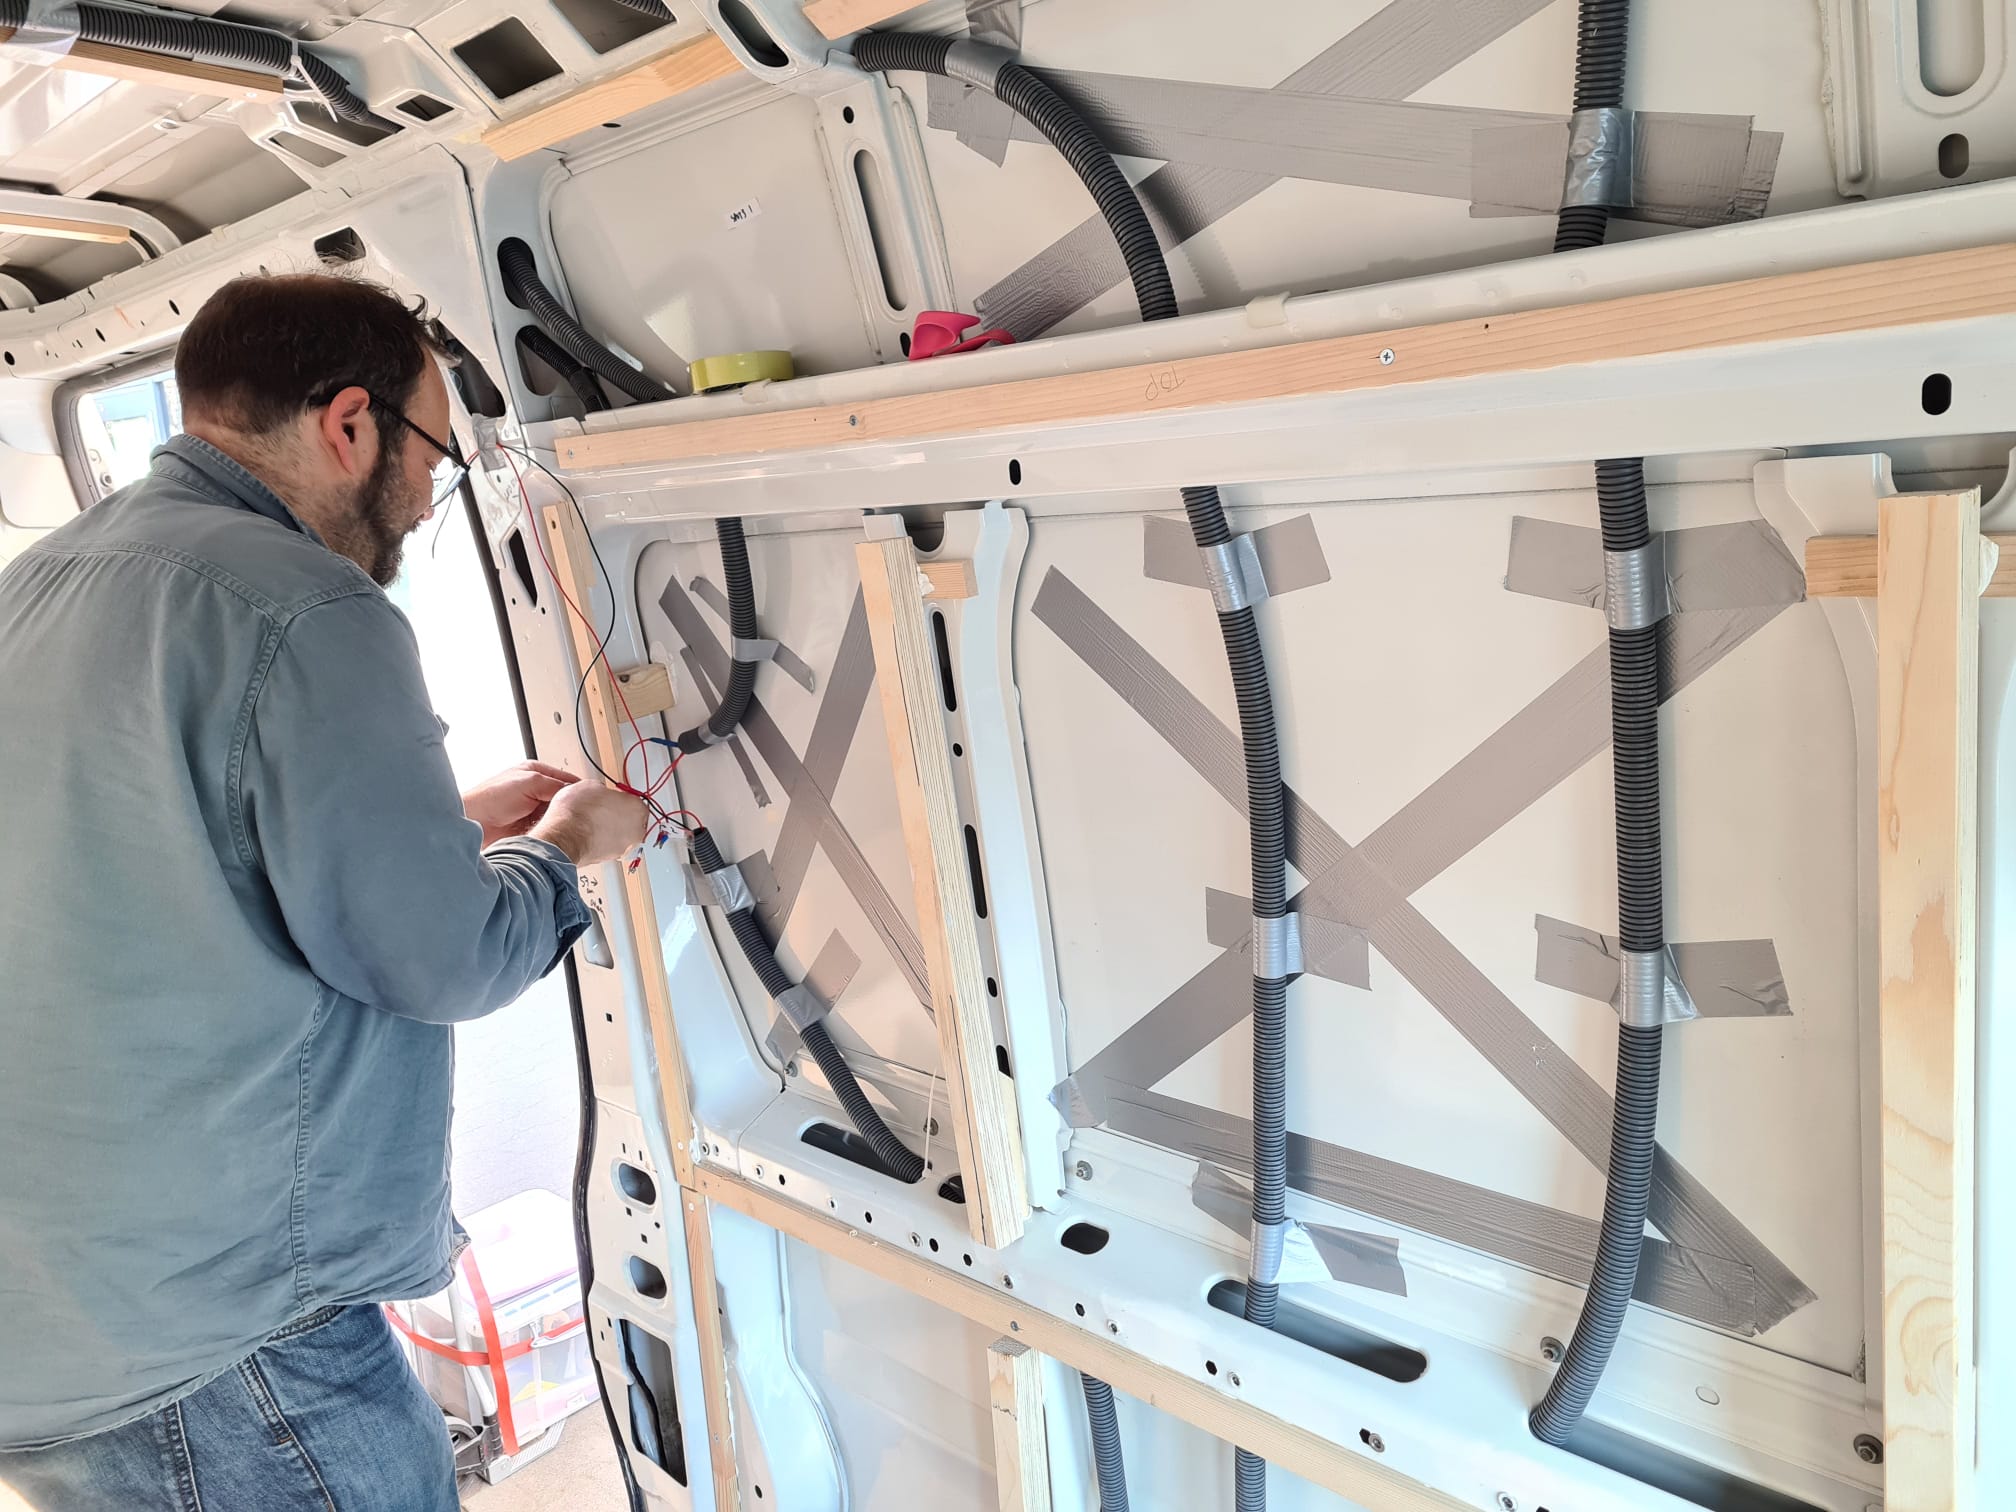
As the van is curved and there are very few straight lines you need to make it as easy as possible to attach straight walls, cupboards, and other fixtures and fittings. The first stage of this is to add small wooden battens to strategic points across the van’s walls and ceilings. The idea being that you get the tricky part, which is attaching wood to the metal, done using more manageable smaller pieces of wood.
Attaching wood to metal requires using special self-tapping screws, which don’t always get inserted successfully first time and can require reseating and redrilling. This is easier to do (and easier to hide any mistakes) with smaller pieces that will then be hidden by nice smooth wall panels that will be attached to the wood battens.
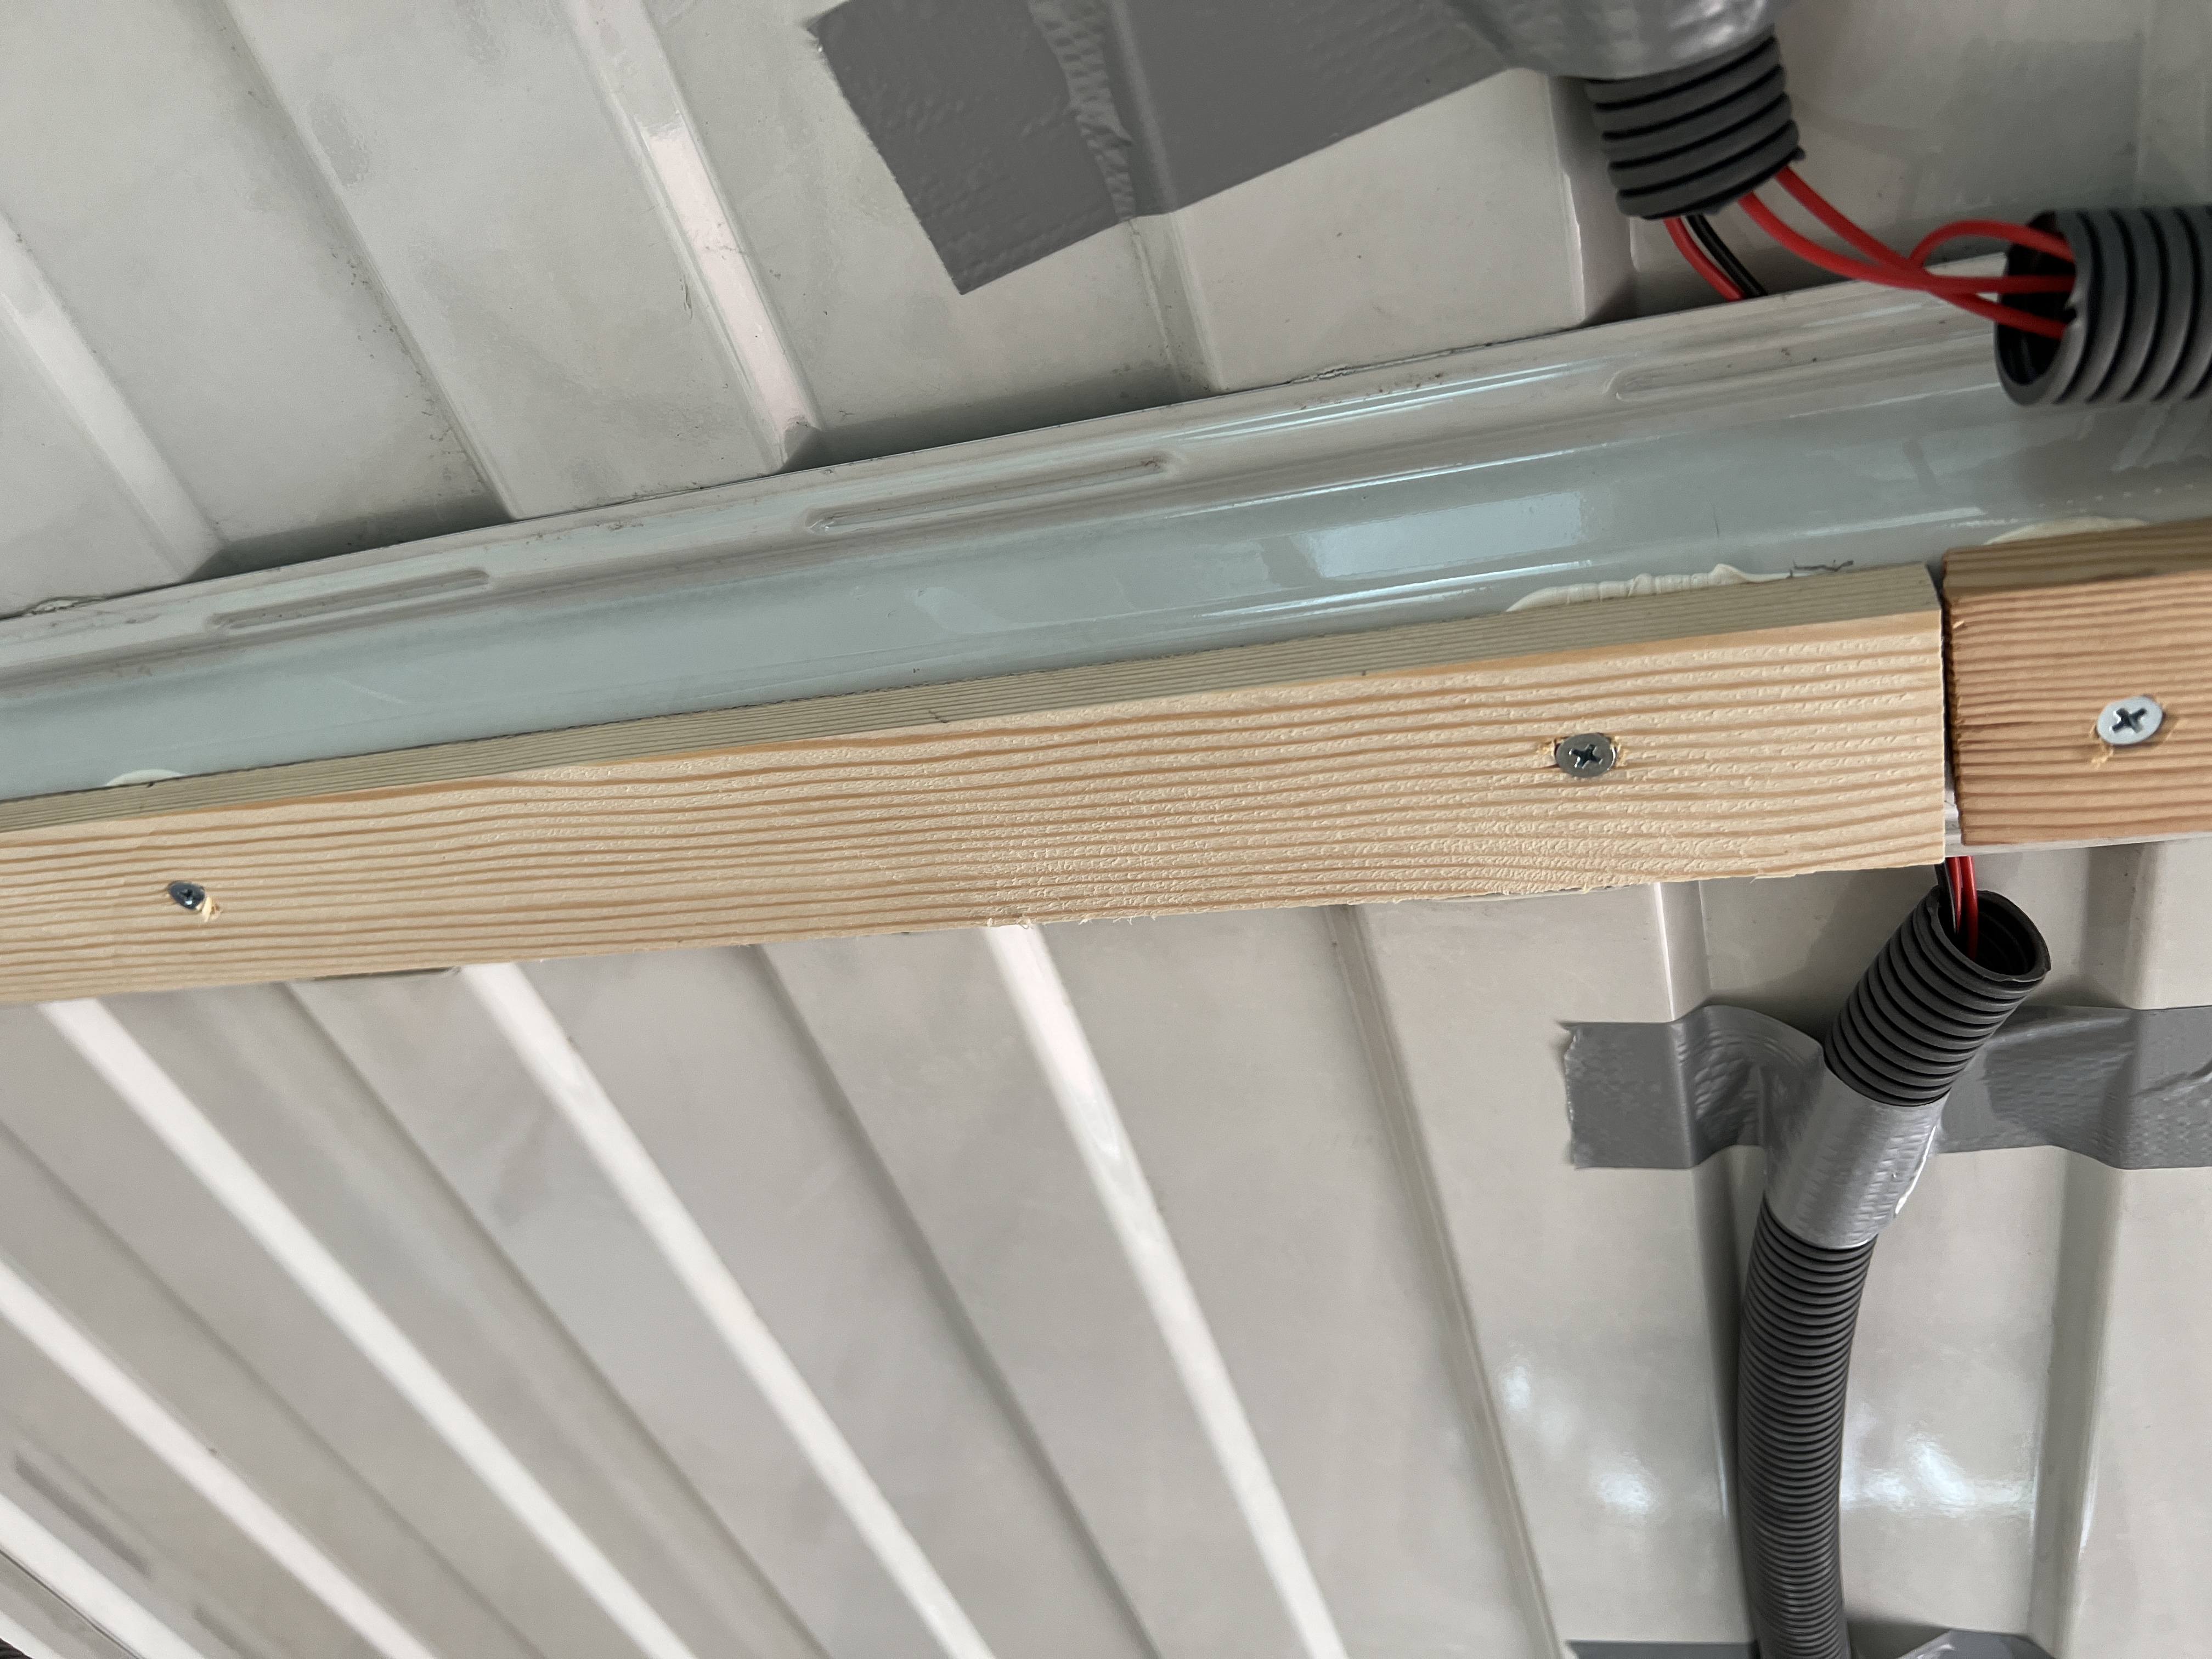
We used a combination of self tapping screws to attach the battens directly to the metal struts of the van so that they would stay in place, and used glue to stop any vibrations as the van moves. These battens need to support both the walls and ceilings and either attachment method would be fine on their own but we wanted to be very ‘belt and braces’ with our approach. In some areas it was not possible to use screws and so only glue was used.

We also needed to attach additional raised battens directly to the ceiling. These would provide anchor points to allow us to securely attach overhead storage cupboards at a later date.
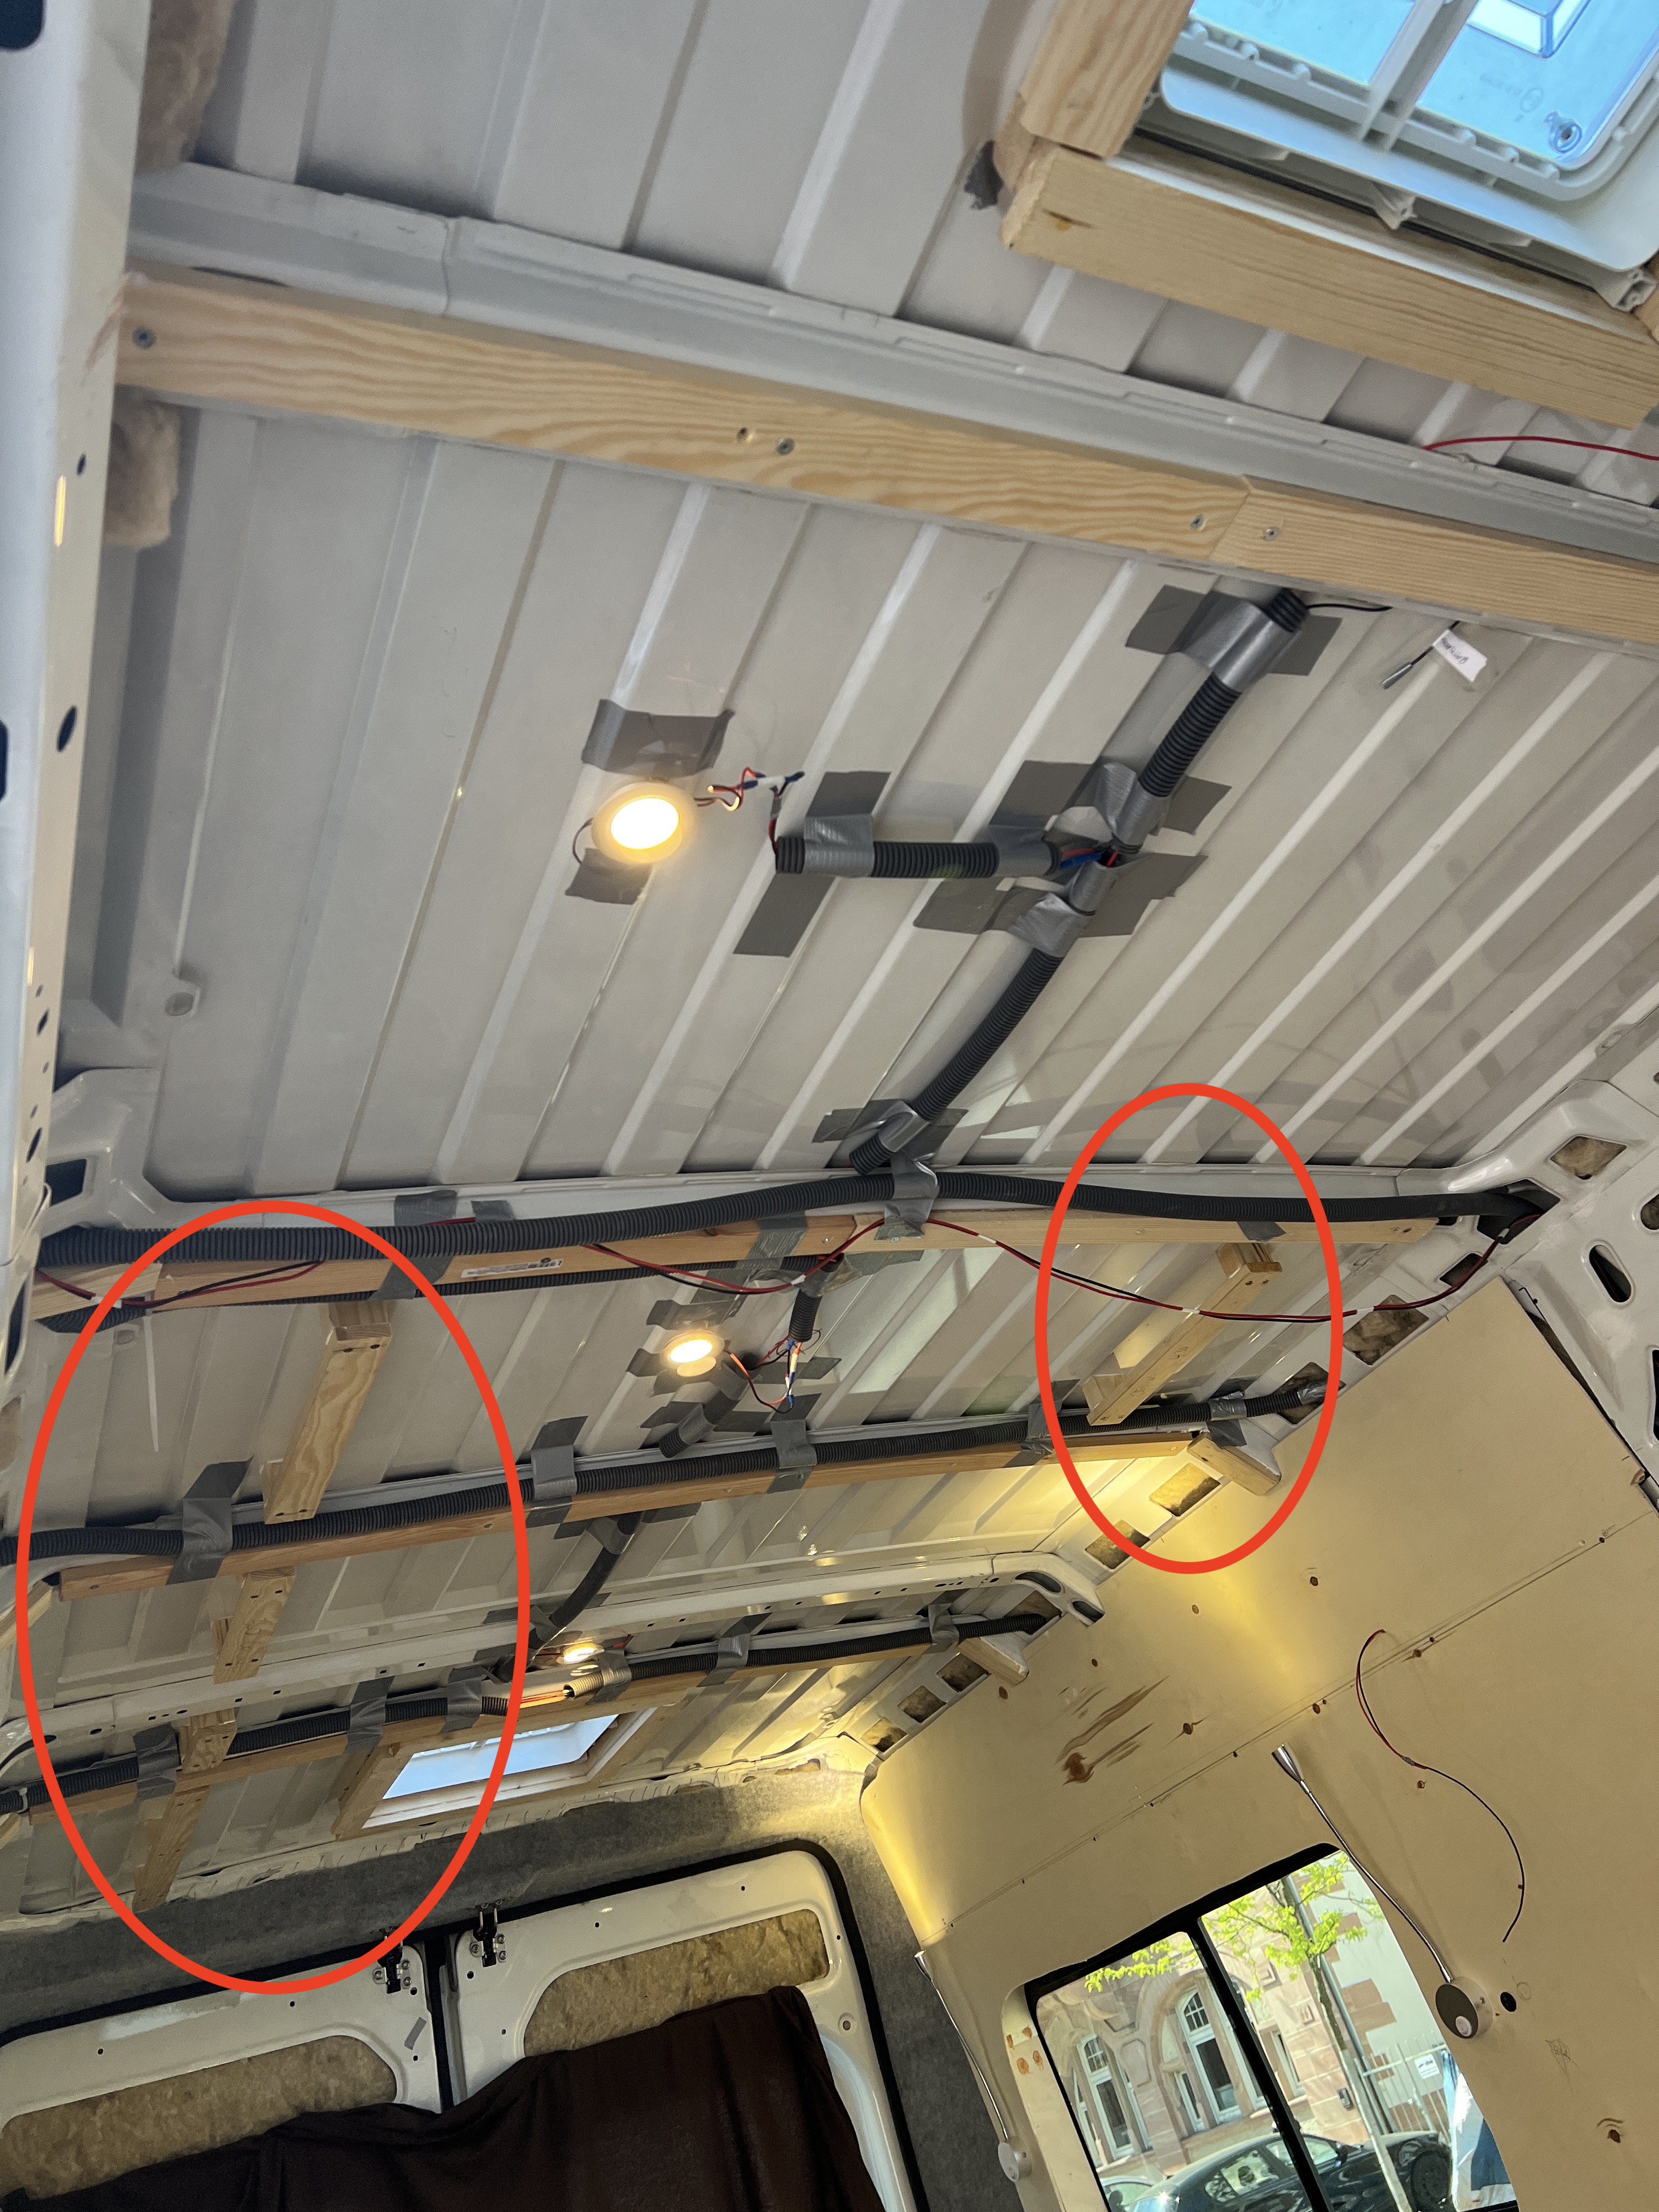
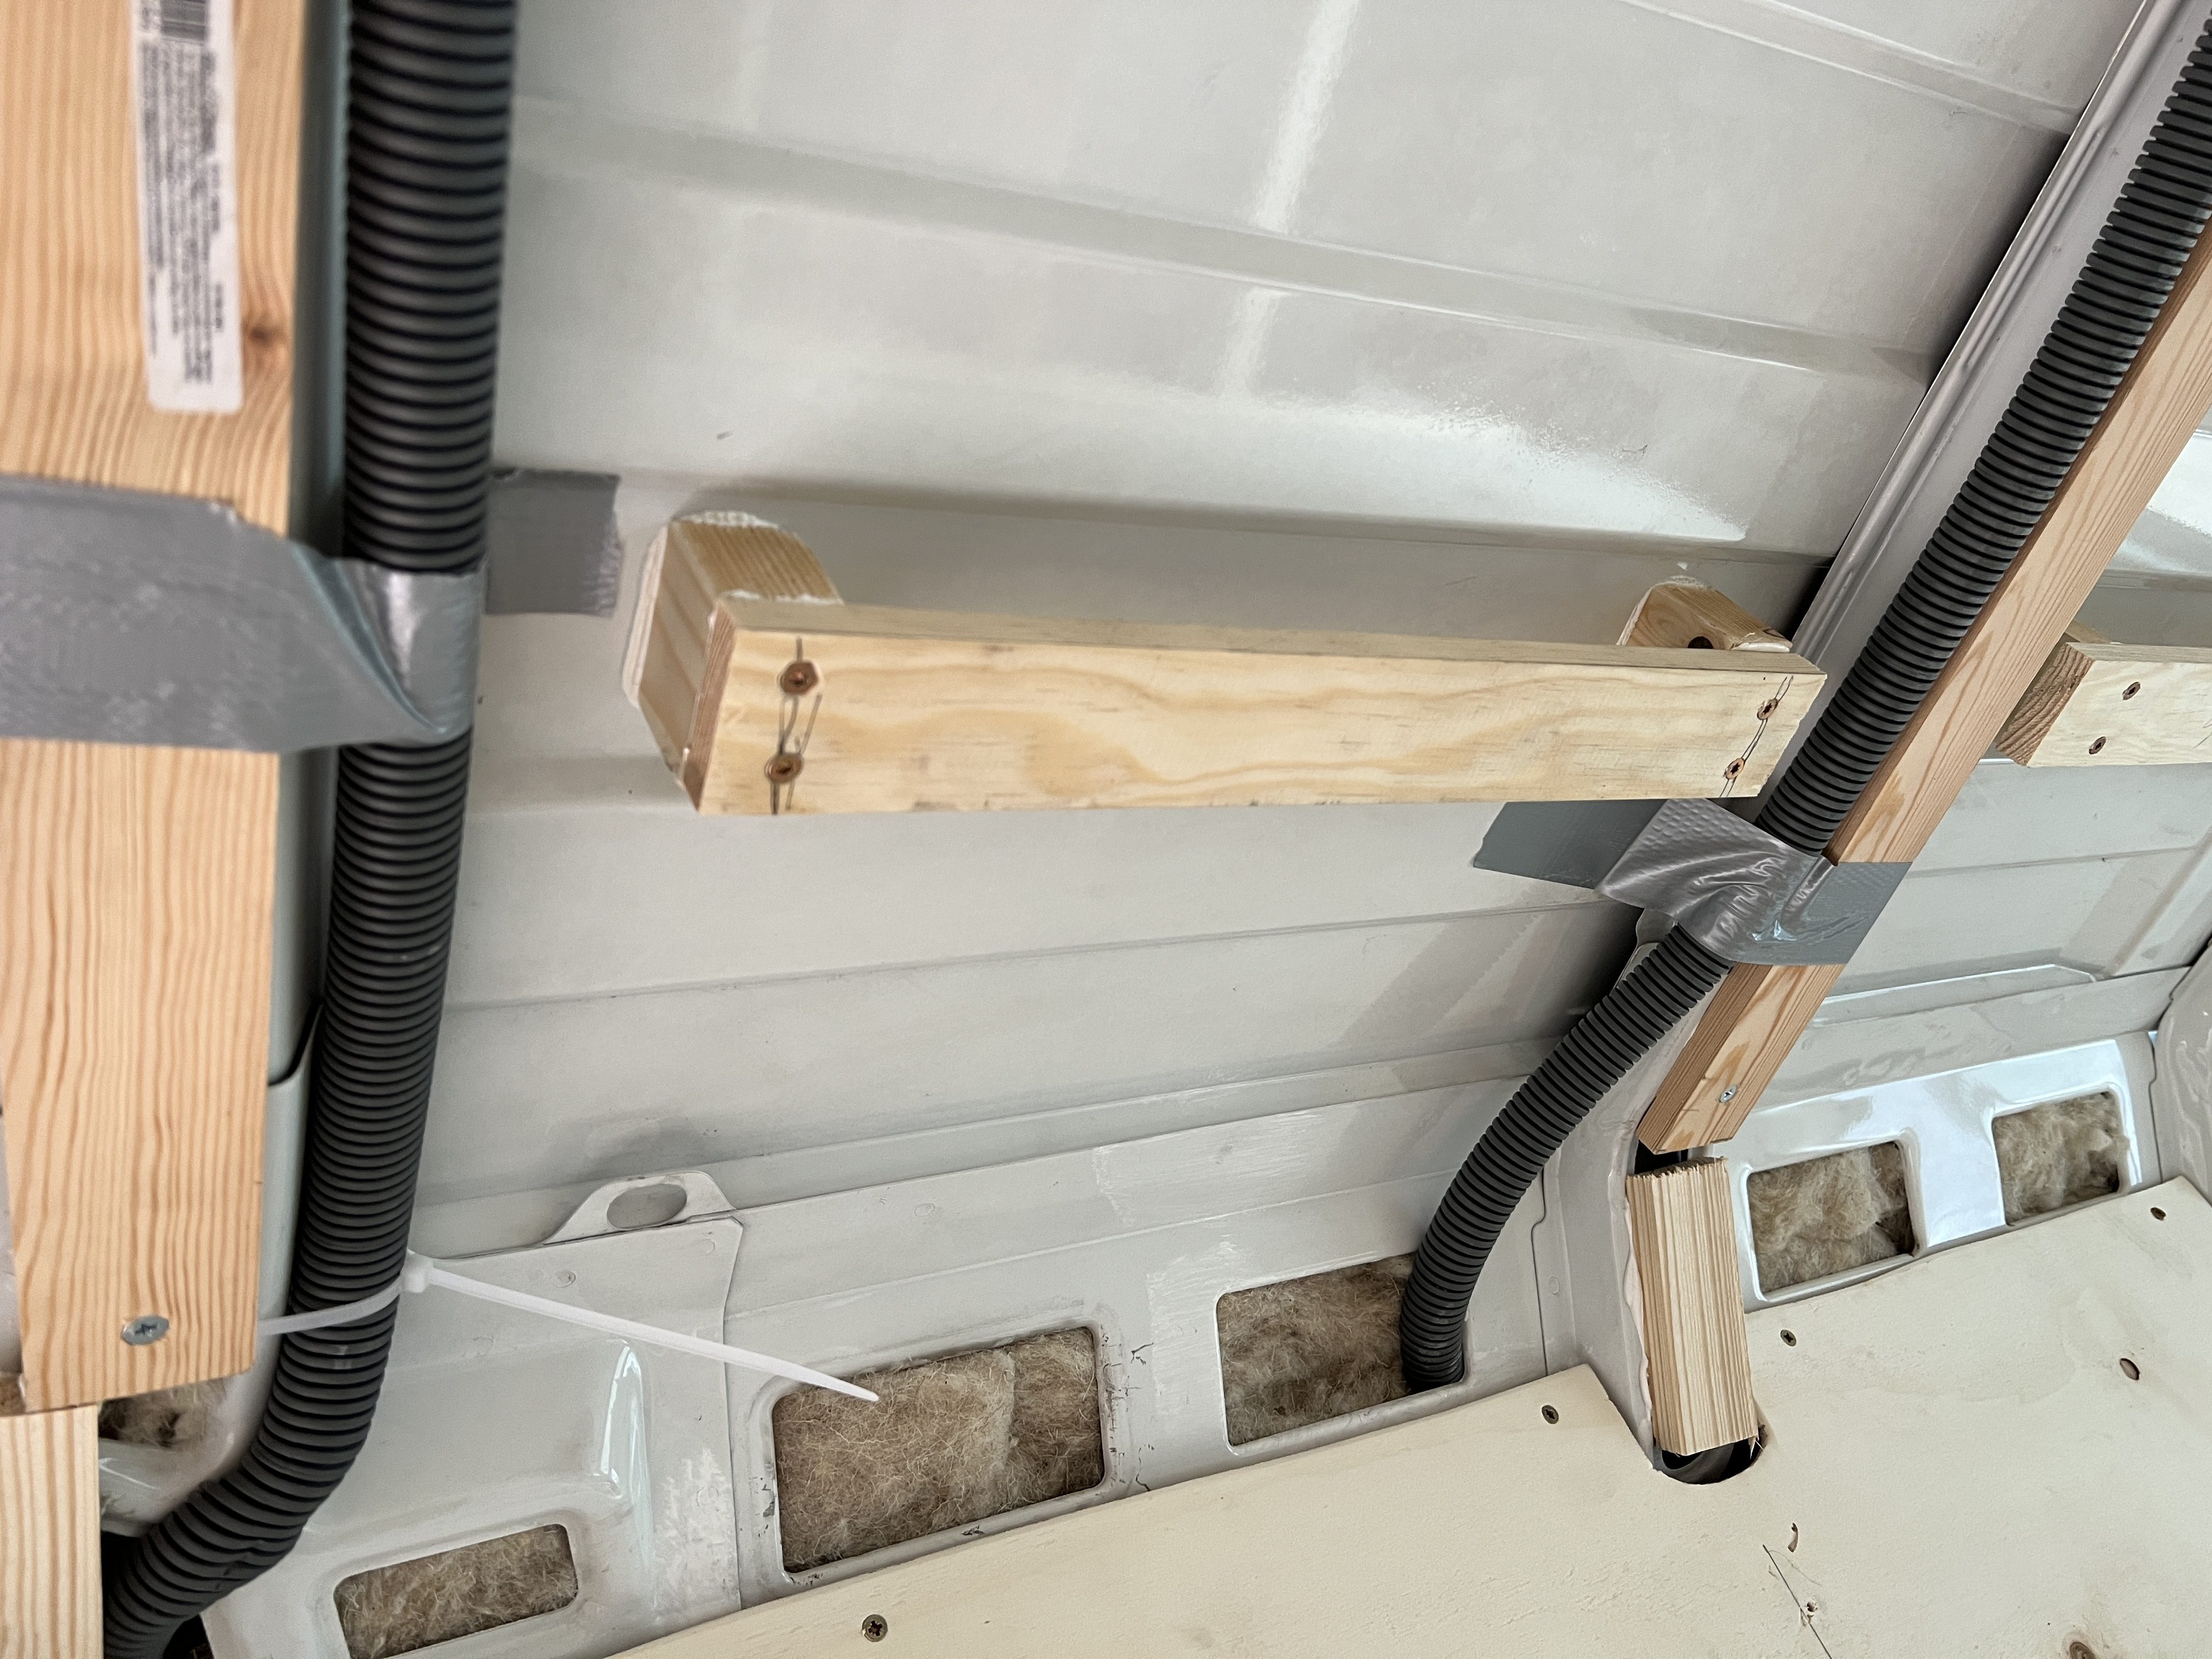
As these were being attached directly to the roof of the van we couldn’t screw them in. A general rule is not to make any unnecessary holes in the skin of the van, even with the best sealants you’re introducing a potential route for water to get in, and nothing is more waterproof than a solid piece of steel. So we were wholly reliant on using glue only.
We used a combination of adhesives (not mixed though) called Tek7 and Sikaflex. These glues are absolutely amazing – they set in wet and damp conditions, are pretty much ready to paint over after a few hours, are waterproof and UV resistant, and fully set in about 24 hours. Once set, they can hold an incredible amount of weight – I was able to hang off each of those u-shaped battens with my full (at the time) 105kg of weight. So they should be able to manage a cupboard with some small items in them.
Step 2 – window frame
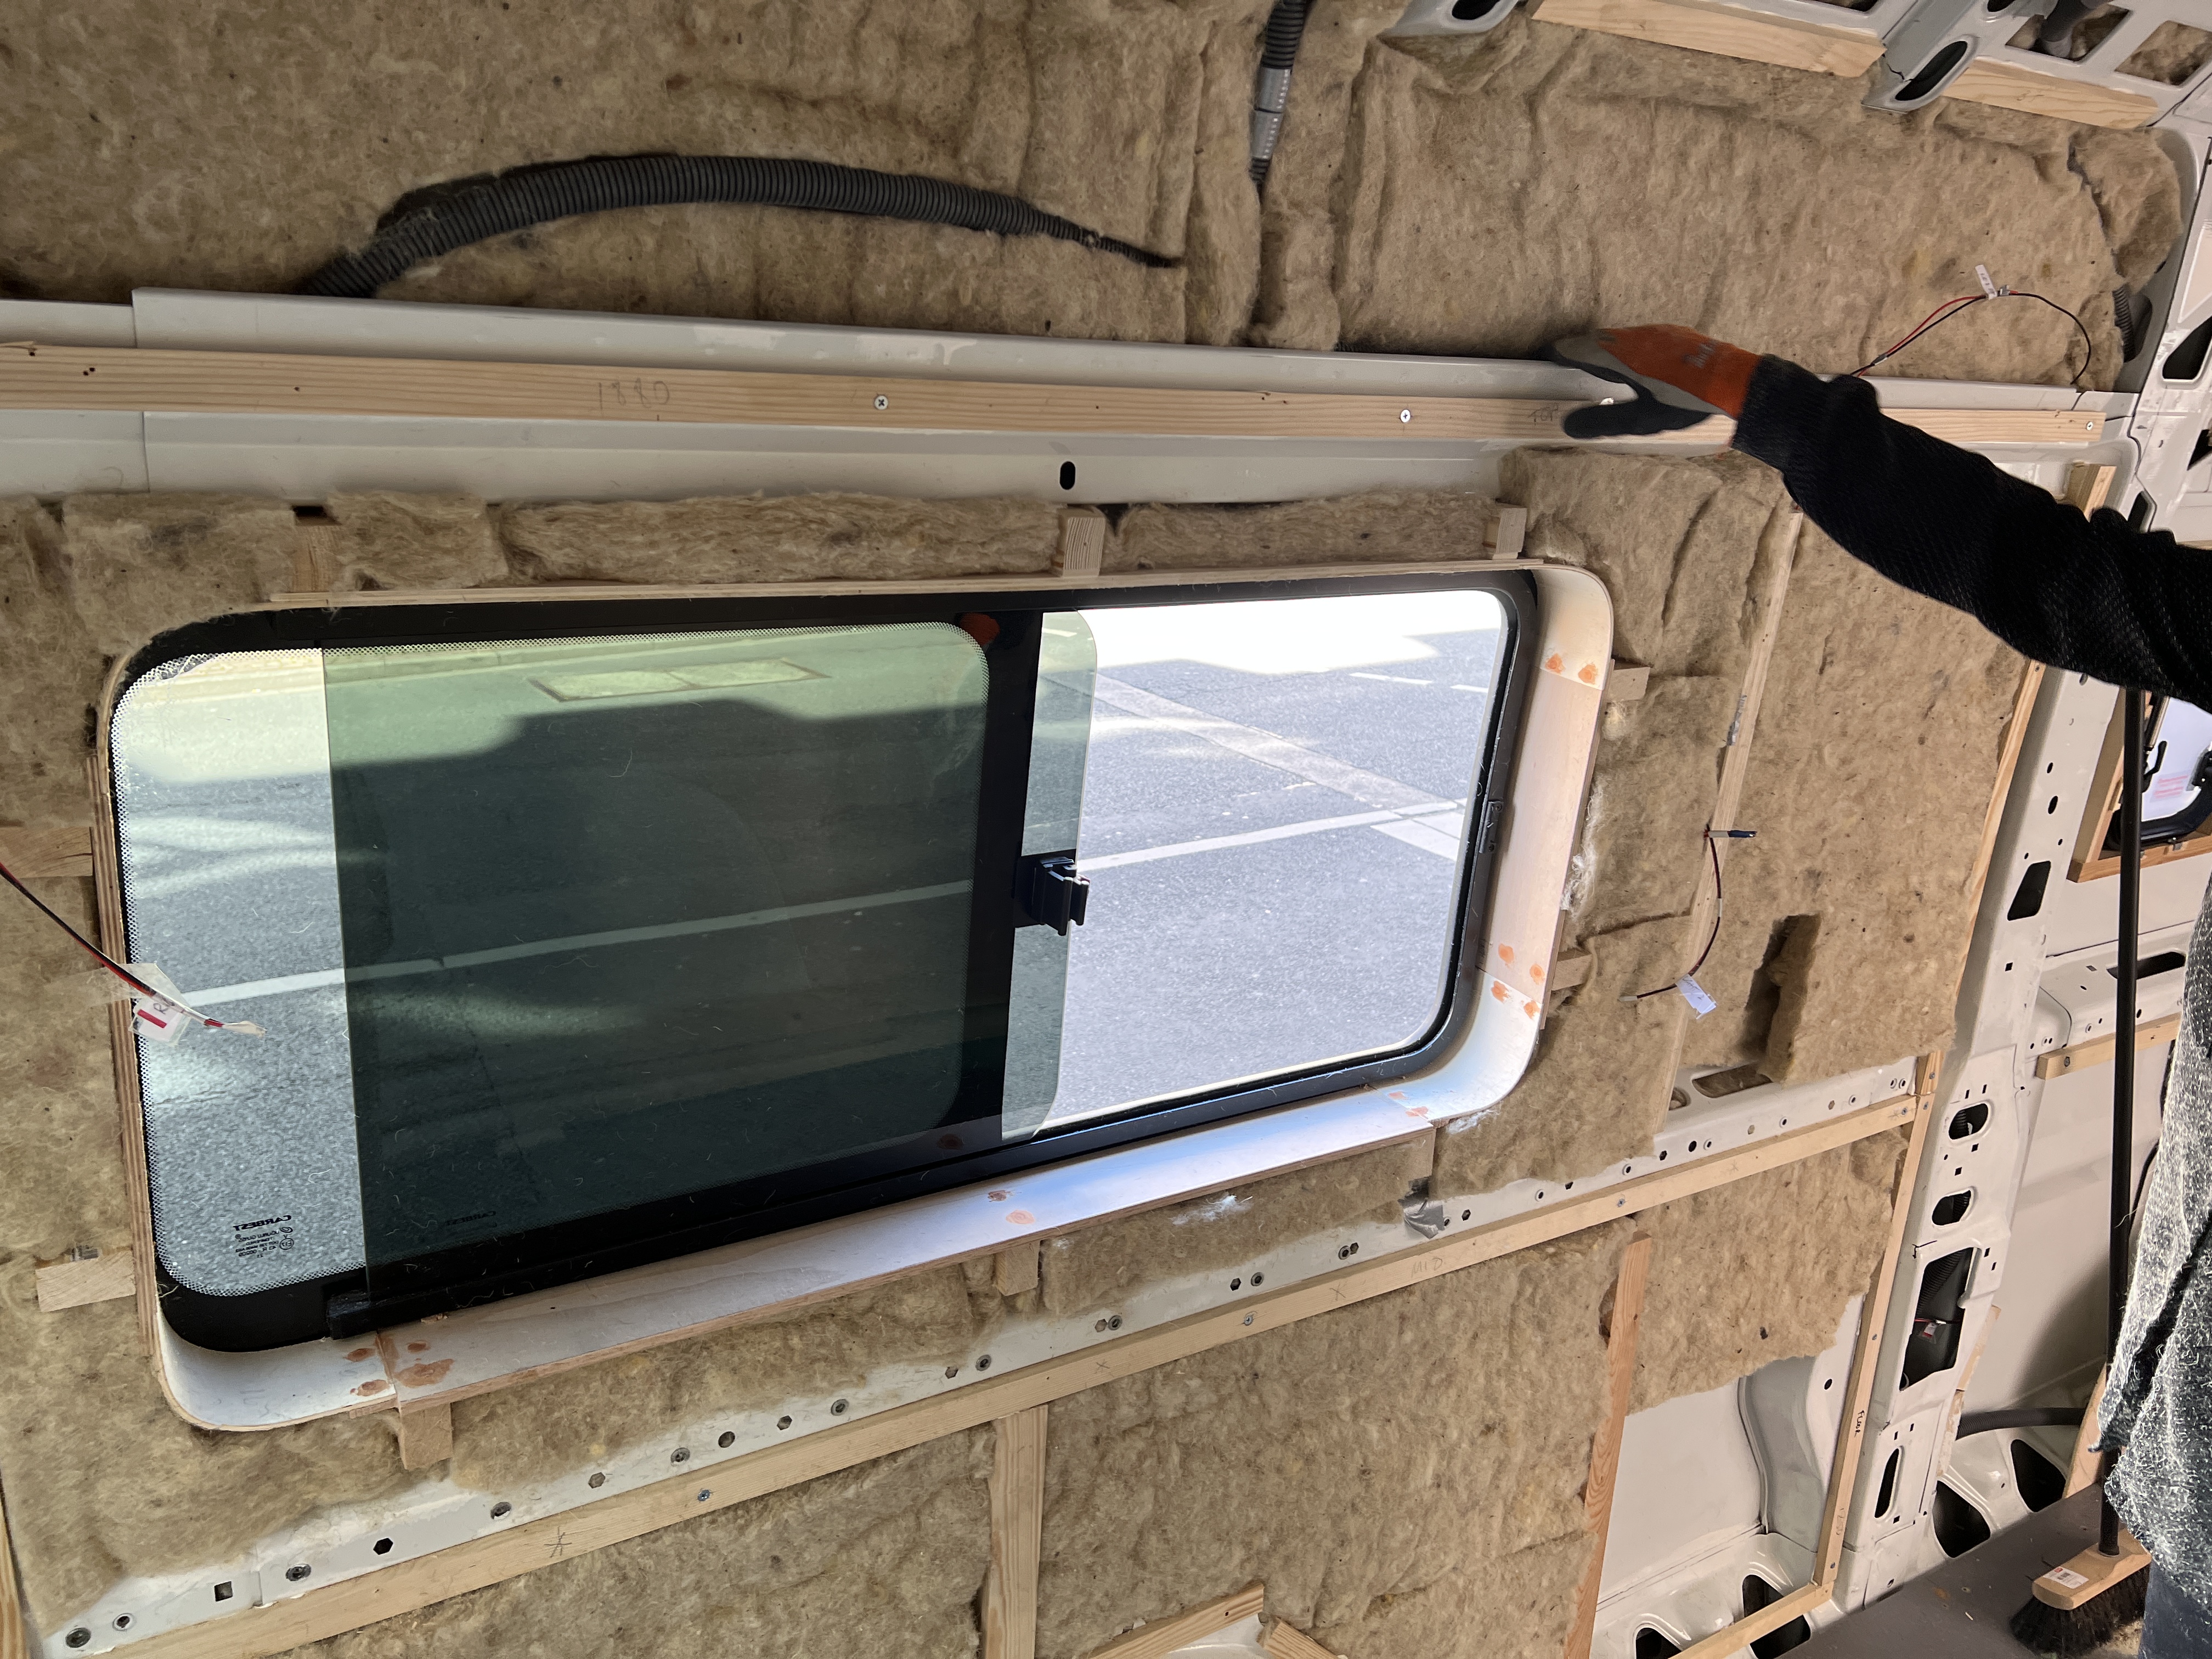
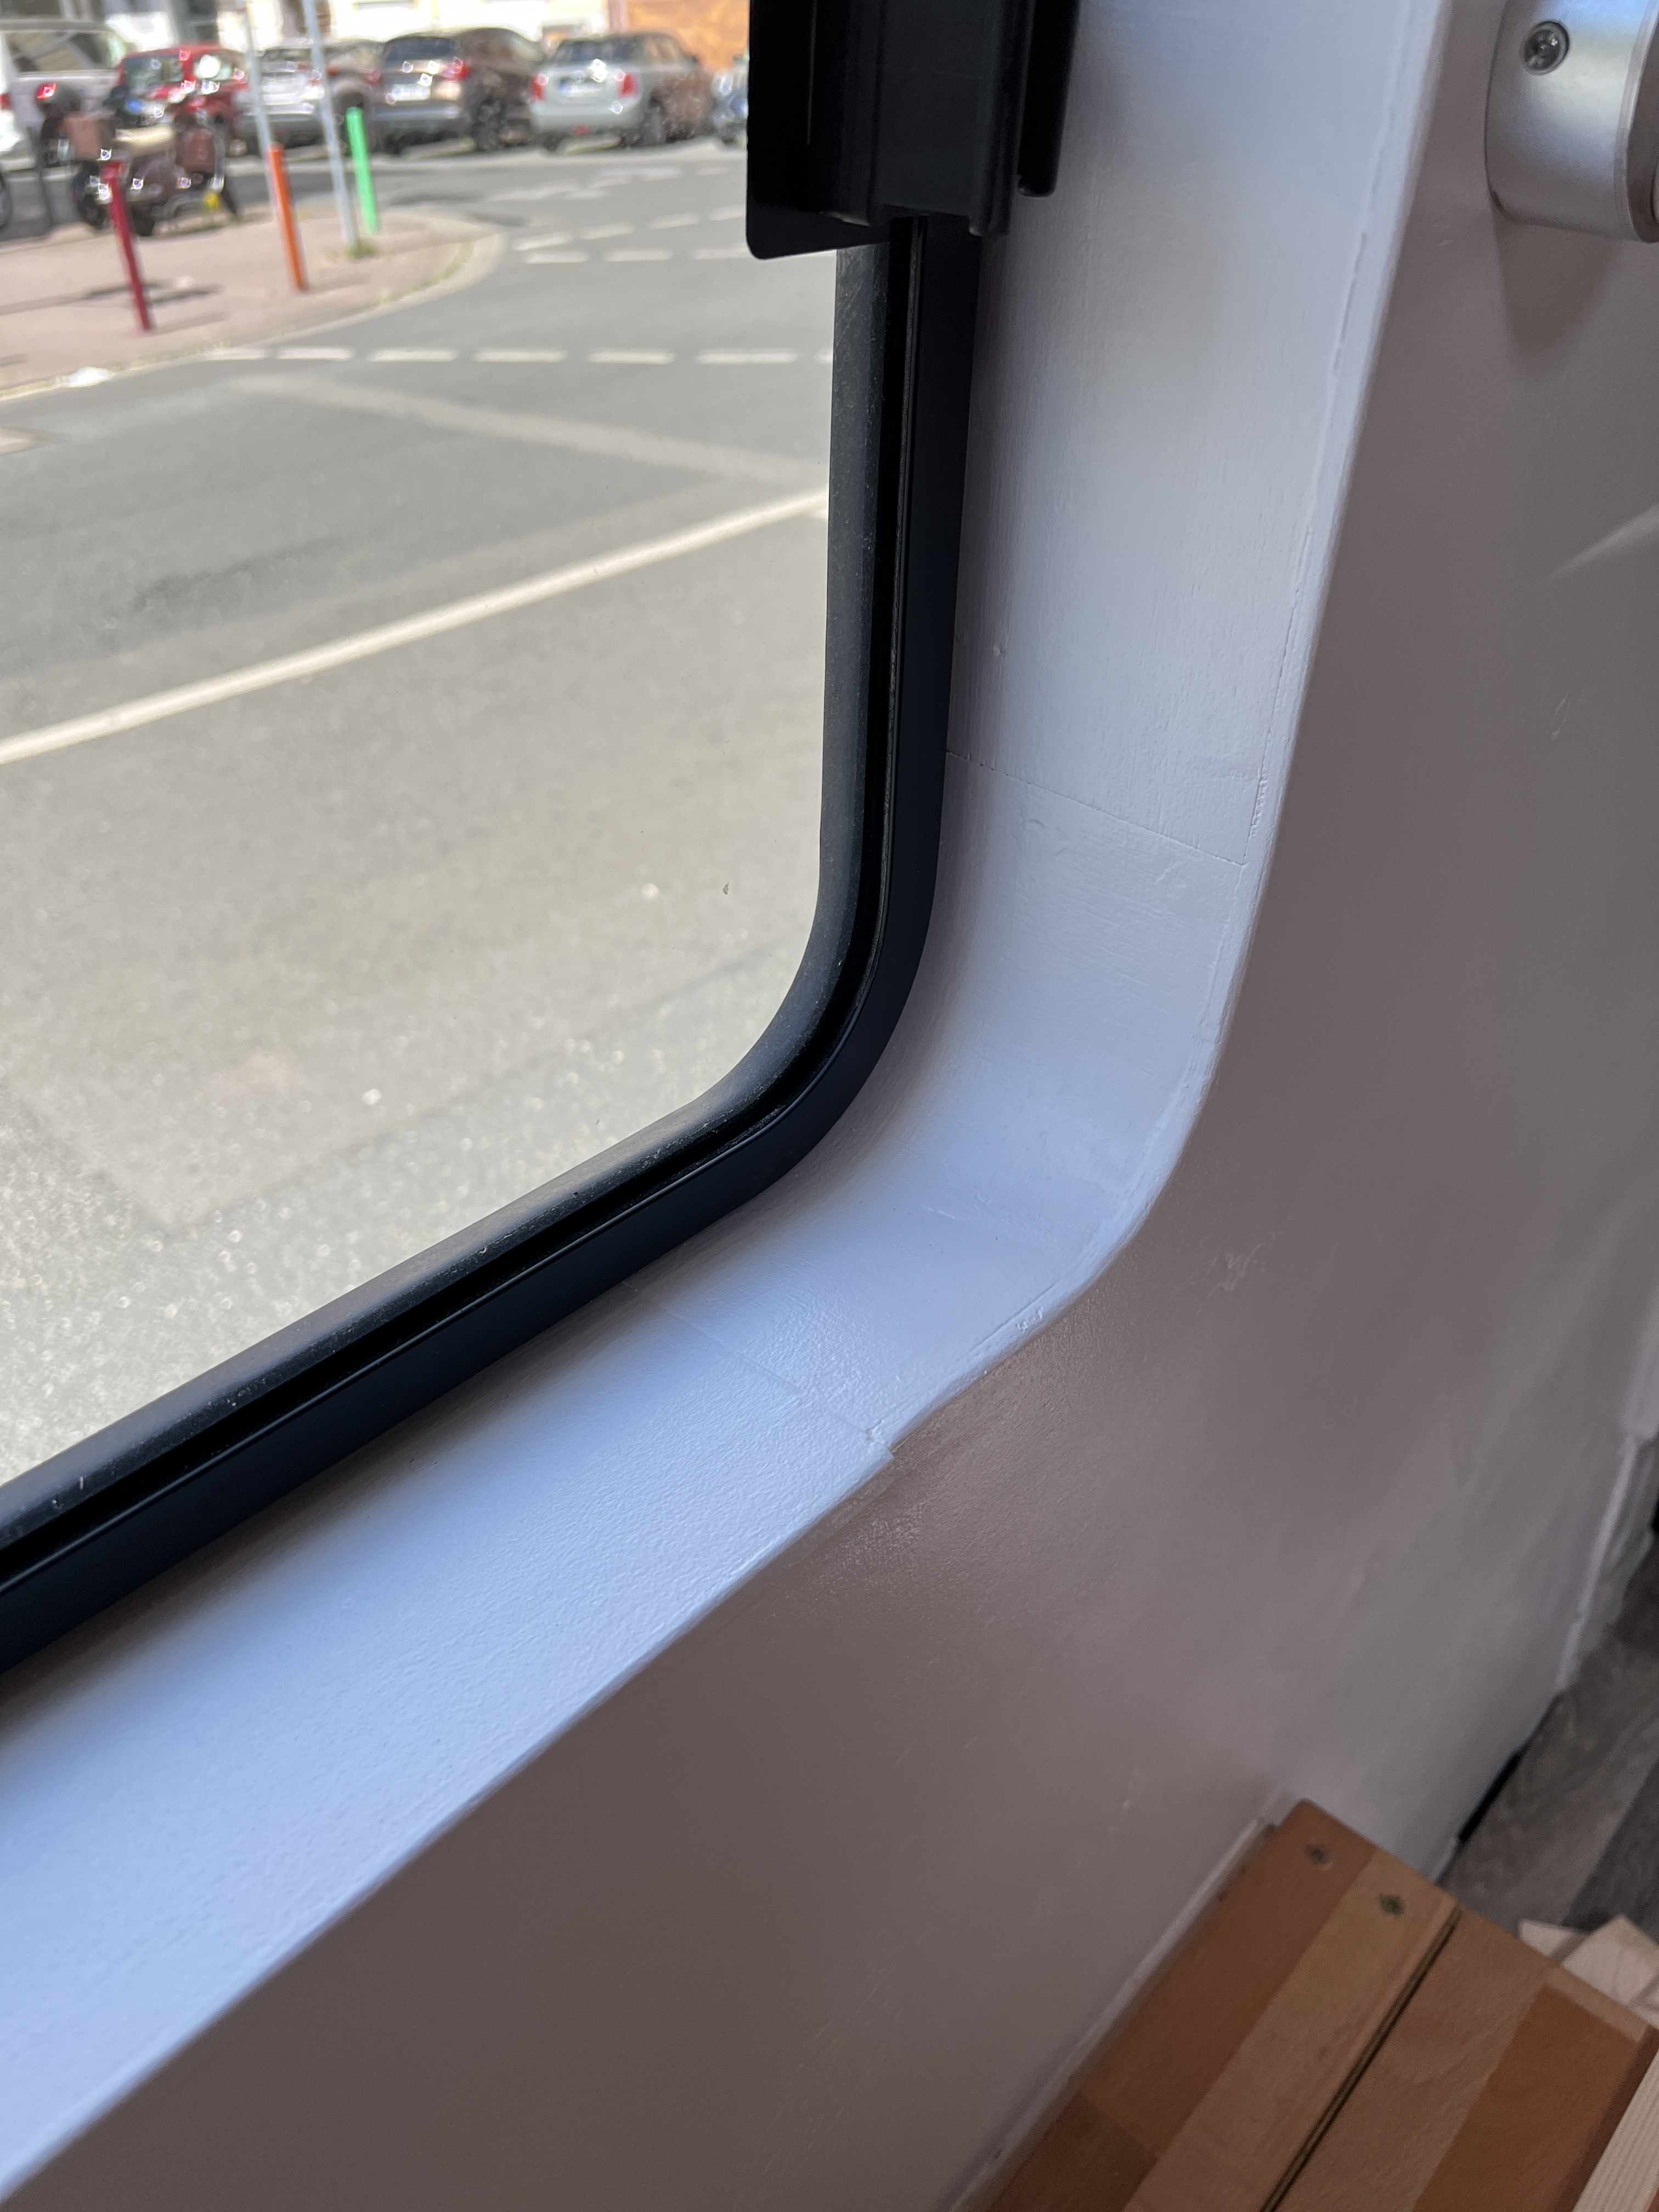
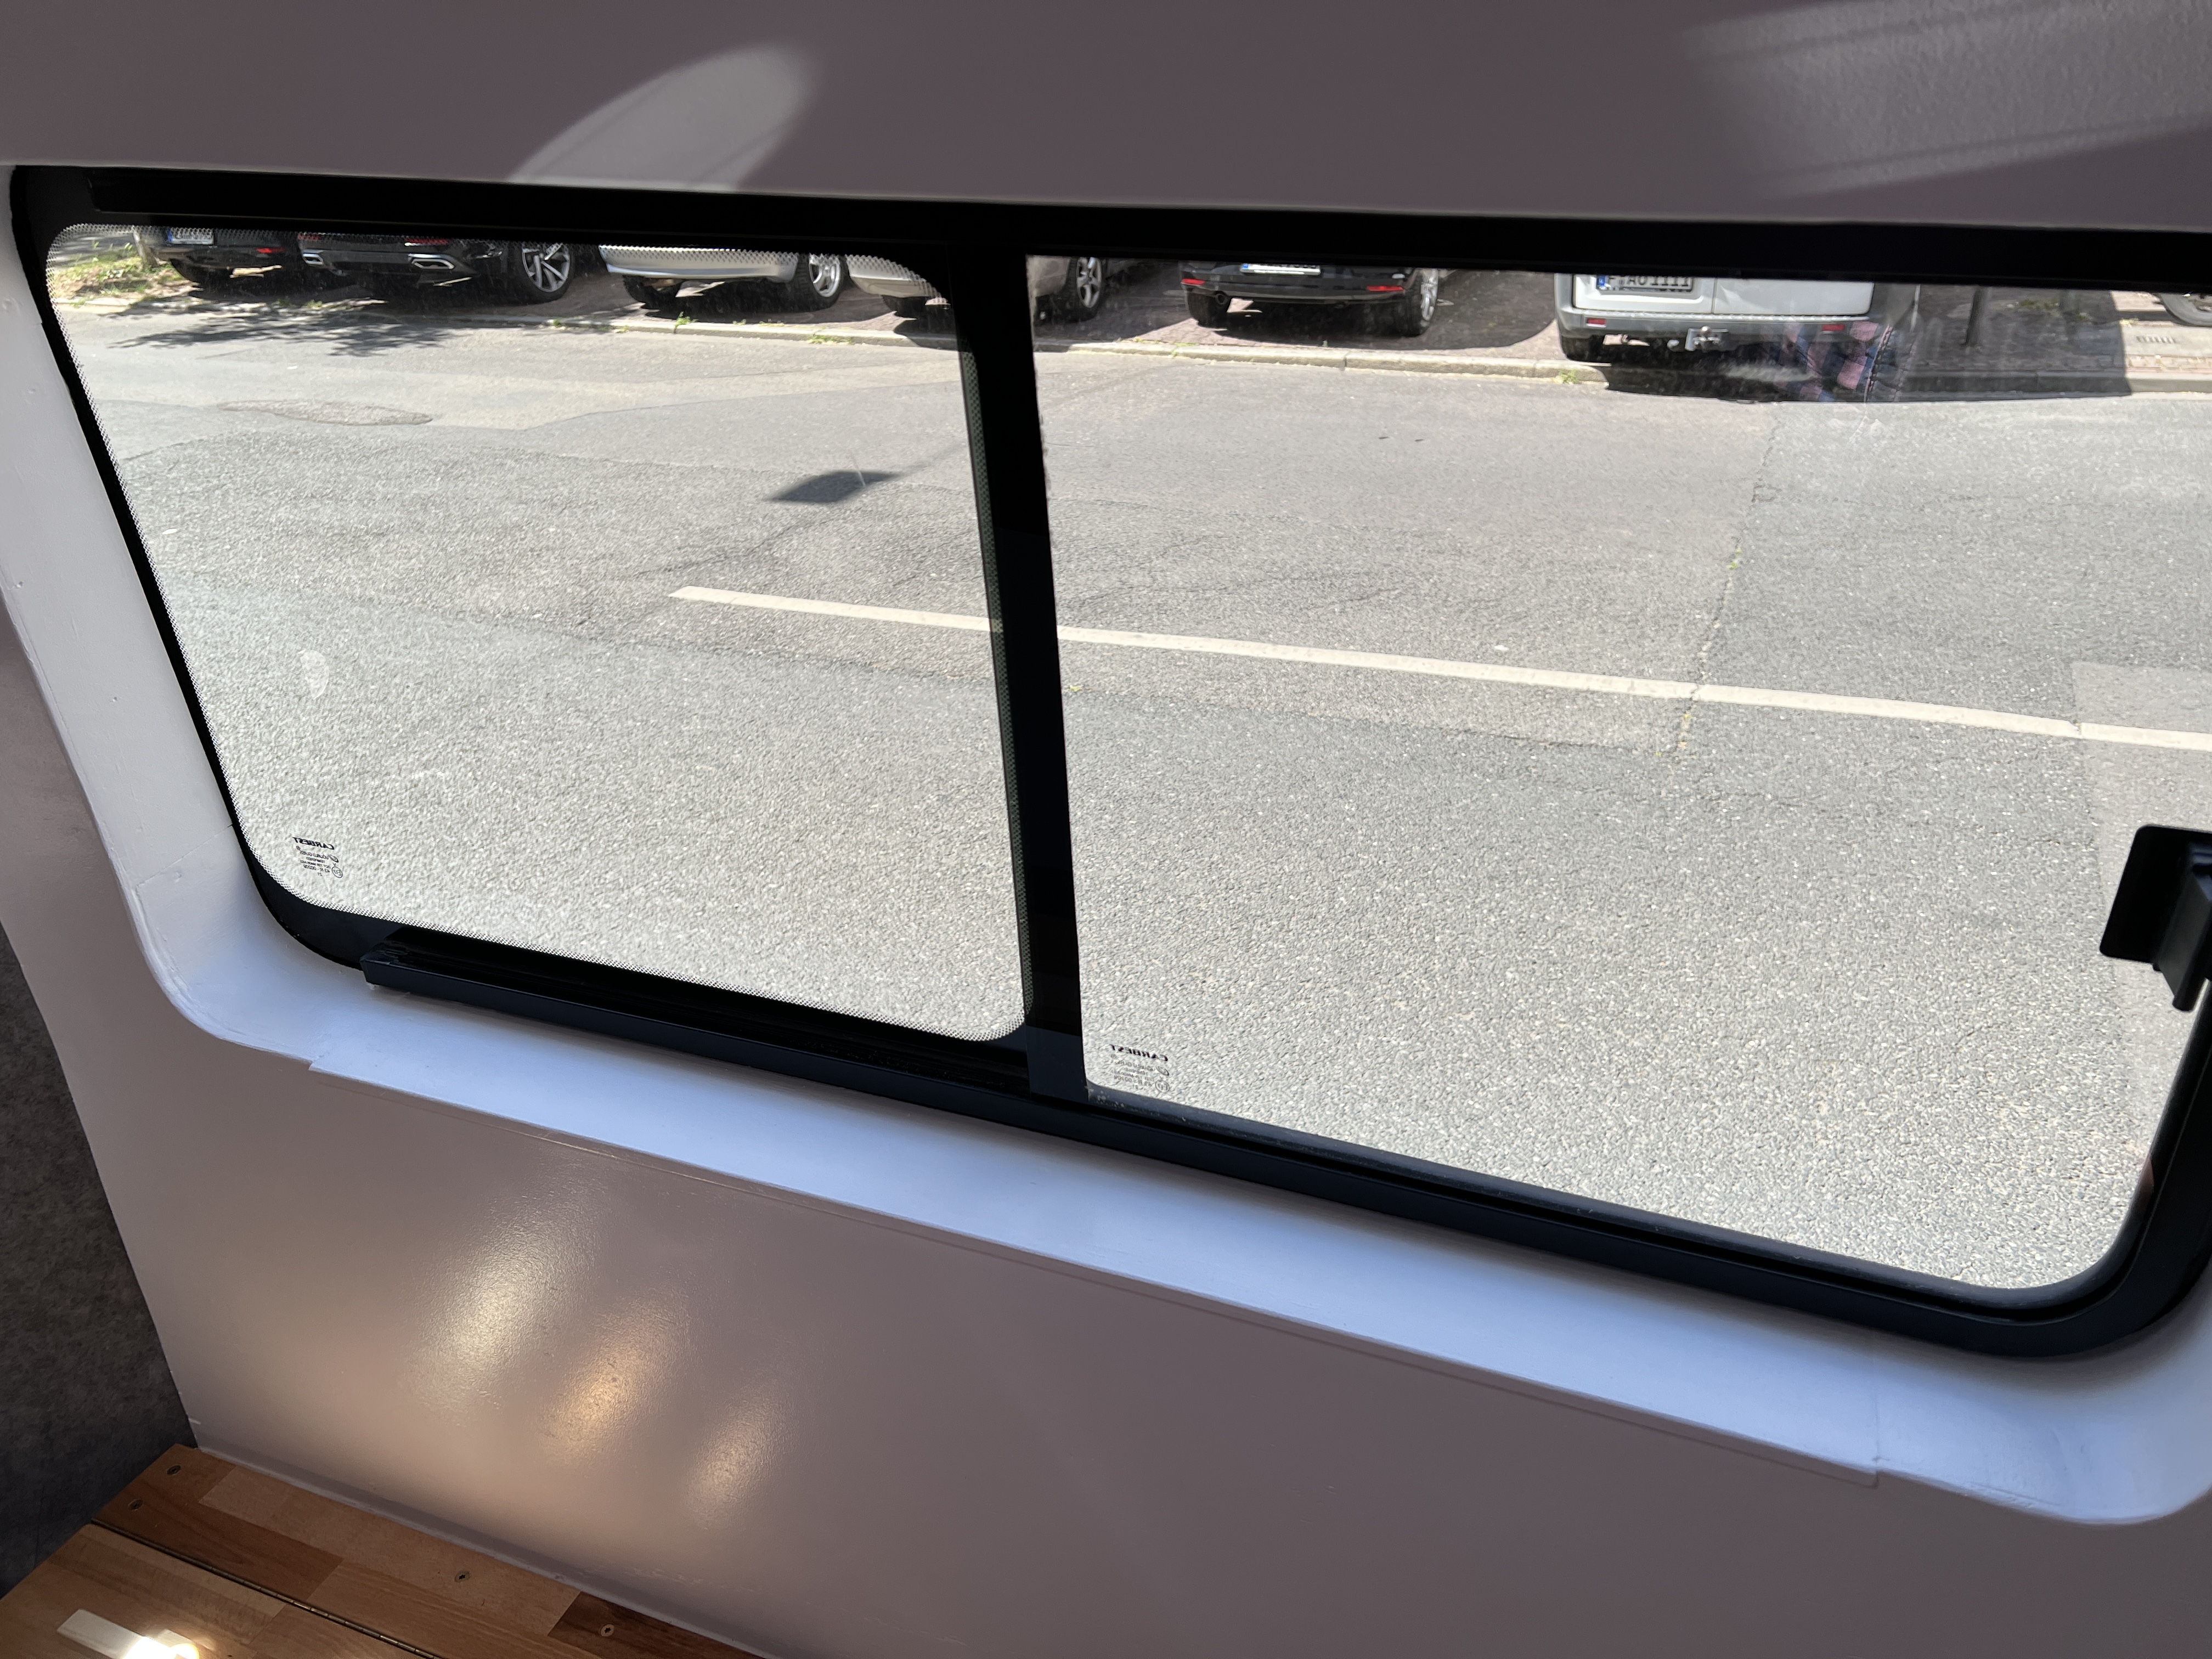
With the battens in place it was time to create the custom window frame for the sliding window on the left-side of the van.
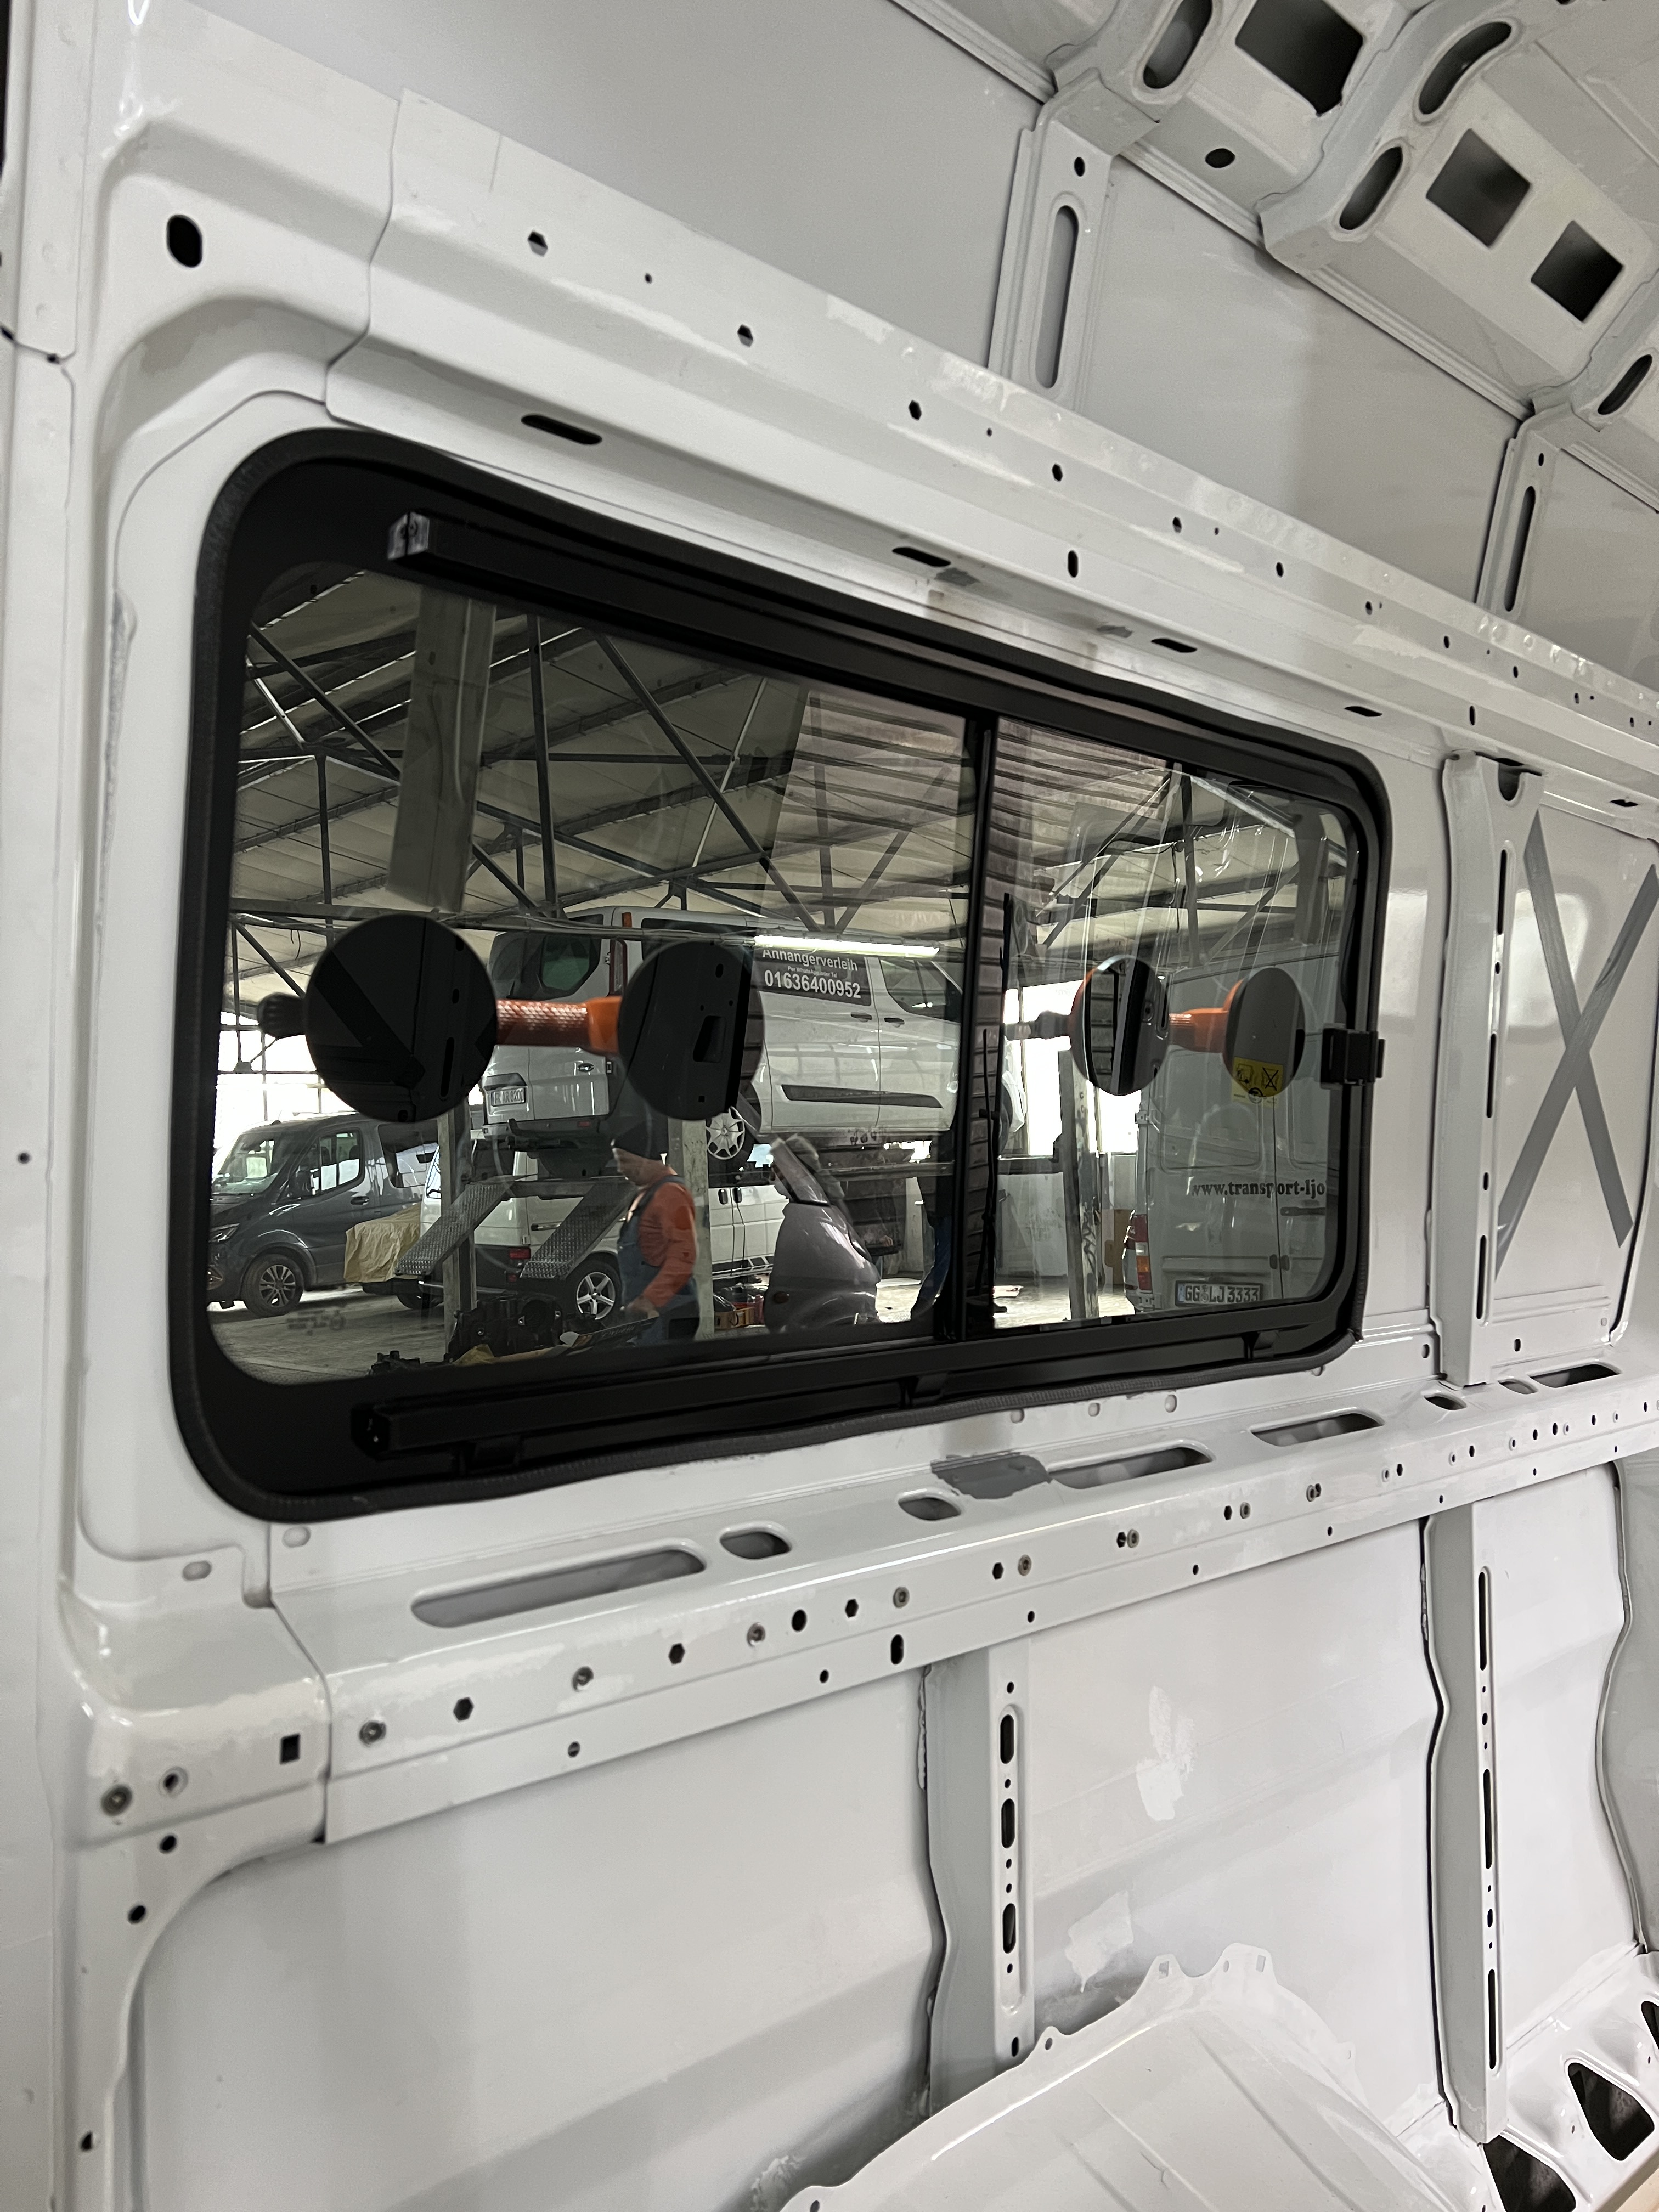


The window frame consists of four straight pieces of wood which make the left and right edges, and the top and bottom sections, with the bottom piece being a window sill. These are then connected in the corners with curved pieces of plywood which are attached using screws and glue.
This was a really tricky part of the build and required a lot of manual work and adjustments as we had to create the mounting points around the window, as well as the sill and surrounding frame, using pieces of wood with completely different measurements.
The internal van walls would be single panels of 6mm plywood, and to make sure they would be straight and connect at even points, each support (mounting point) around the window frame needed to be a different depth, and the frame pieces also needed to be different depths at each end. Meaning no piece of wood was square, no piece had the same length or depth, and each had be cut and made to measure exactly. This is due to the differences between the curvature of the van’s outer skin, structural struts, and the internal surface of the wall – there are no straight lines to work with and no two van is identical!
The straight side pieces of the frame were made of 8mm thick solid wood planks, and the top and bottom sills made from slightly thicker 10mm wood to give a bit of extra sturdiness and support.
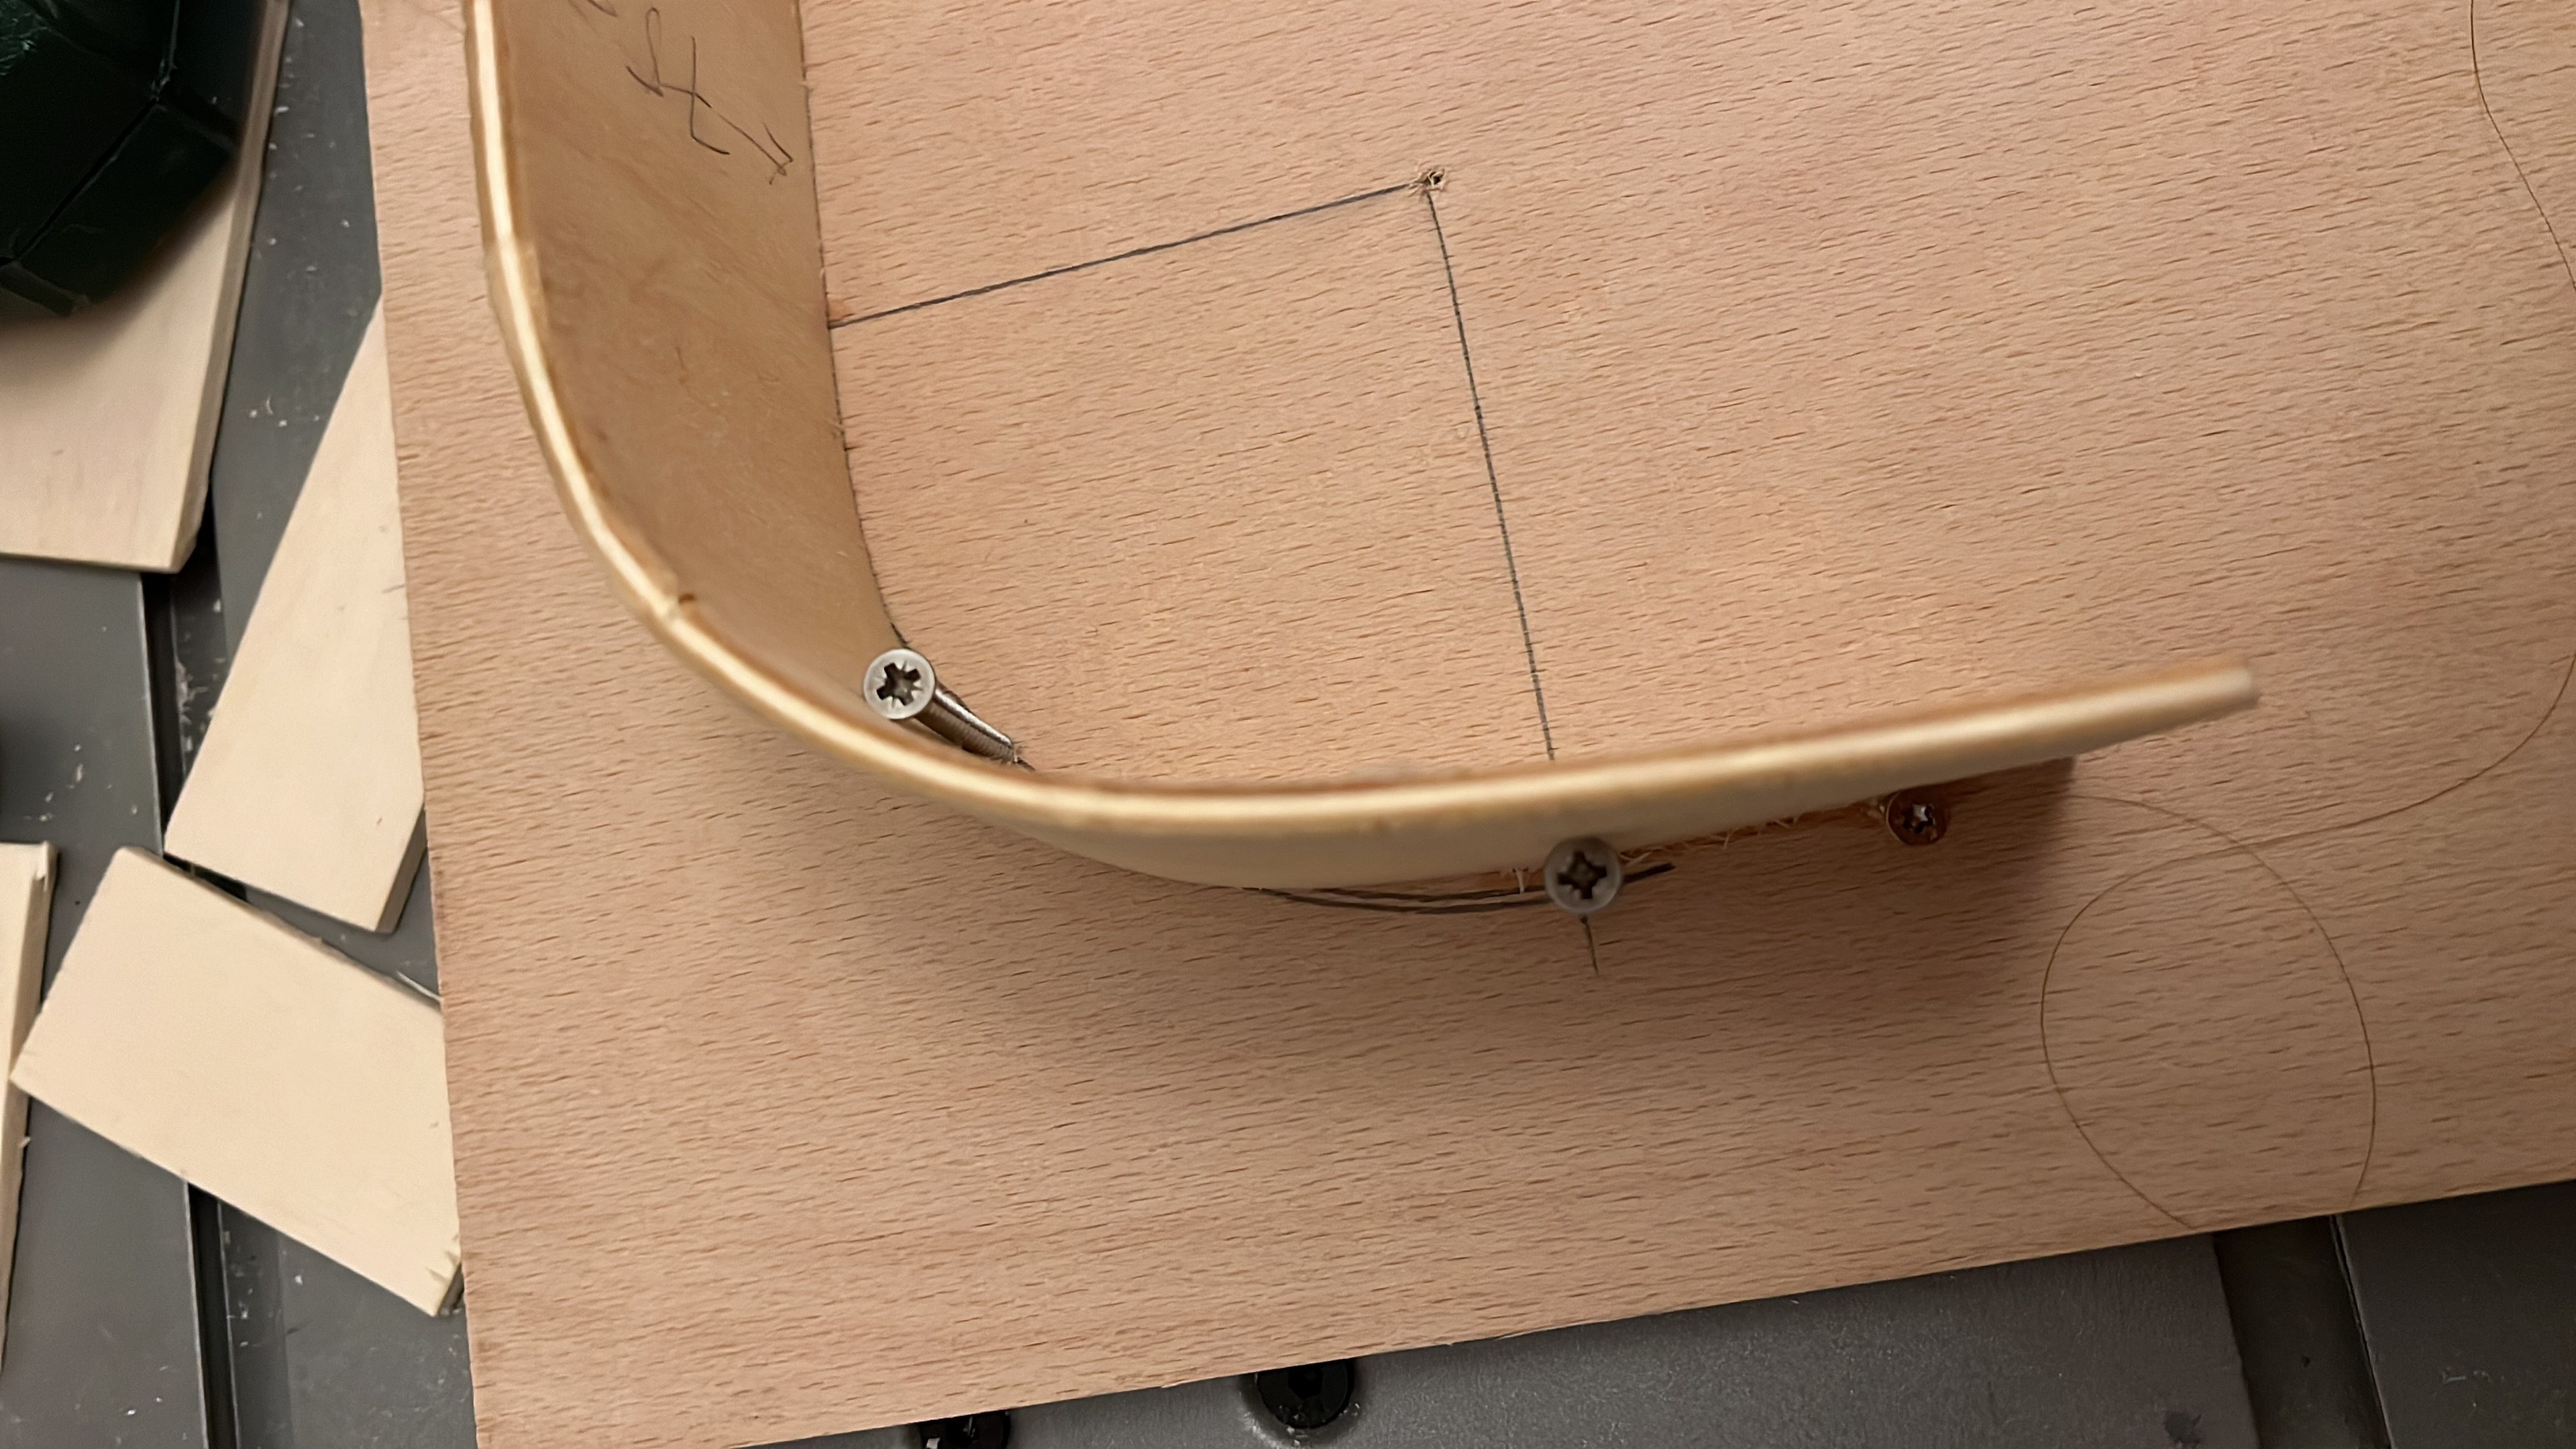
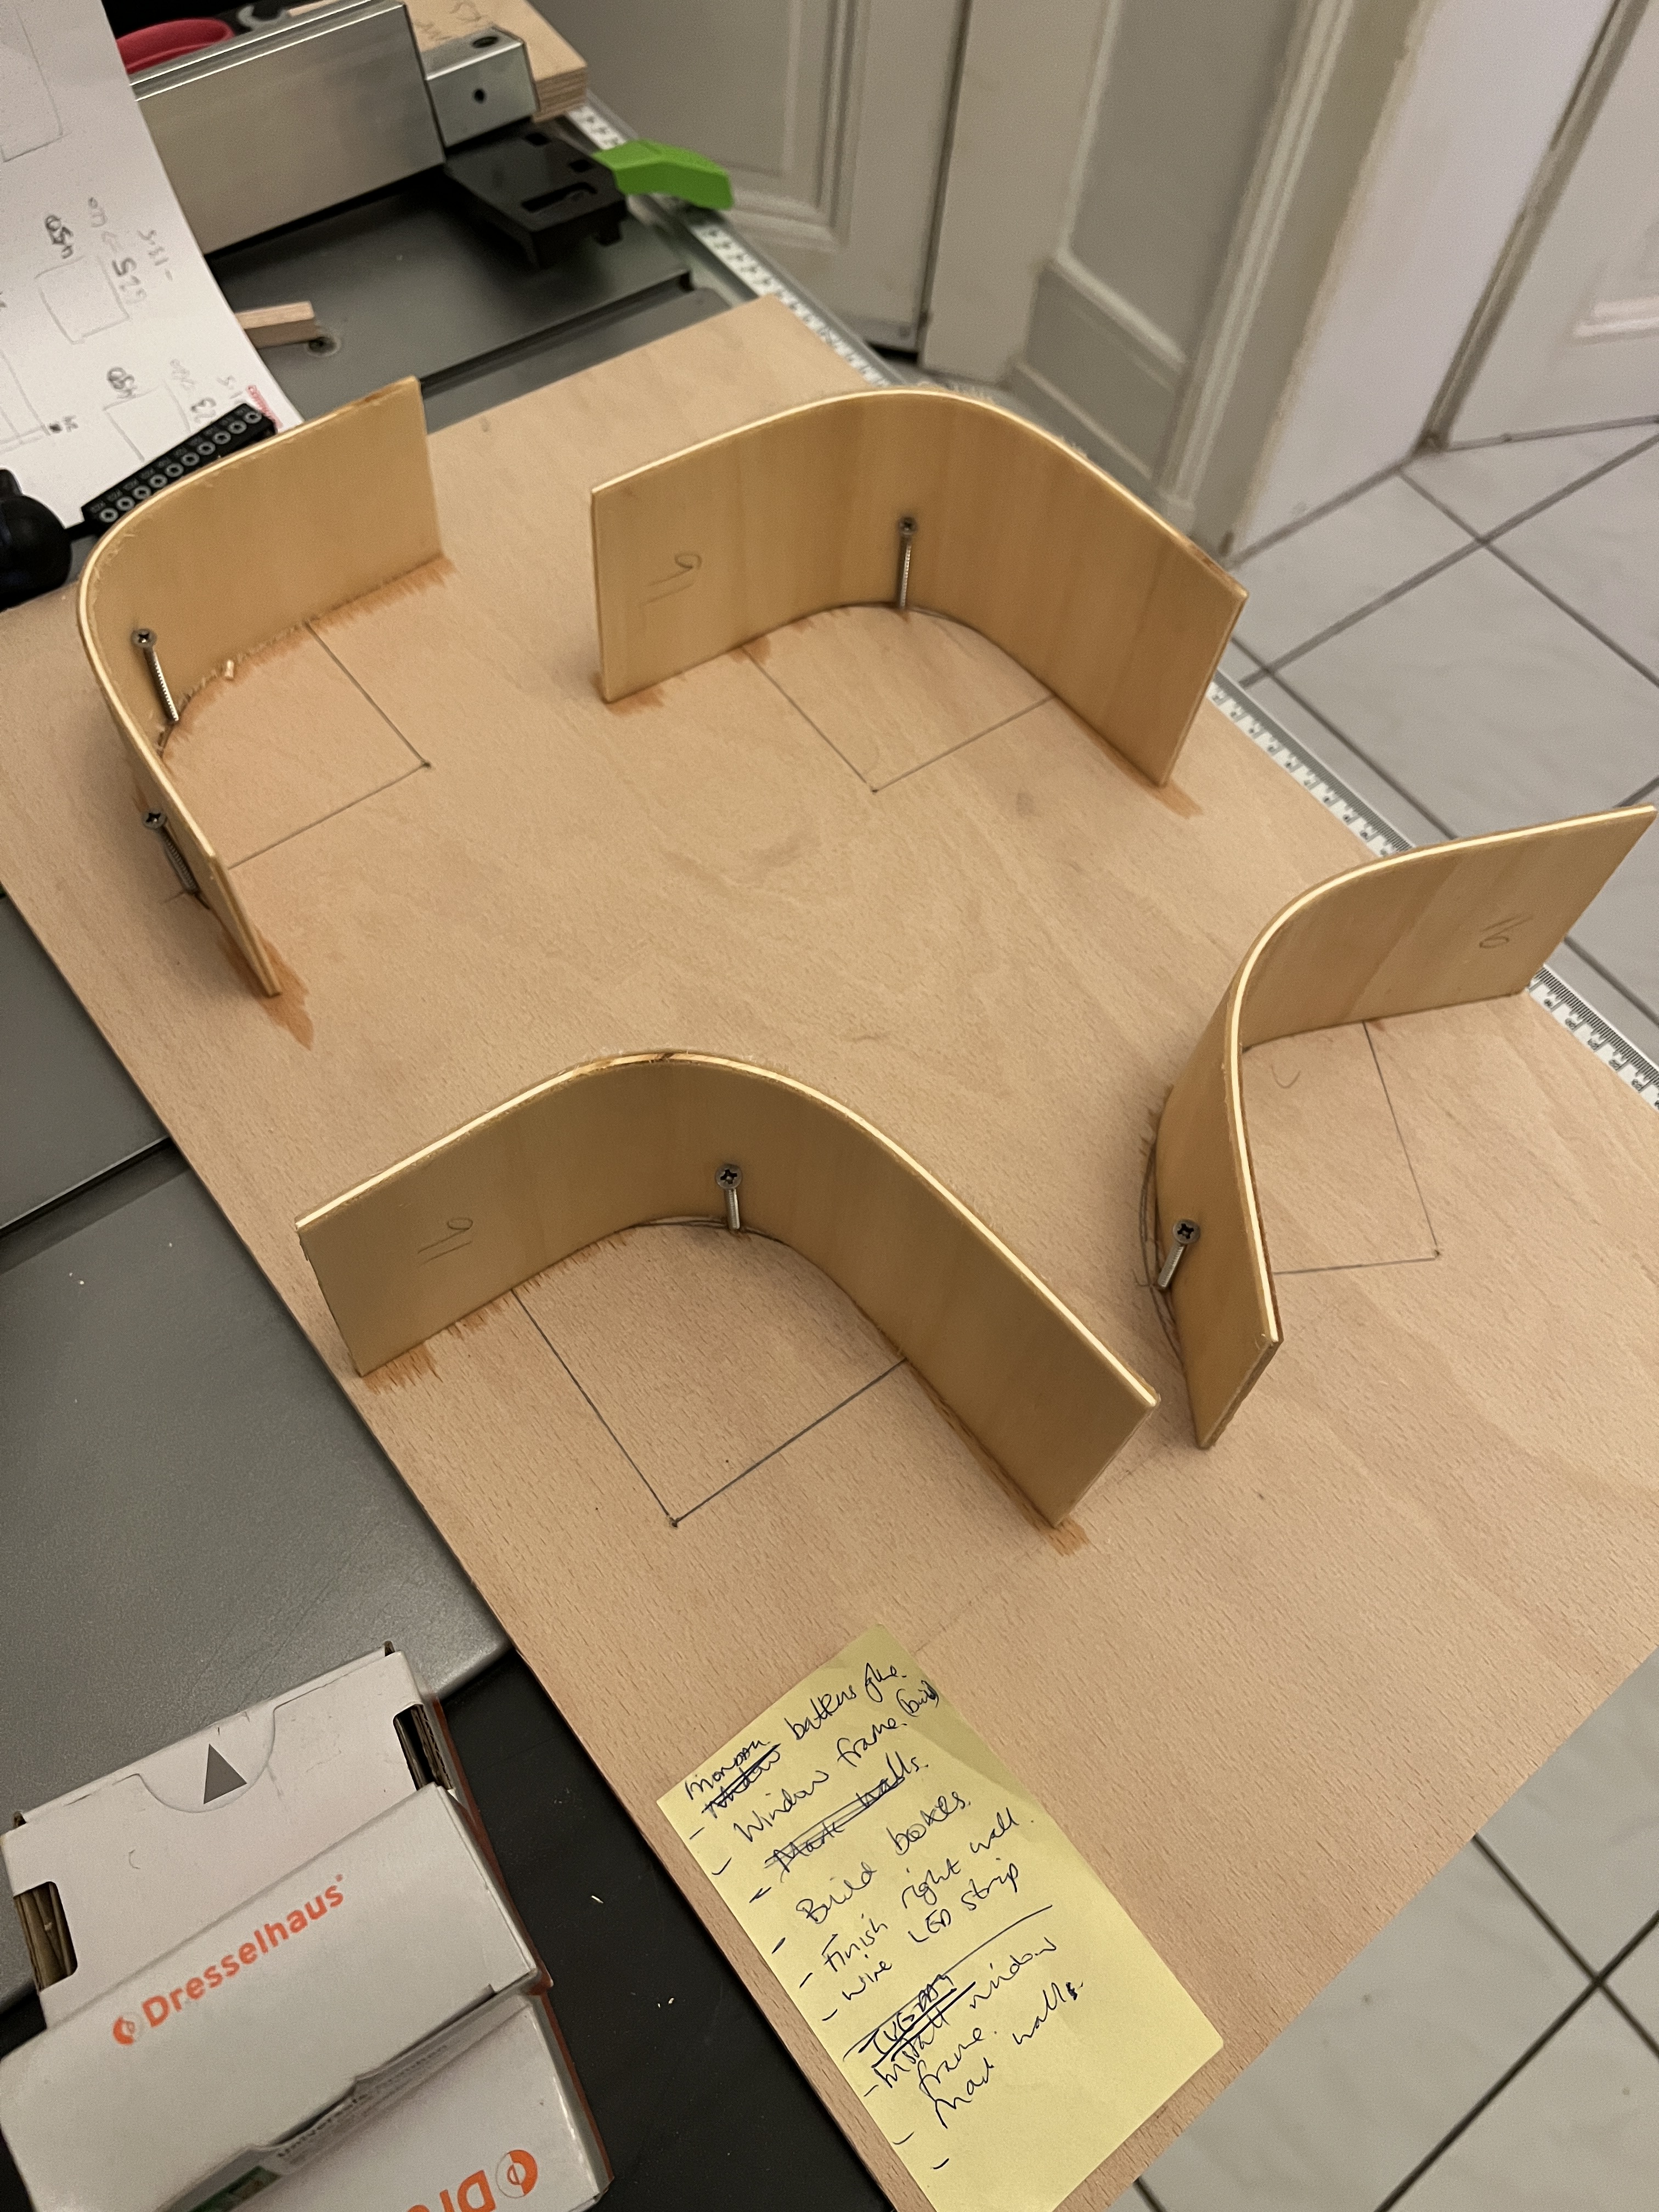
To make the curved corner pieces we first needed to make a mounting frame – which is essentially three screws in a solid board, placed in a curve which has the same radius as the corner points of the window frame. Then we took 6mm flexible plywood pieces, cut them to size, and soaked the pieces in water for 10 minutes. When the wood was soaked we gently bent them along the grain and inserted them into the curved frame, being careful not to break them. The final step was letting them fully dry for about 24 hours.


Step 3 – insulation
So that we can use the van in all weathers we needed to add insulation, this also has the added advantage of sound proofing the van. For this we opted for sheep-wool insulation. The whole build is planned around trying to be as environmentally as possible, so we are trying to source as many sustainable products as possible. For example, the under-floor insulation is cork tiles, and as well as being a natural product sheep’s wool has many other advantages over its synthetic counterparts.
Benefits of wool insulation:
- Thermal conductivity – same or better than artificial alternatives
- Natural and sustainable product
- Hygroscopic – regulates humidity in the van
- Doesn’t burn – high nitrogen content means it’s self extinguishing
- Purifies the air
- Acoustic insulator
- Safe to touch – no need for protective equipment to handle
- Easy to cut and shape – easily stuffed into tight and awkward corners
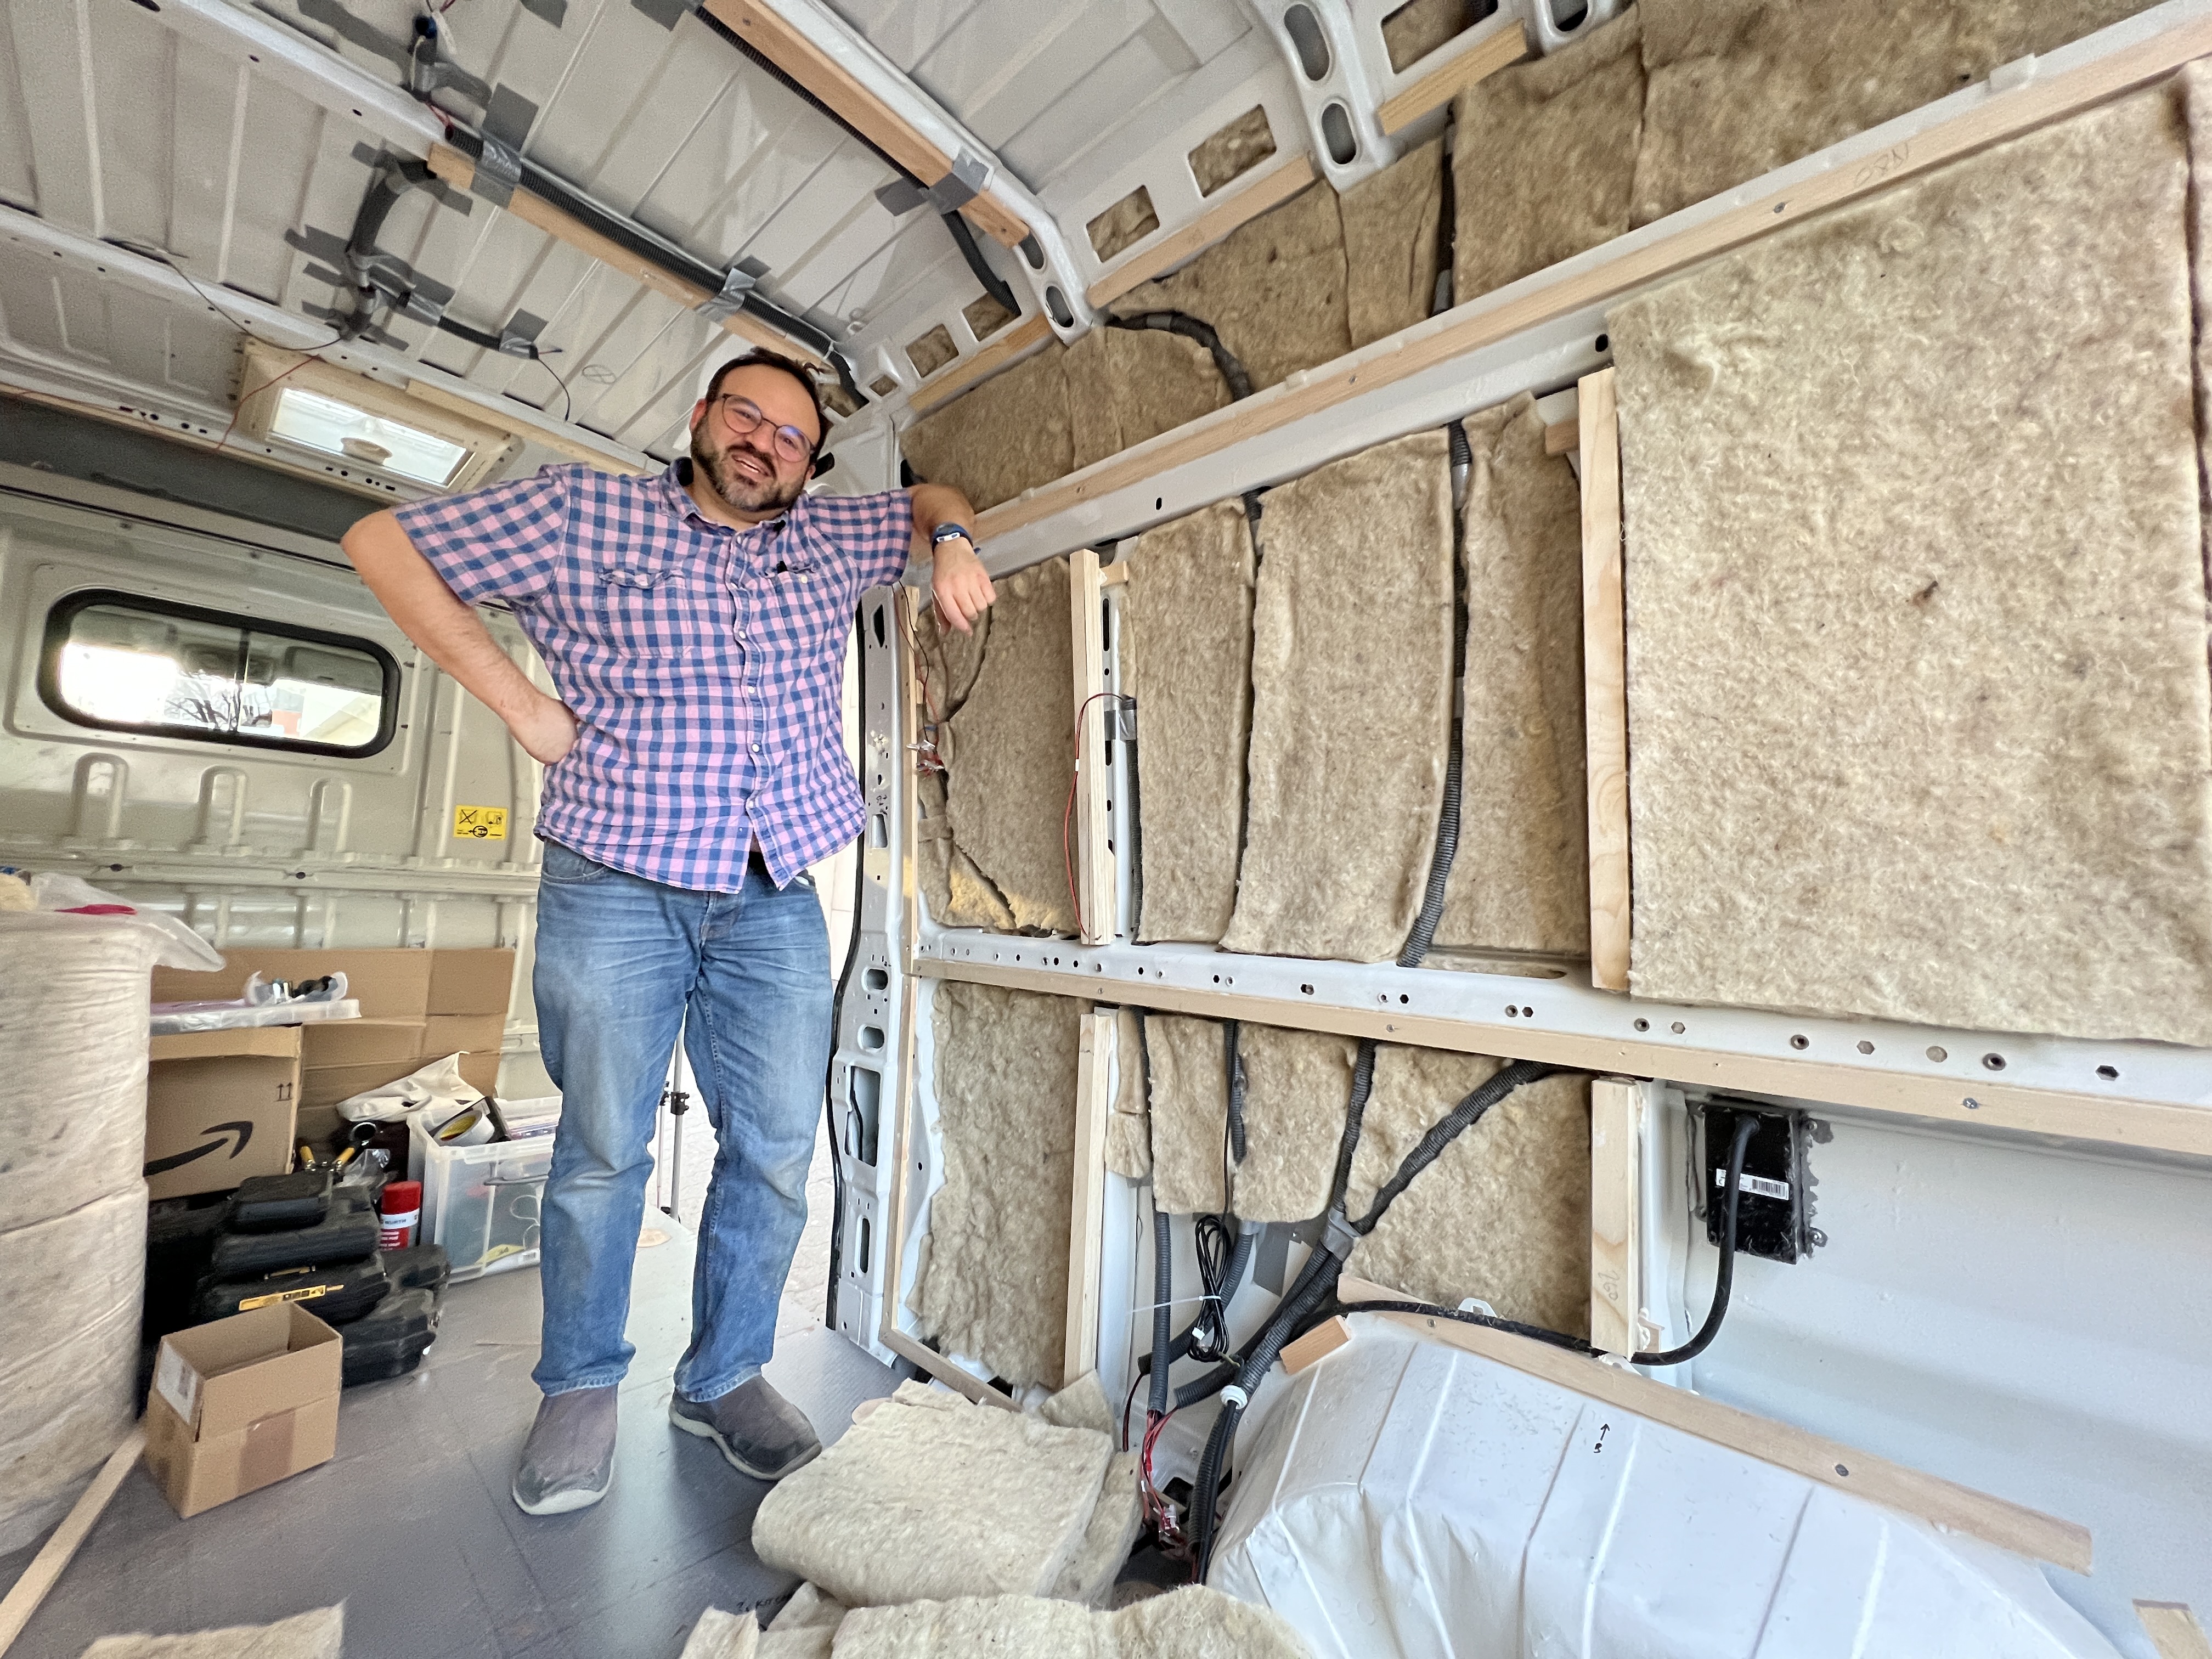
We bought rolls of 5mm thick insulation from a company in the Brecon Beacons, which we picked up on a previous trip to the UK (the advantages of owning a big white van). We bought enough for a 10mm layer across the walls and ceilings, though it looks like we will end up with a lot to spare.
Installation was very straight forward, all you need is a good pair of scissors and carpet glue – no protective gear required. The pieces of wool were cut into shape, then we used spray-on carpet glue to attach the first layer to the metal walls of the van, then another spray of glue to attach another layer of wool over the first. Wherever we could we used a 10mm layer, but this was not possible in all areas of the walls due to the curve of the van, and so we had to use a little less in some parts. It’s important not to compress the wool too much as its insulating properties come from the air pockets it contains. If you compress it too much you get rid of these air pockets and so you reduce its insulating properties.
For the awkward corners and hollow struts of the van we just tore hand fulls of wool off the main roll and carefully stuffed them in to the holes and crevices. We were careful not to fill the drainage holes along the inner sides of the van that run along the floor, because if there is ever a leak, or any internal condensation, theses drainage areas need to be kept free to do their job.
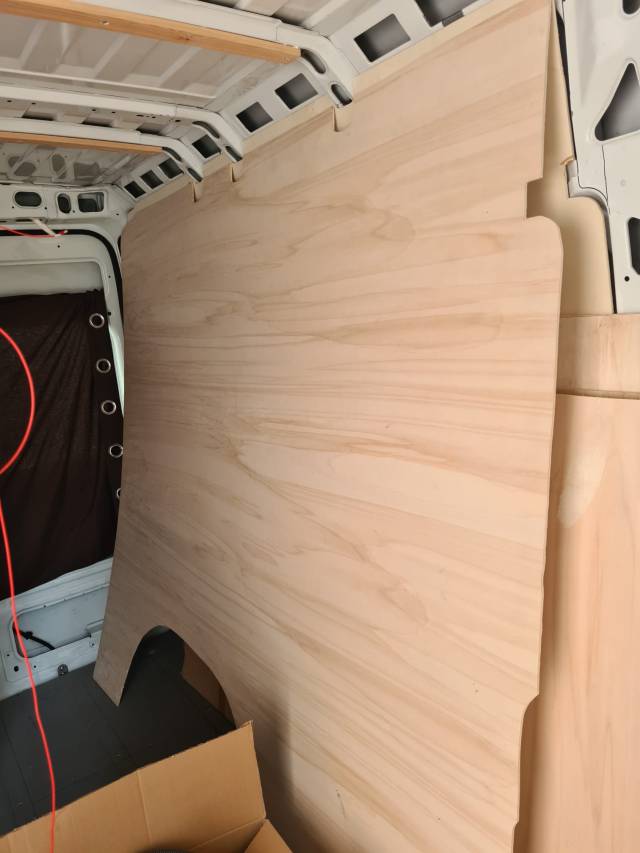
Step 4 – shaping and fitting the walls
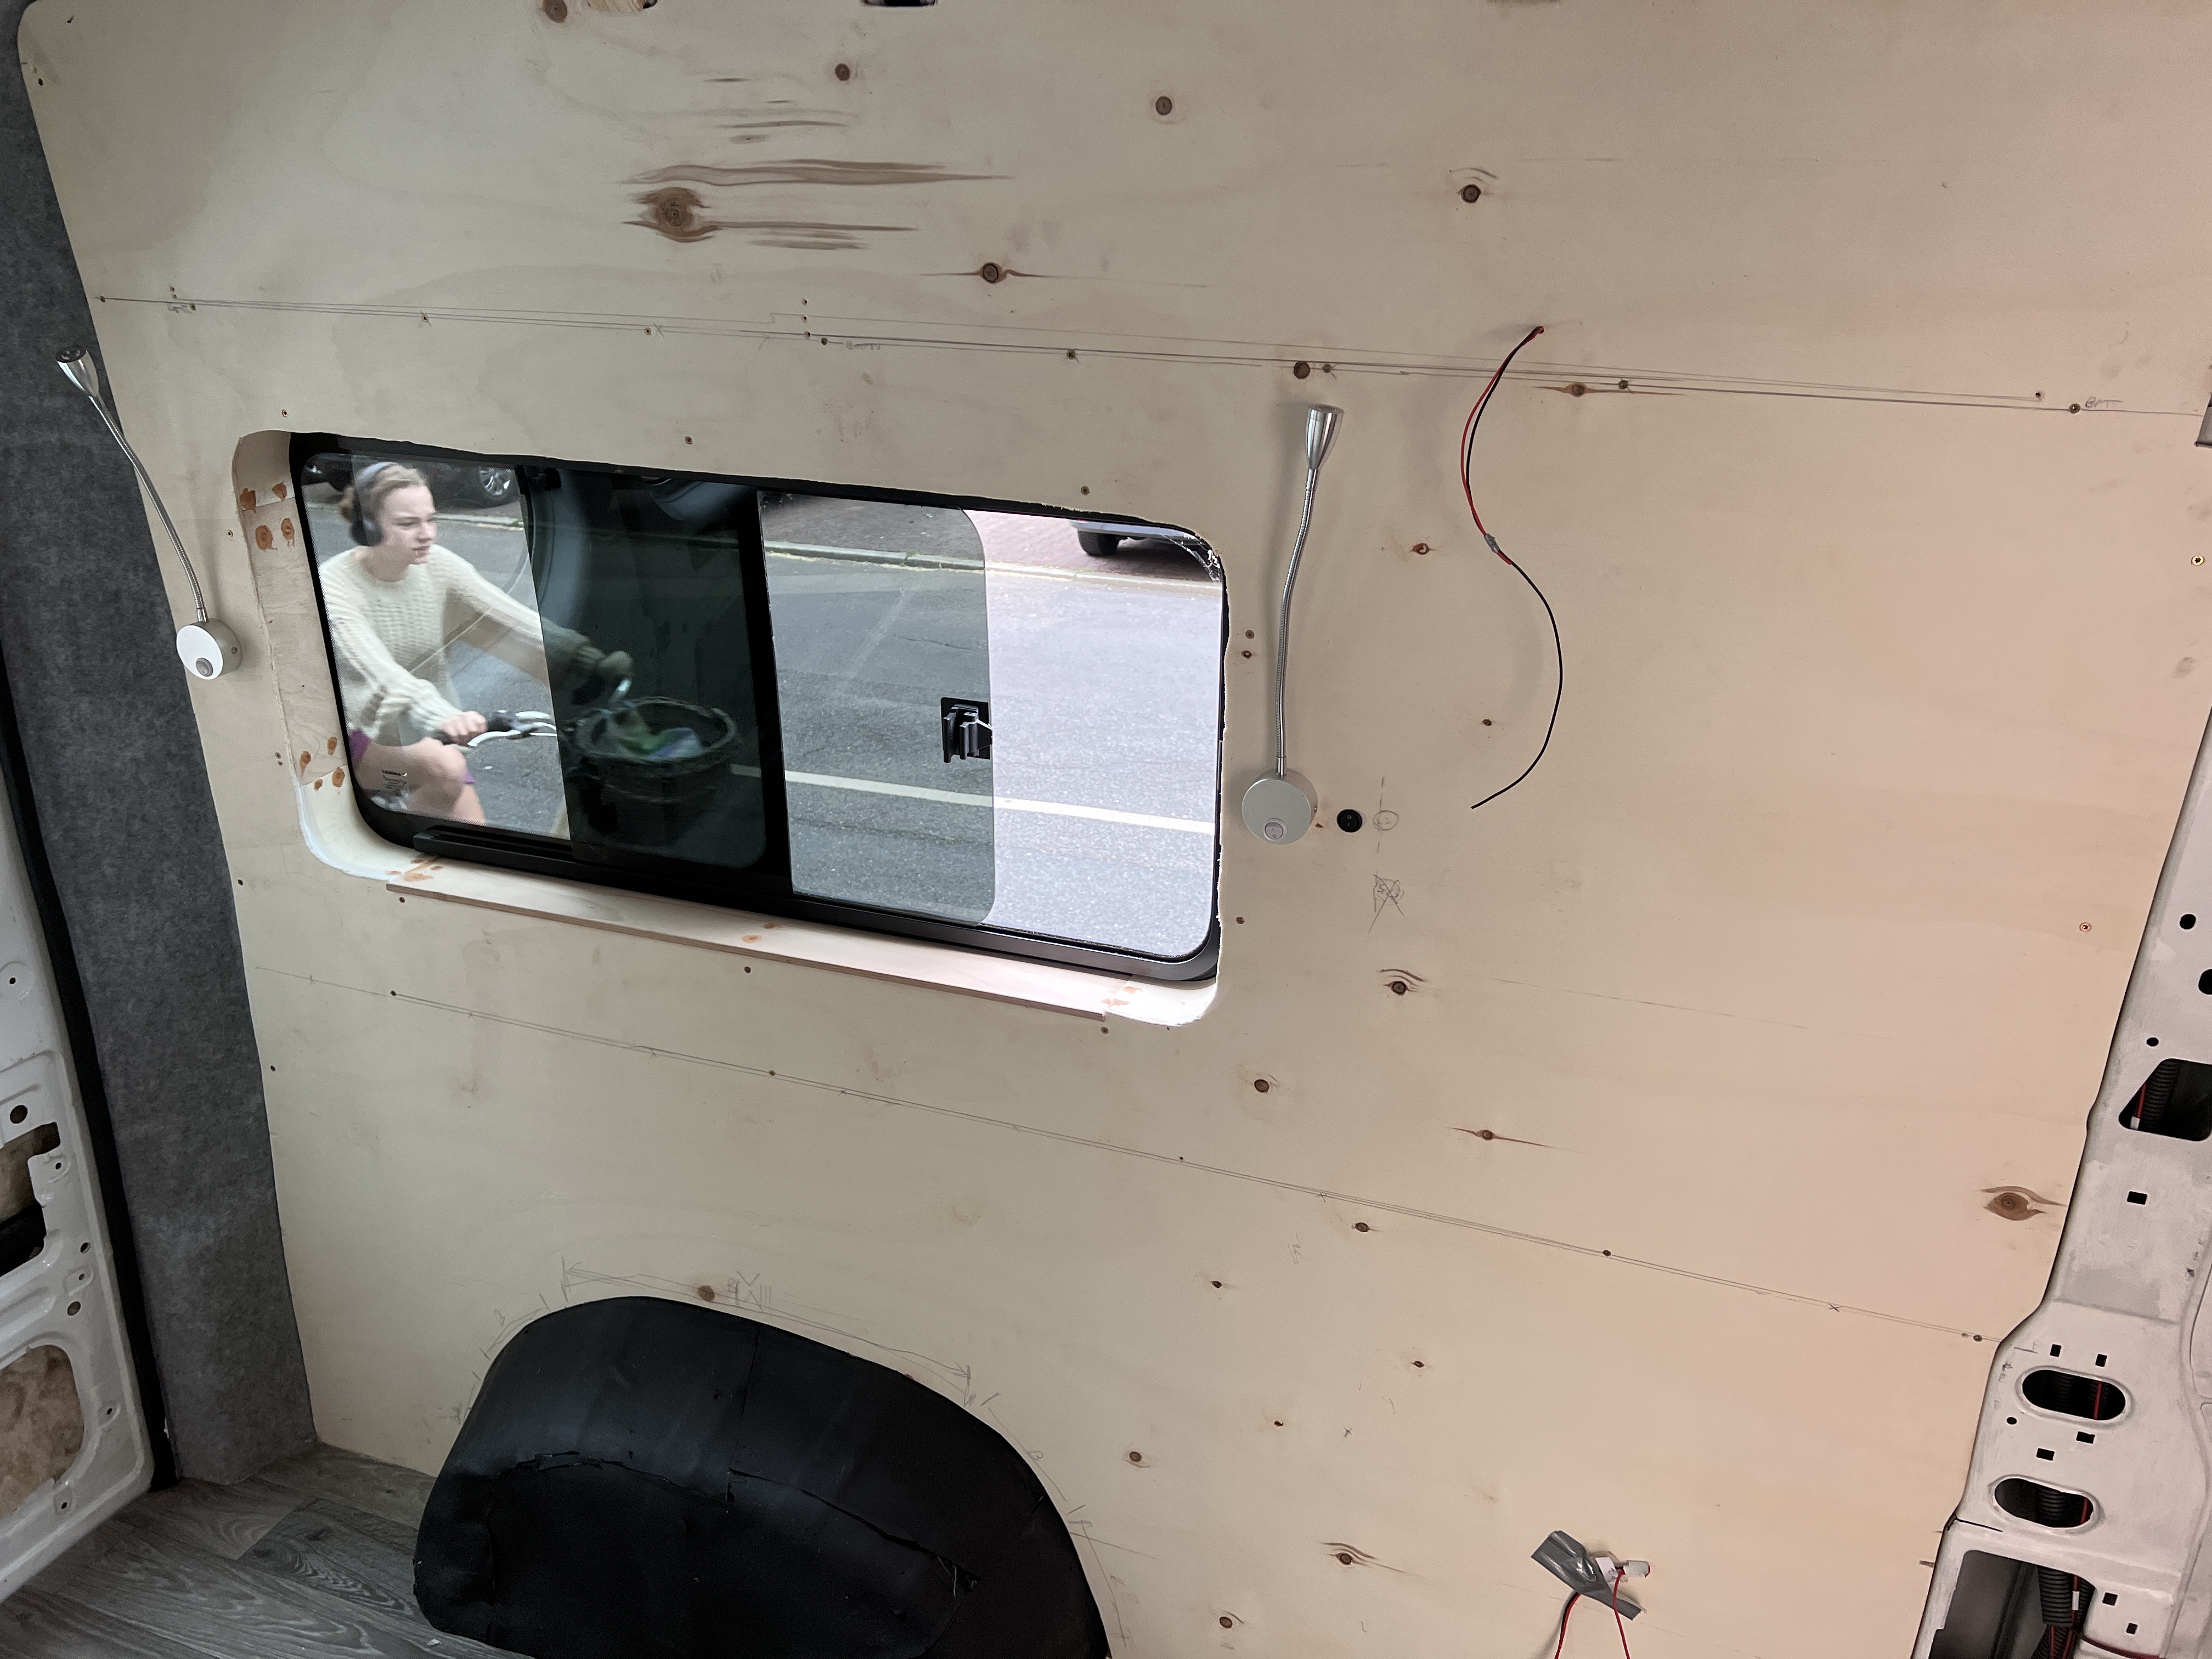
For the walls we would be using single pieces of 6mm plywood for each of the different sections. This would be tricky for the side with the window as we would need to make sure that the hole cut into the wall matched up with the frame exactly. This was also a struggle as we needed to temporarily place the wall then, from the outside using a pencil, mark the basic outline of the inside of the window frame. Then we cut the first hole out, making sure to keep a large overlap just in case the measurements were out. We then put the wall back in place and redrew a more accurate outline from inside the van.
Next step was to cut this more accurate hole using a cordless jigsaw, and then gradually sand the edges until it fit around the window frame. Luckily this wasn’t too difficult as the wood was rather soft and was easily sanded into shape using an electric orbital sander. It was, however, very time consuming as we had to sand a bit, then put the wall up to see how accurate the fit was, then rinse and repeat until we were happy and the wall fit snuggly, not only around the window frame, but also around the inside of the van along the back door and ceiling.
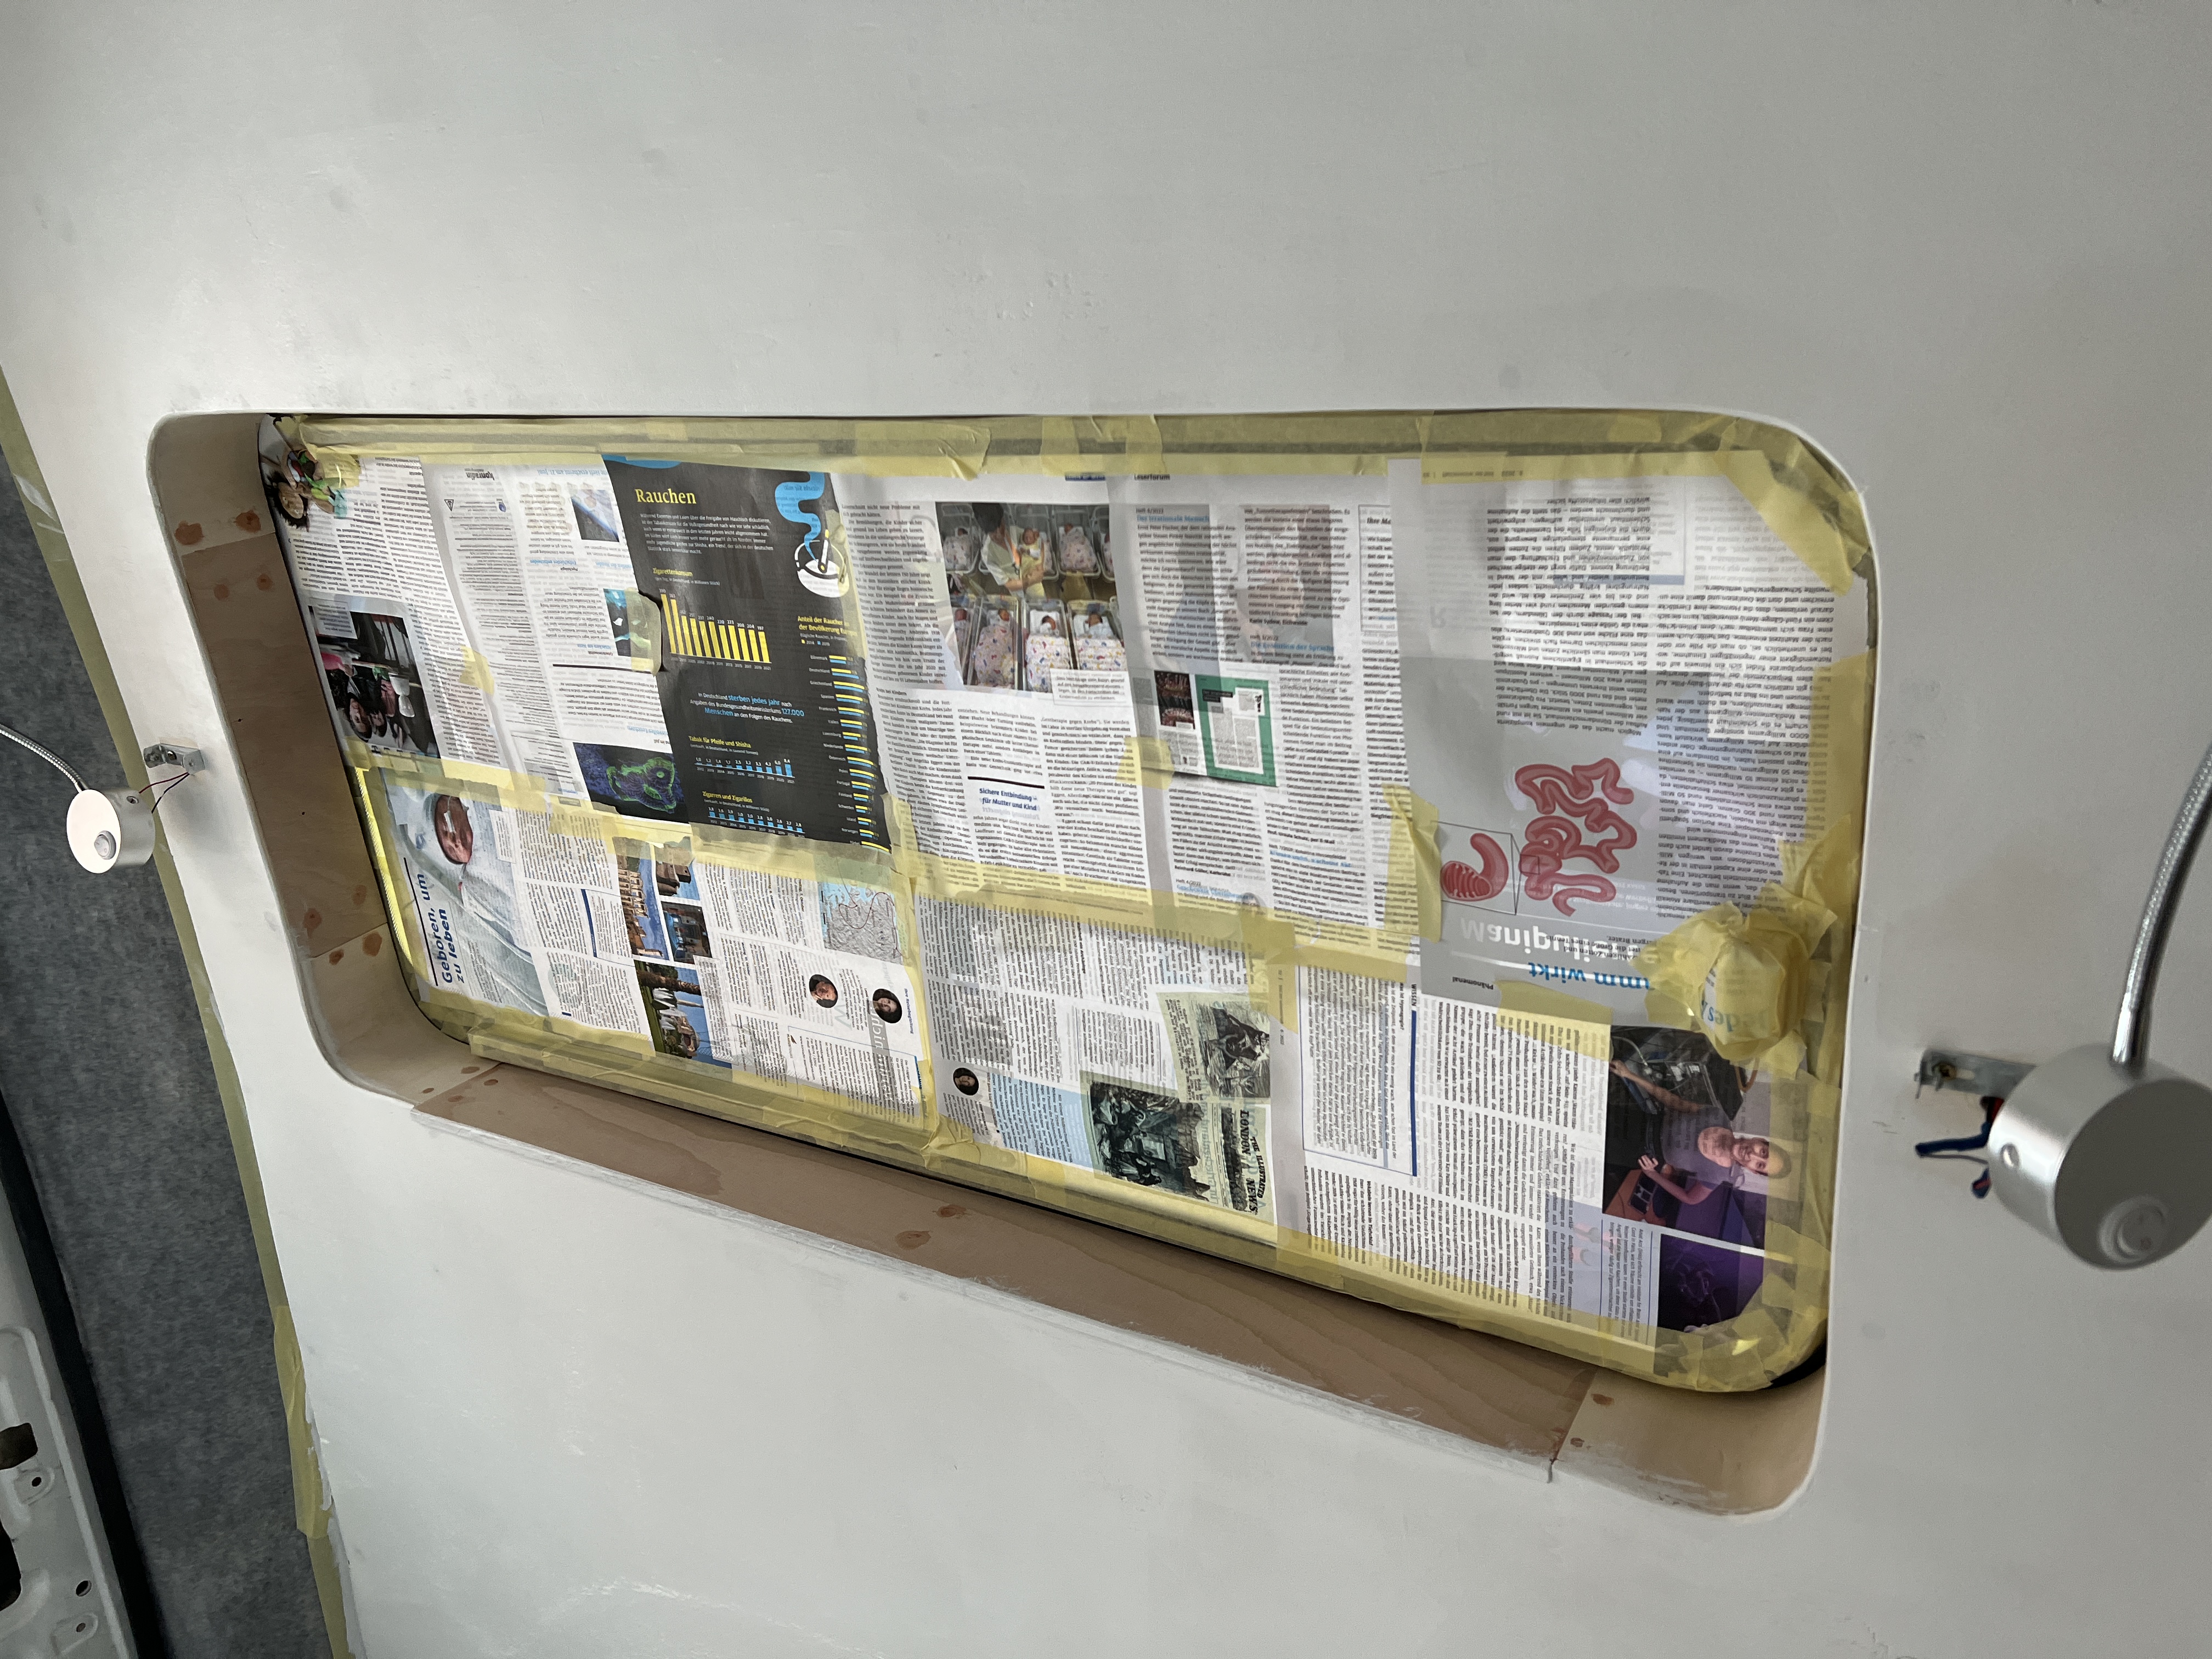
Step 5 – filling the screw holes
When screwing the screws into the walls we made sure to countersink them so that the head of the screw was a millimeter or two lower than the surface of the wall. This would allow us to fill the screw holes with wood filler so that they would not be seen once painted and we’d have a nice smooth and even surface. Once dry, the wood filler spots were sanded, and then the entire surface of the walls was sanded to make sure the final paint finish would be nice and smooth.

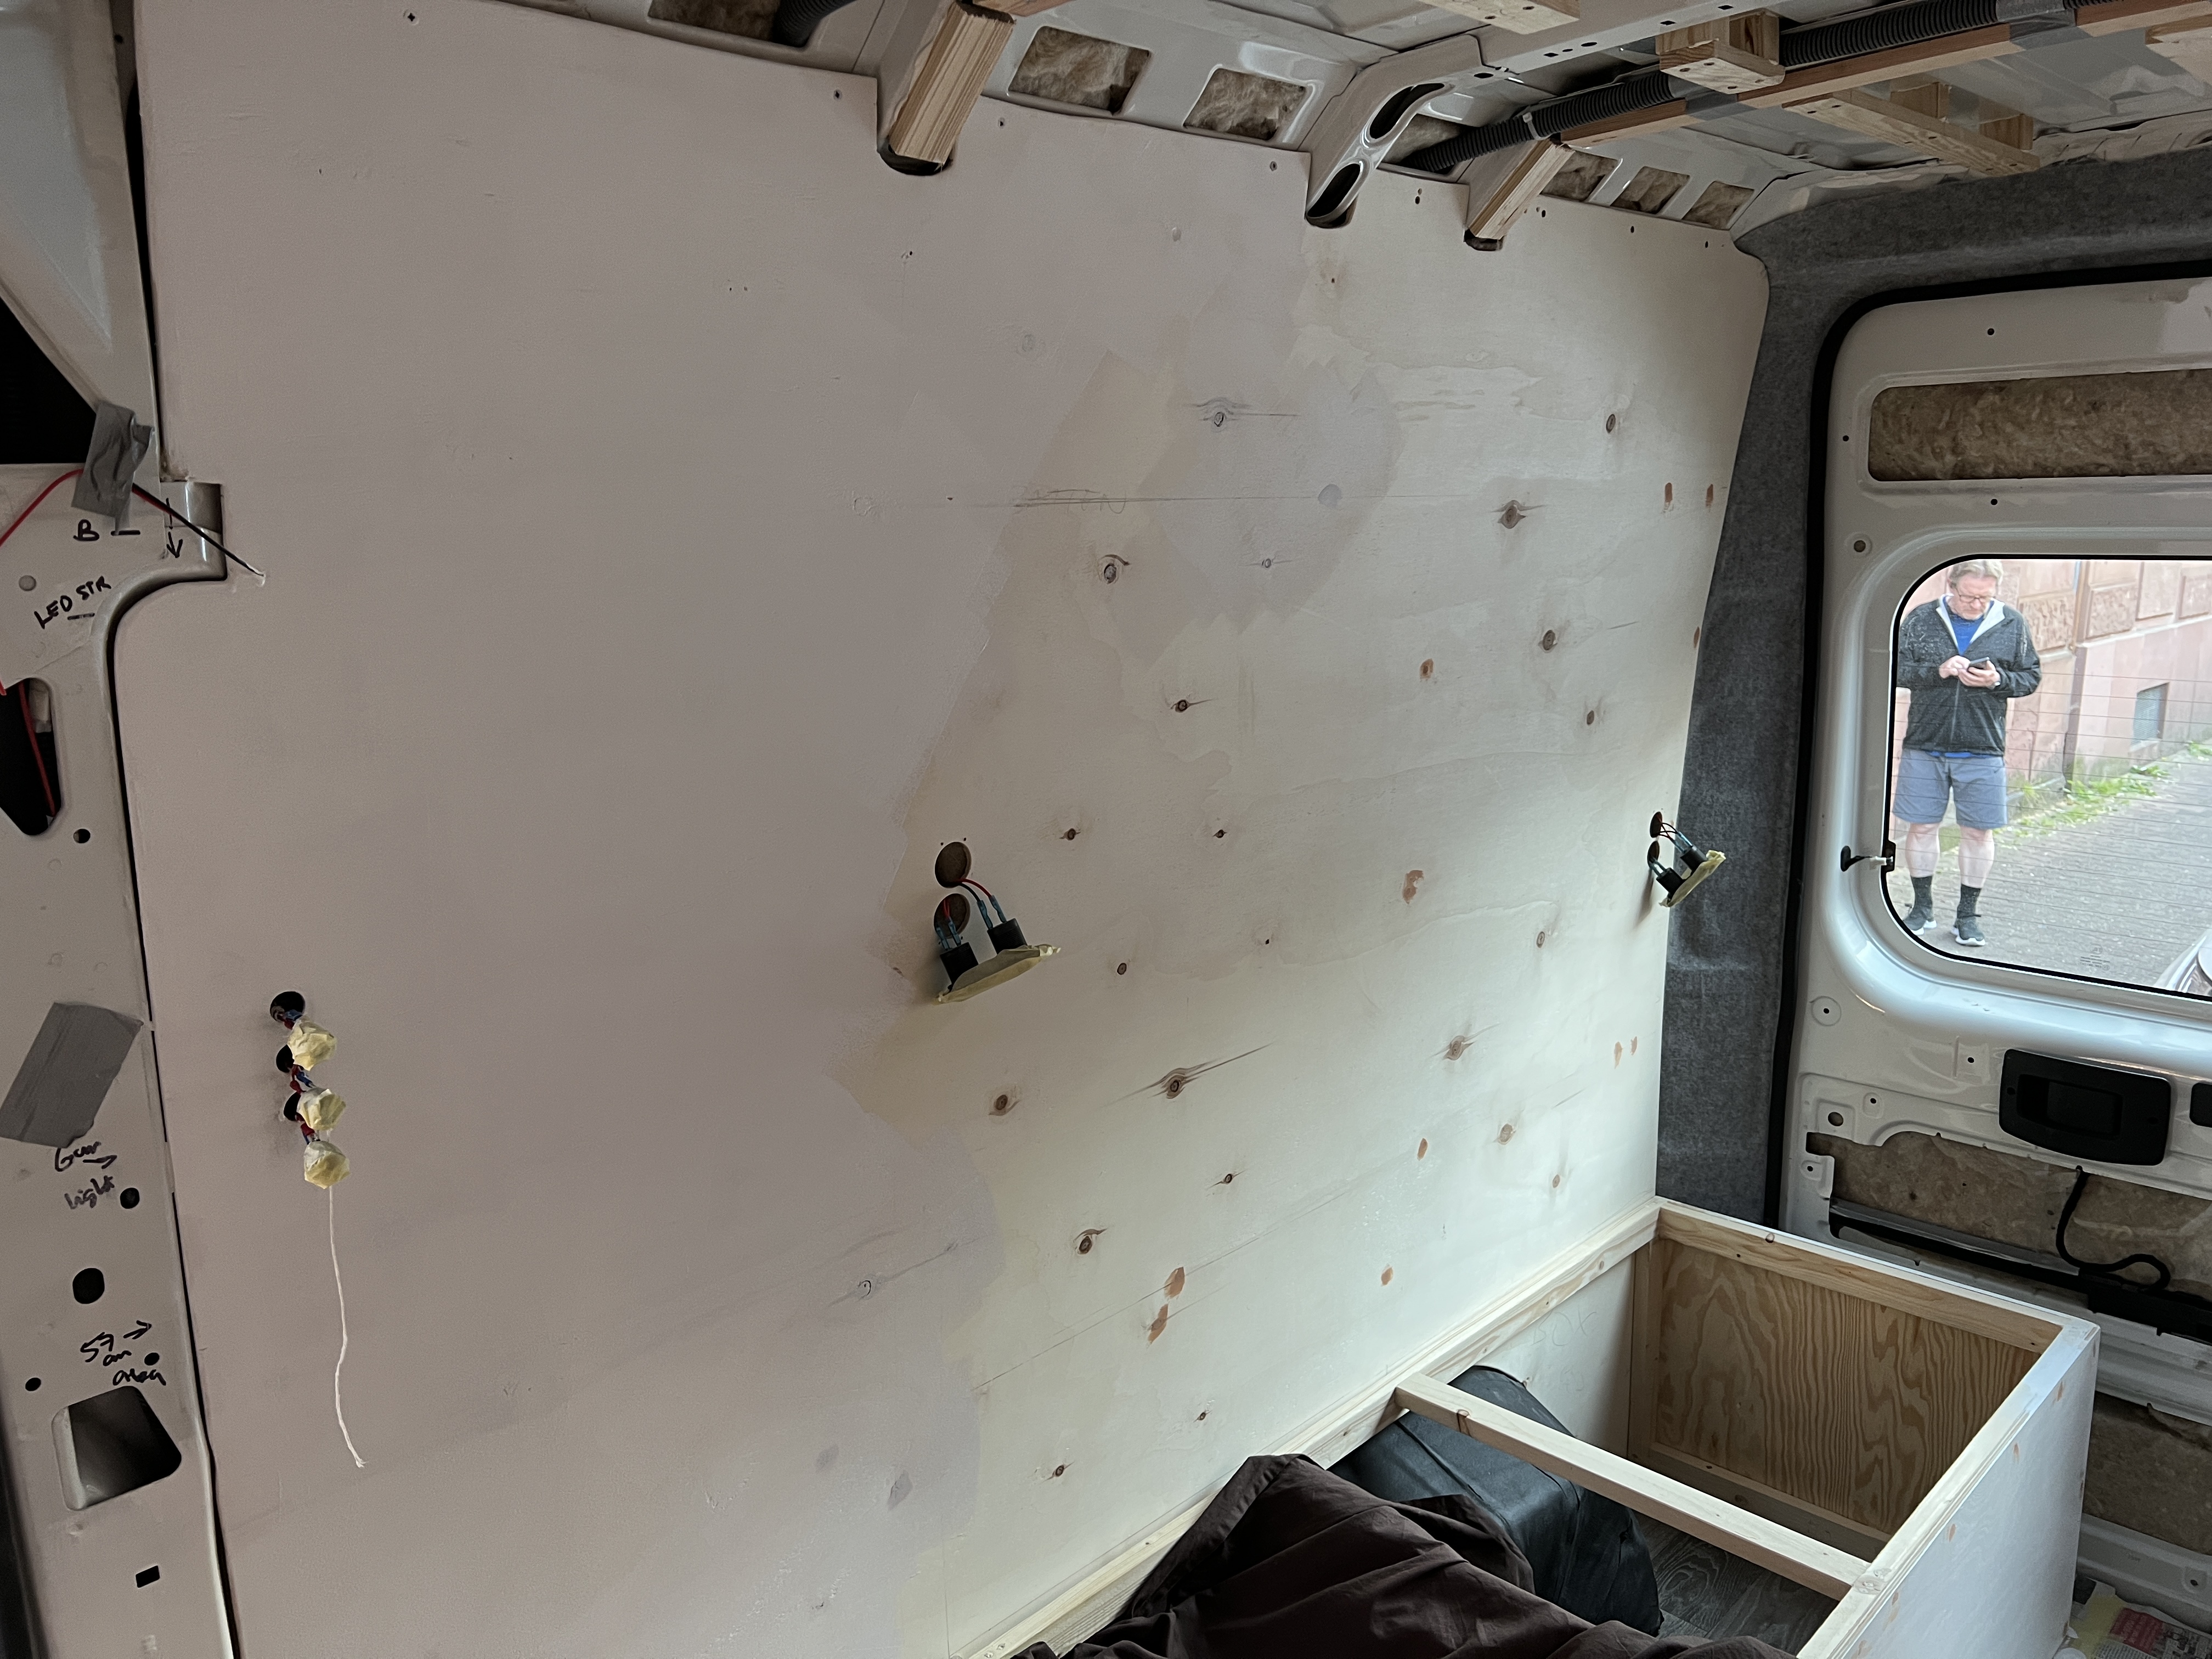
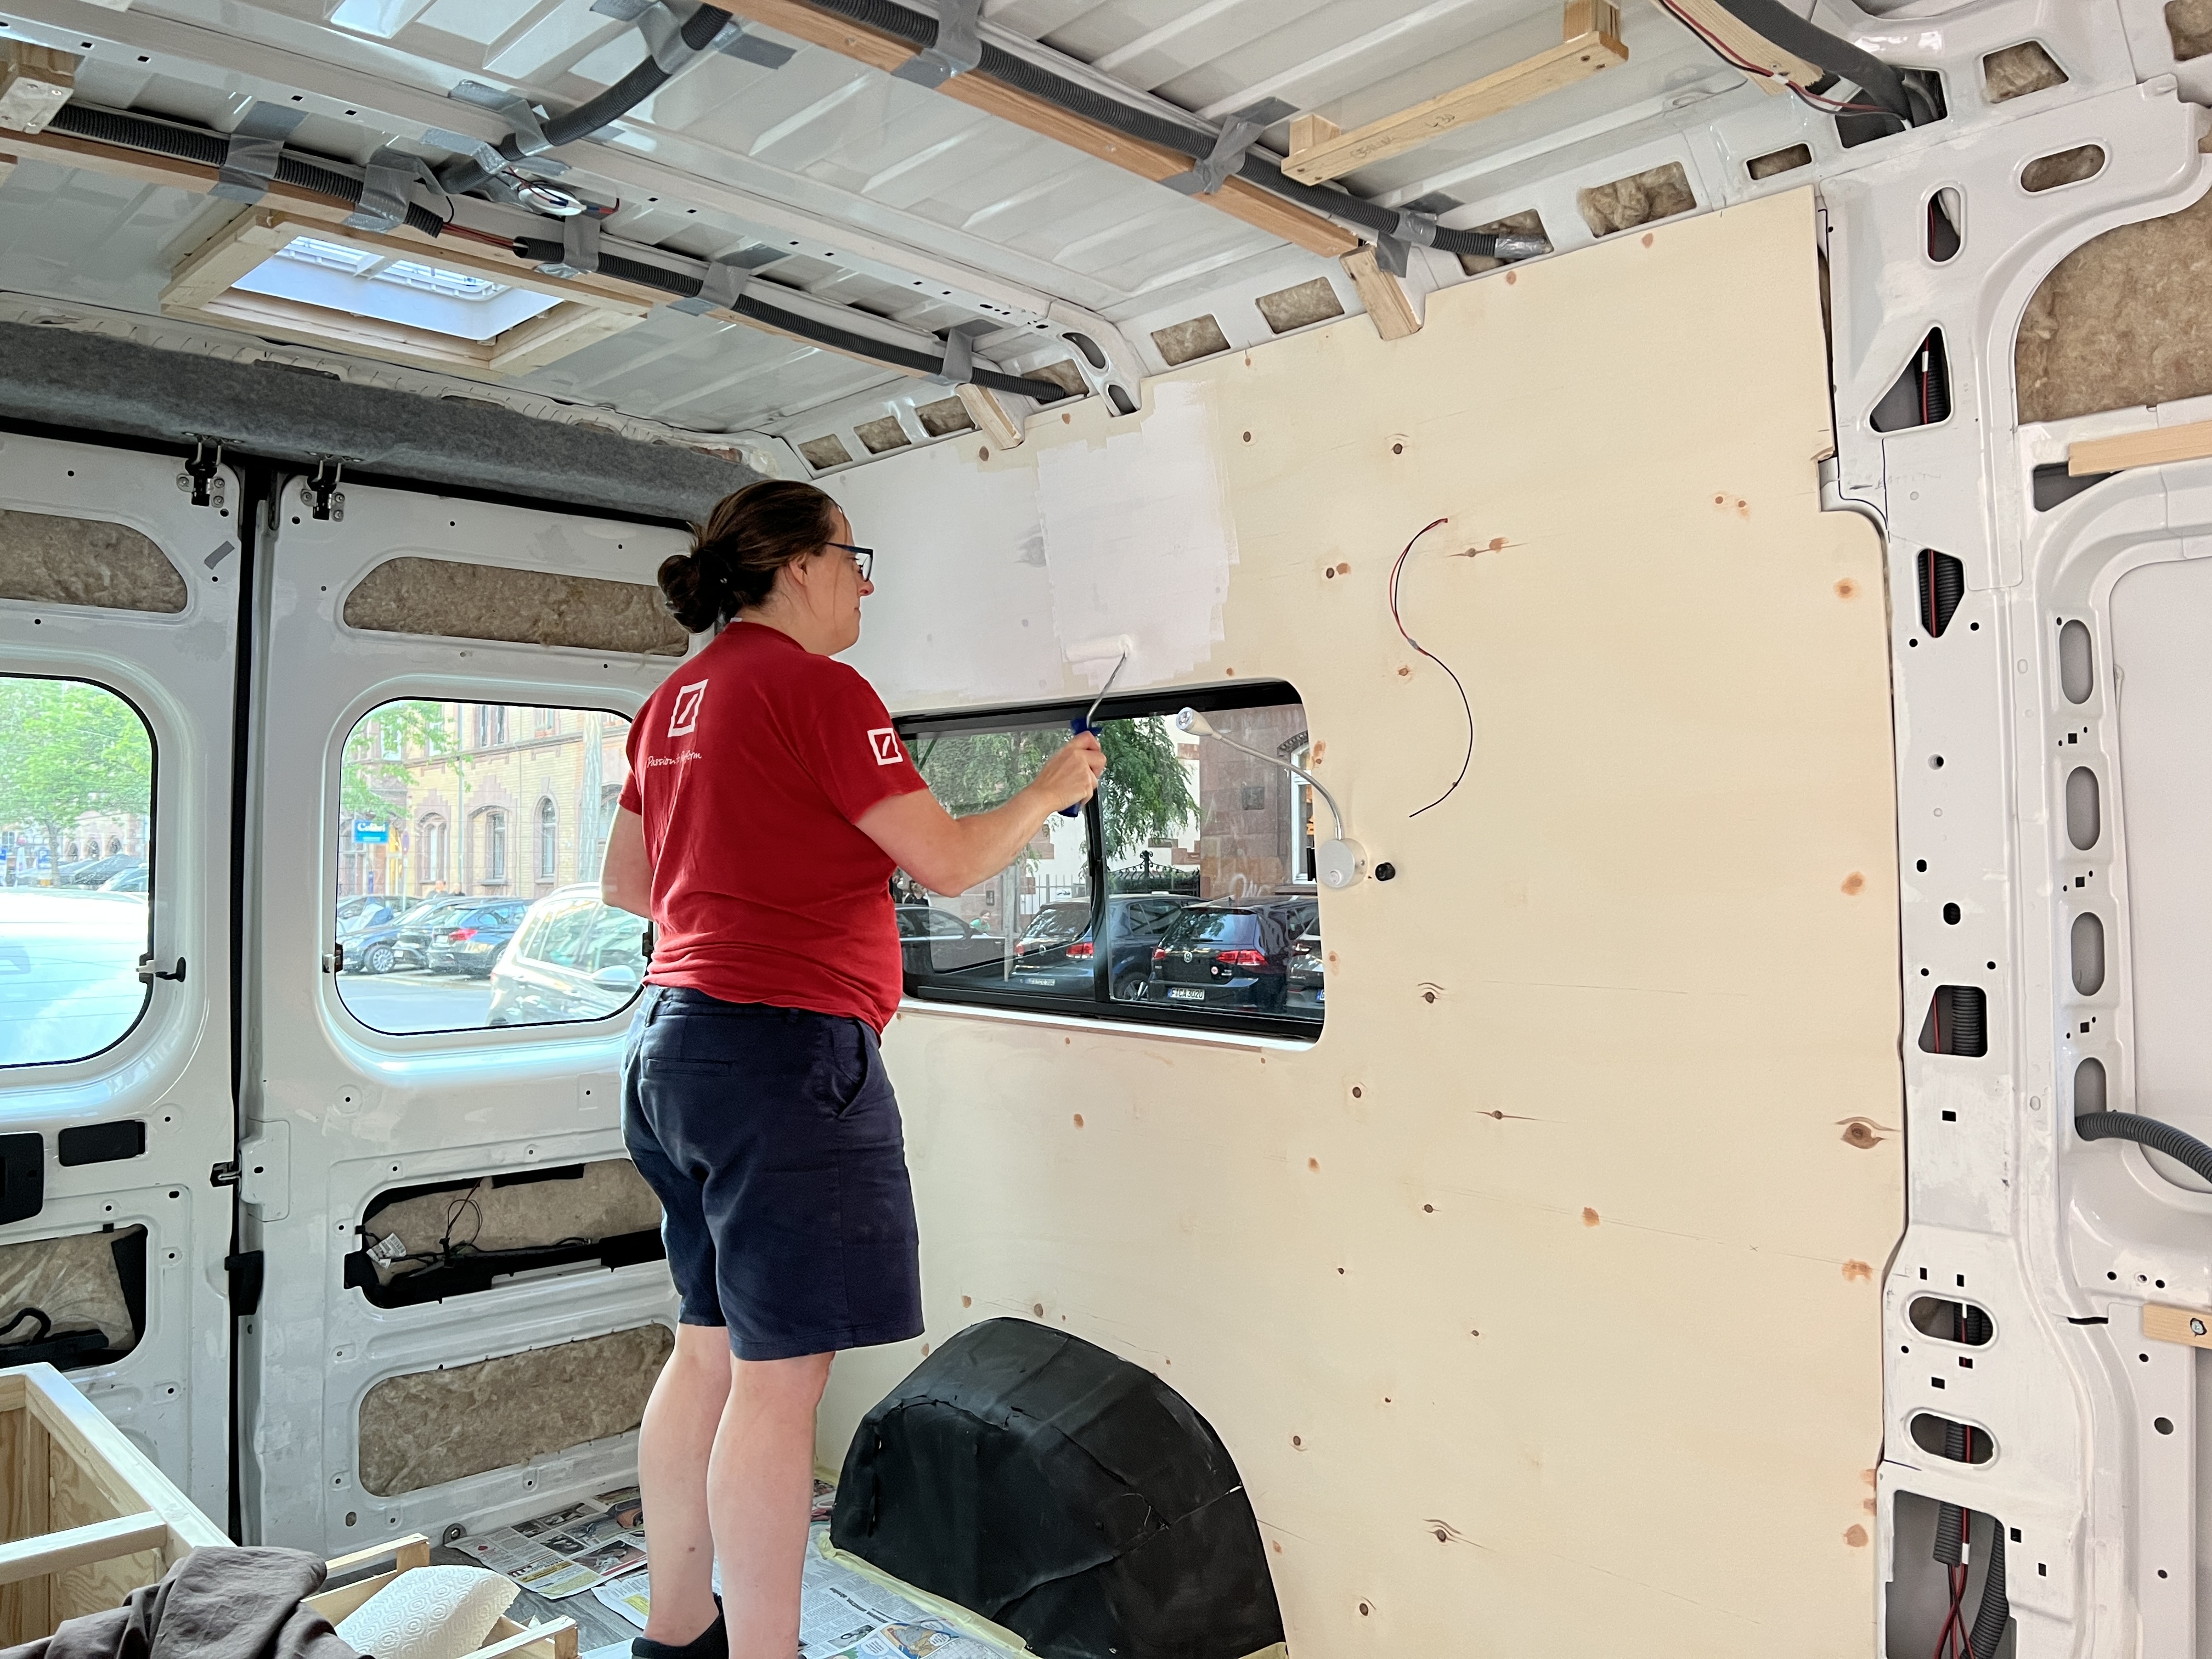
Step 6 – painting
With all the sanding done it was time to paint it all.


Step 7 – putting up the ceilings
Once the walls were done, it was time to start putting up the first part of the ceiling. For this we would be using 9mm thick pre-stained interlocking ceiling boards, which will be varnished using a clear lacquer when everything is finished.
As with the walls the individual planks would be screwed directly into the wooden battens that we previously glued and screwed to the van’s ceiling struts. Unlike with the walls though we wouldn’t be glueing the insulation sheets in place, and instead added the wool pieces after each plank was put into place, gently pushing the wool into the gaps as we went.
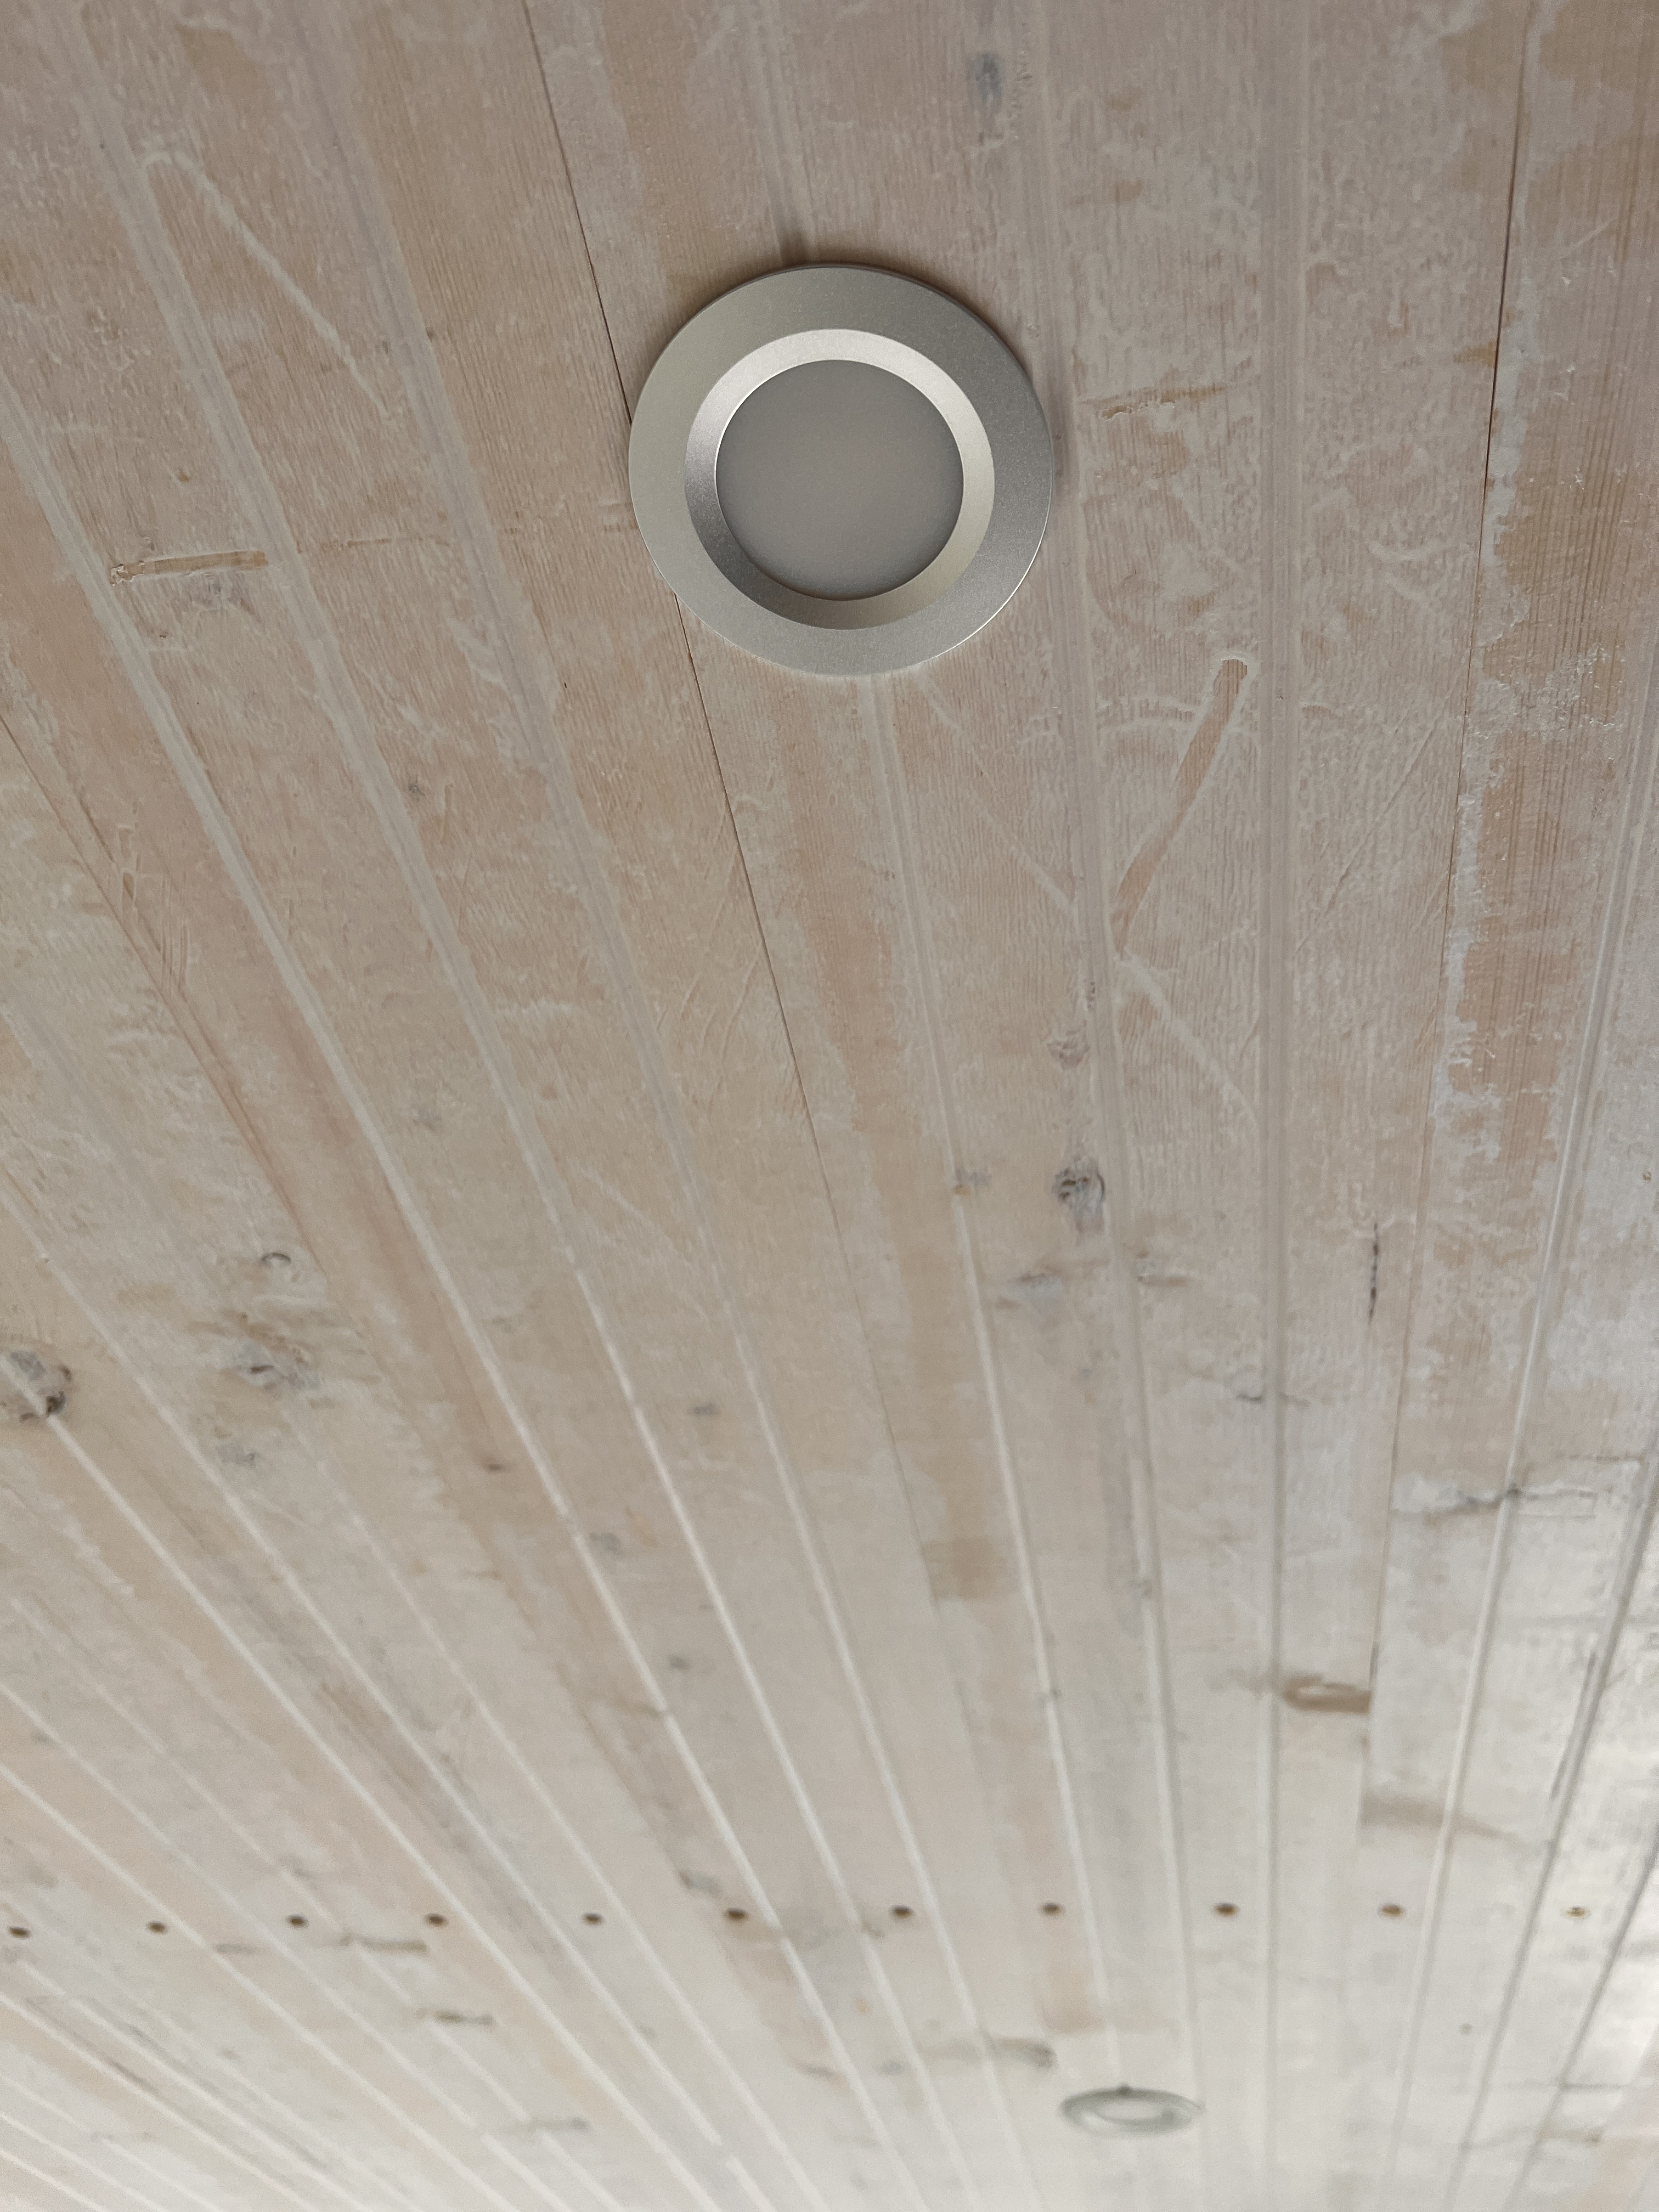
Across the middle of the van we had to cut and shape the planks around the roof lights and make sure to cut the correct holes for the spot lamps, which we wired up as we went. We also carefully marked the locations of the hanging battens which would be the connection points for the overhead storage, as we need to be sure to screw these into something more solid than the ceiling planks alone.
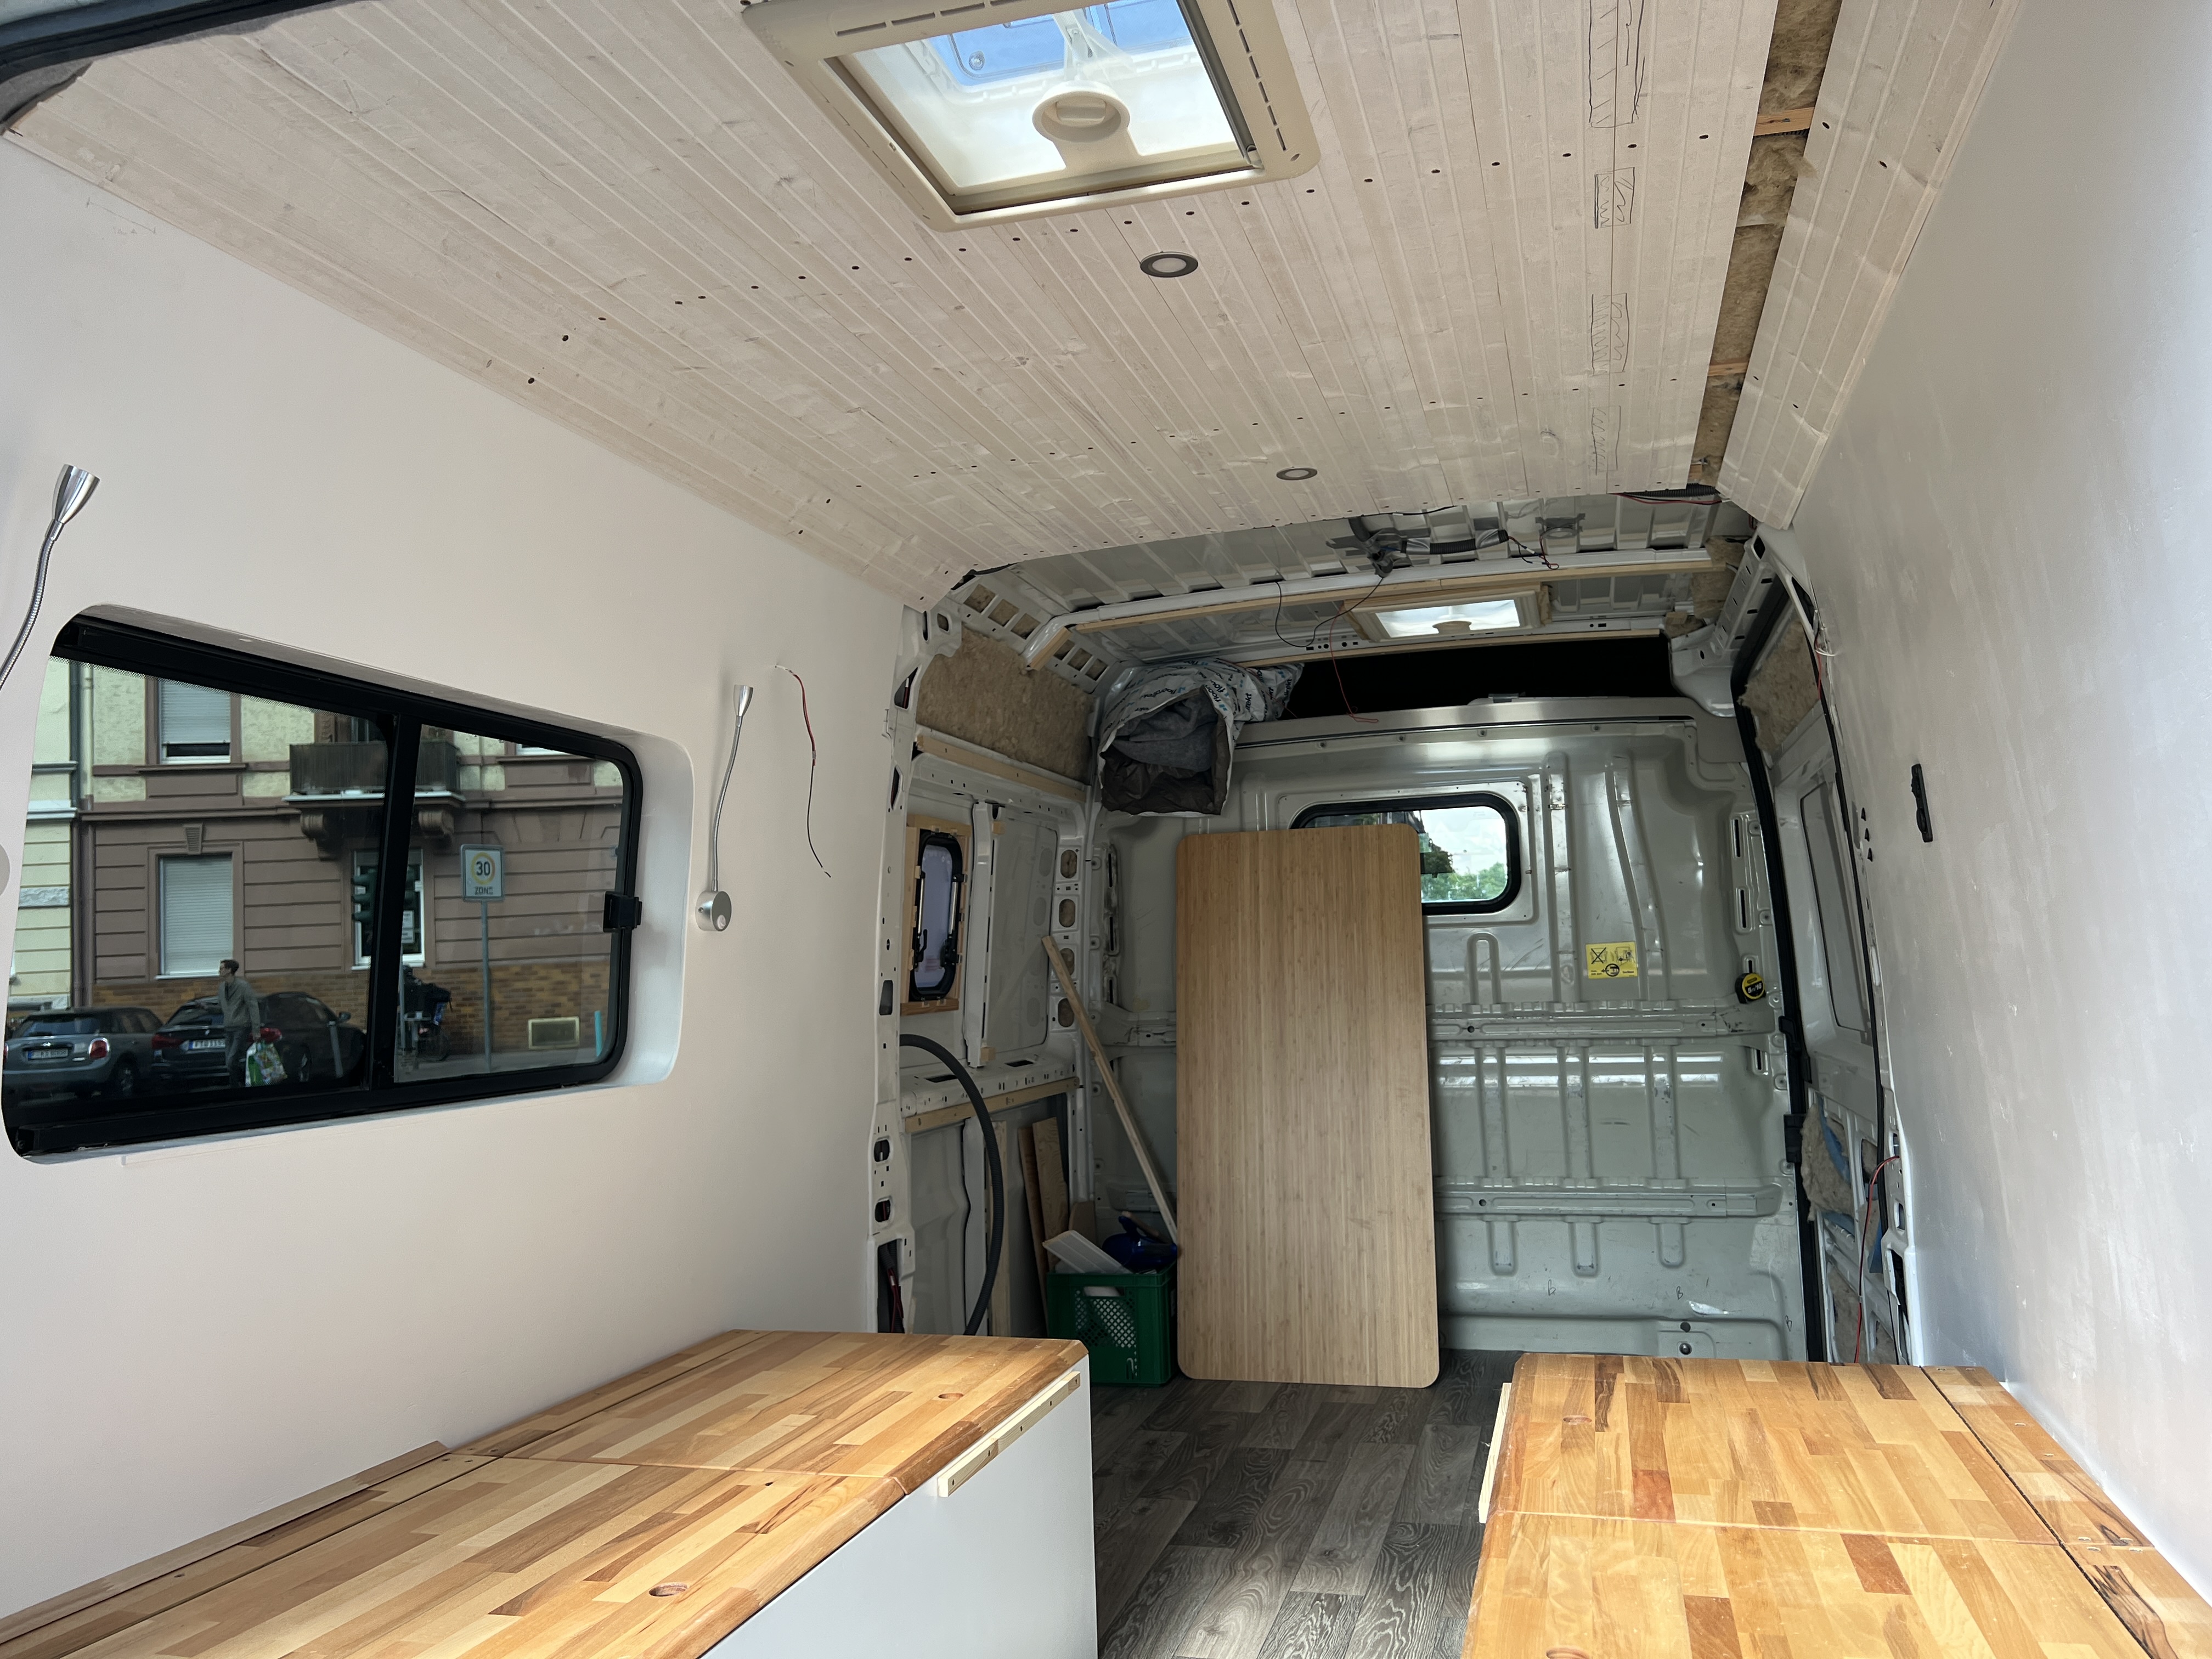
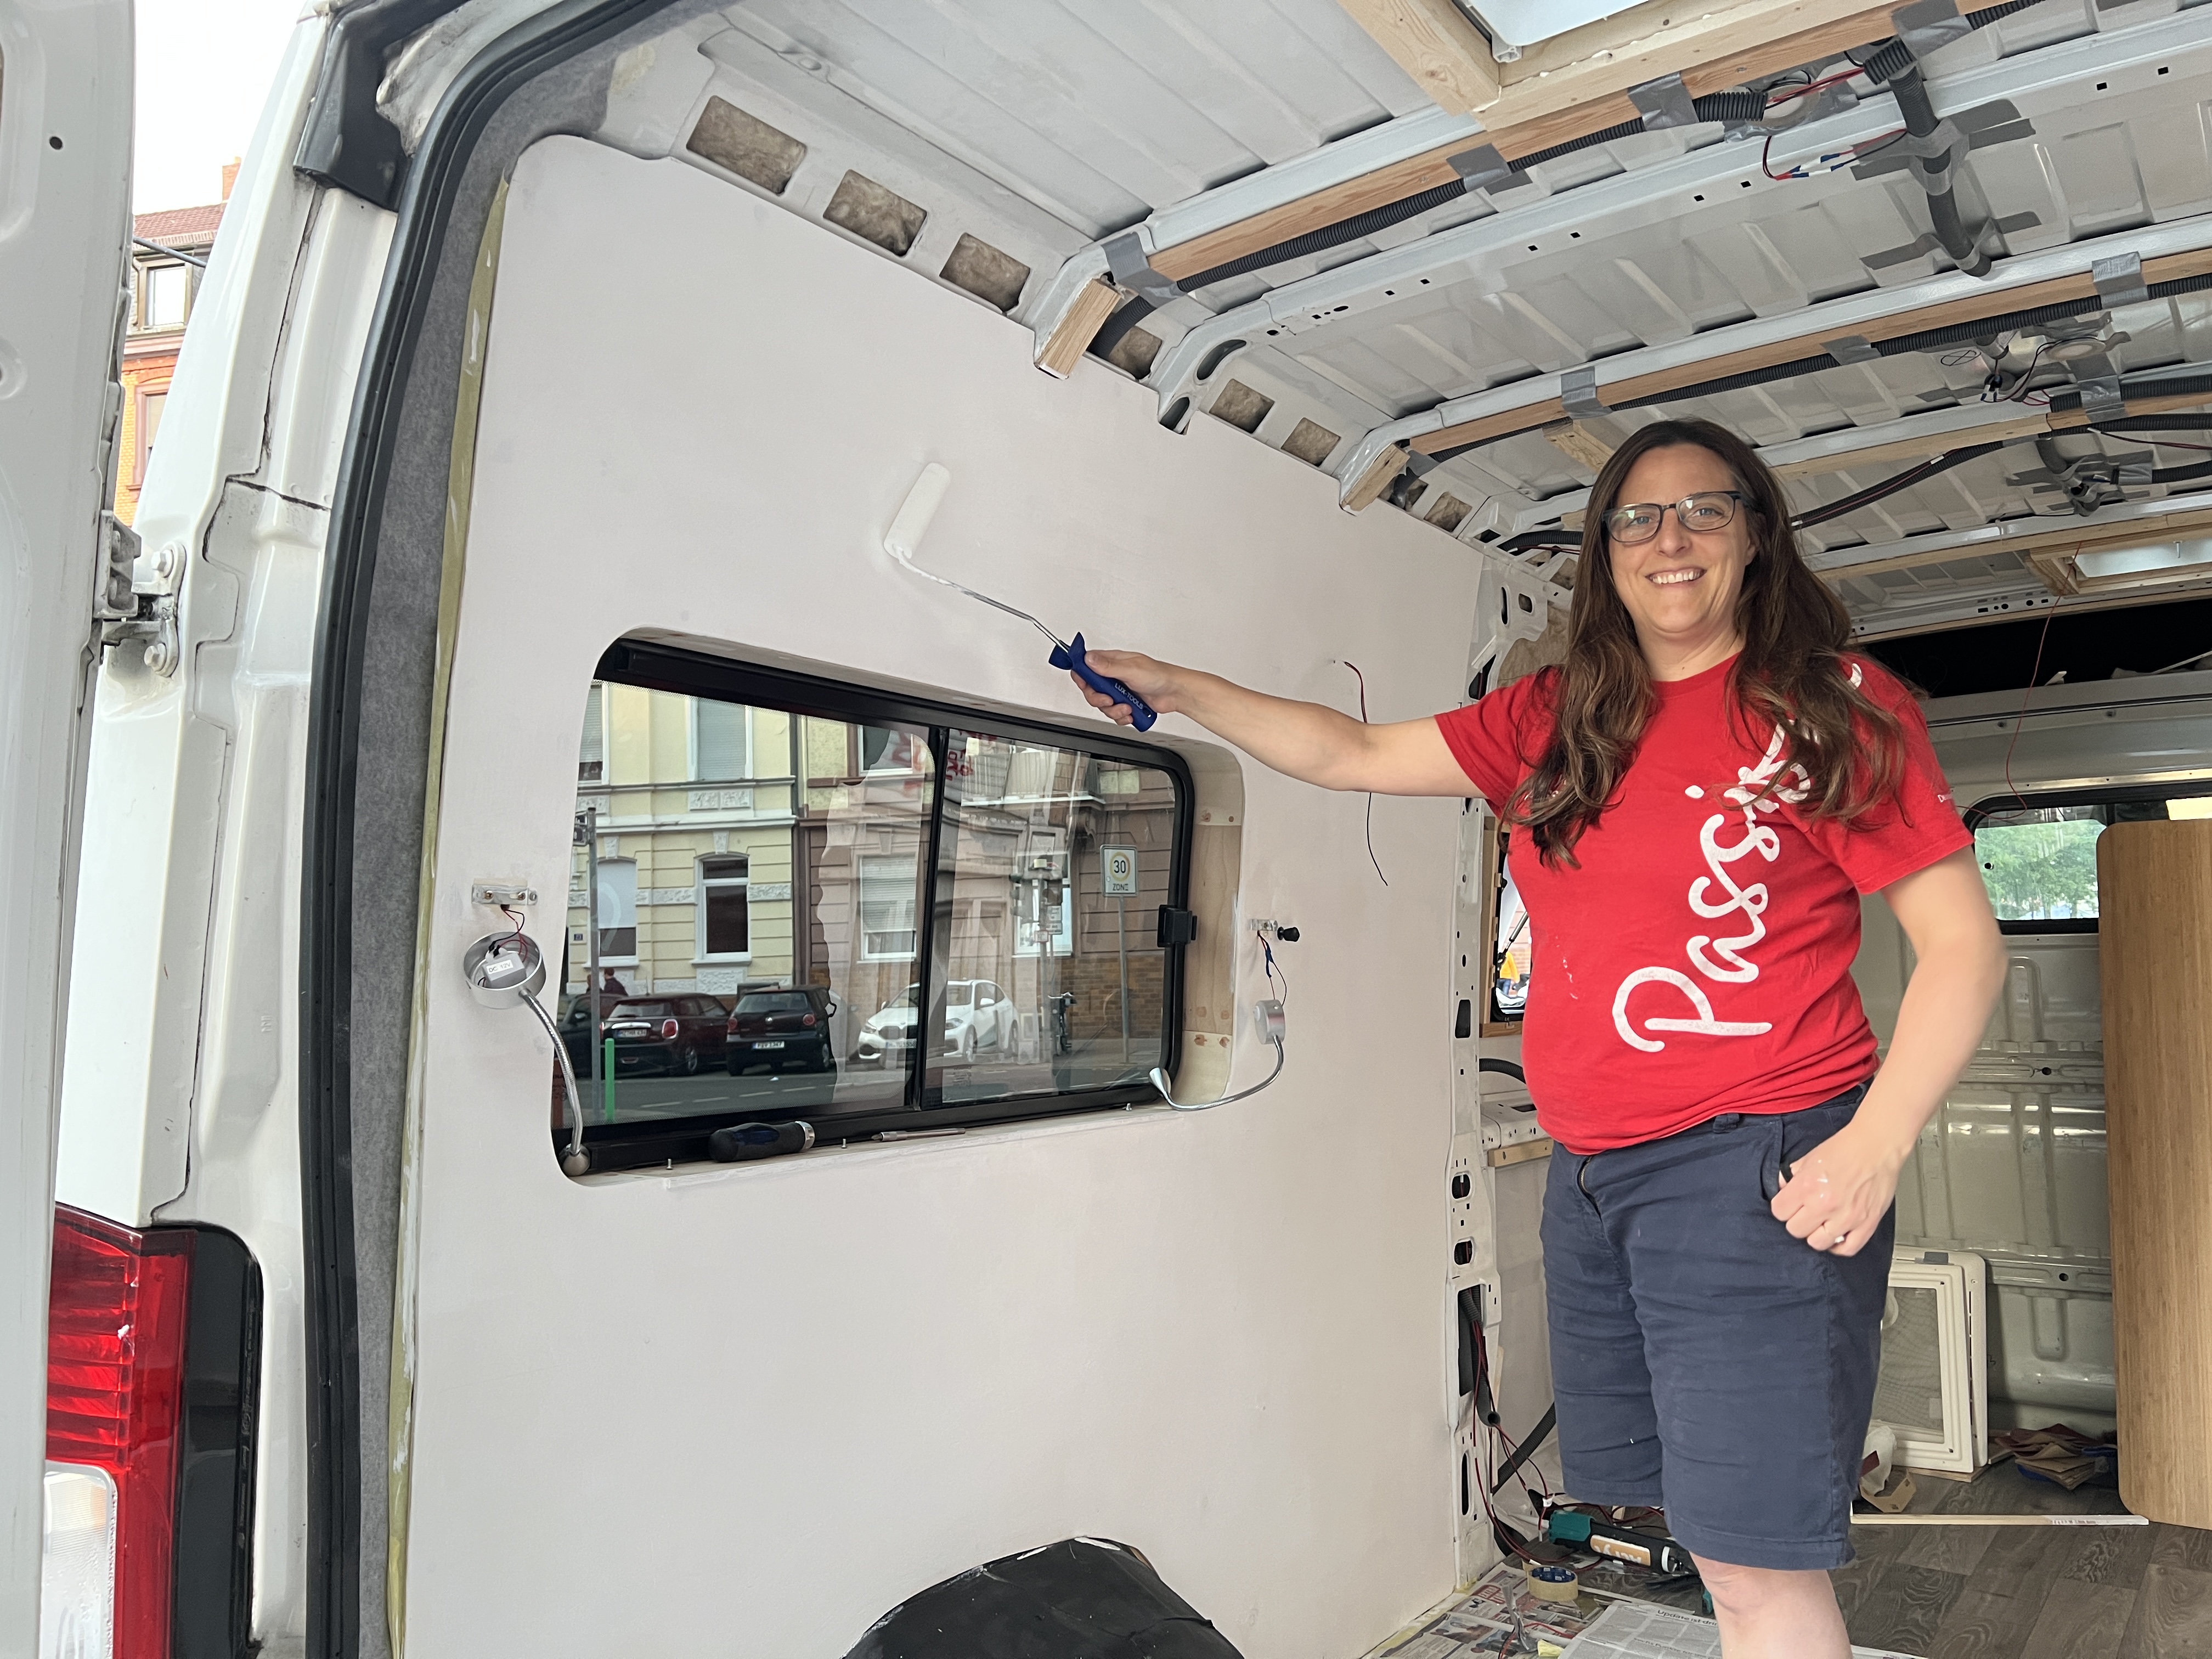
And there you have it – the first two walls are up and so is most of the ceiling. The rest will be going up as we build the bathroom and storage space in later phases of the build.
You can see the full gallery here.
Next up
Up next is the seating, bed, and storage, some of which you can see in the picture above. See how we get on in our next post.
