Following on from the success of the roof lights we went on to the next phase of the project, installing the side windows. These are a little more difficult and fear-inducing than the roof windows because they are what are referred to as bonded windows. Unlike their roof-mounted counterparts bonded windows aren’t physically attached to the chassis using a frame, they’re glued to it.
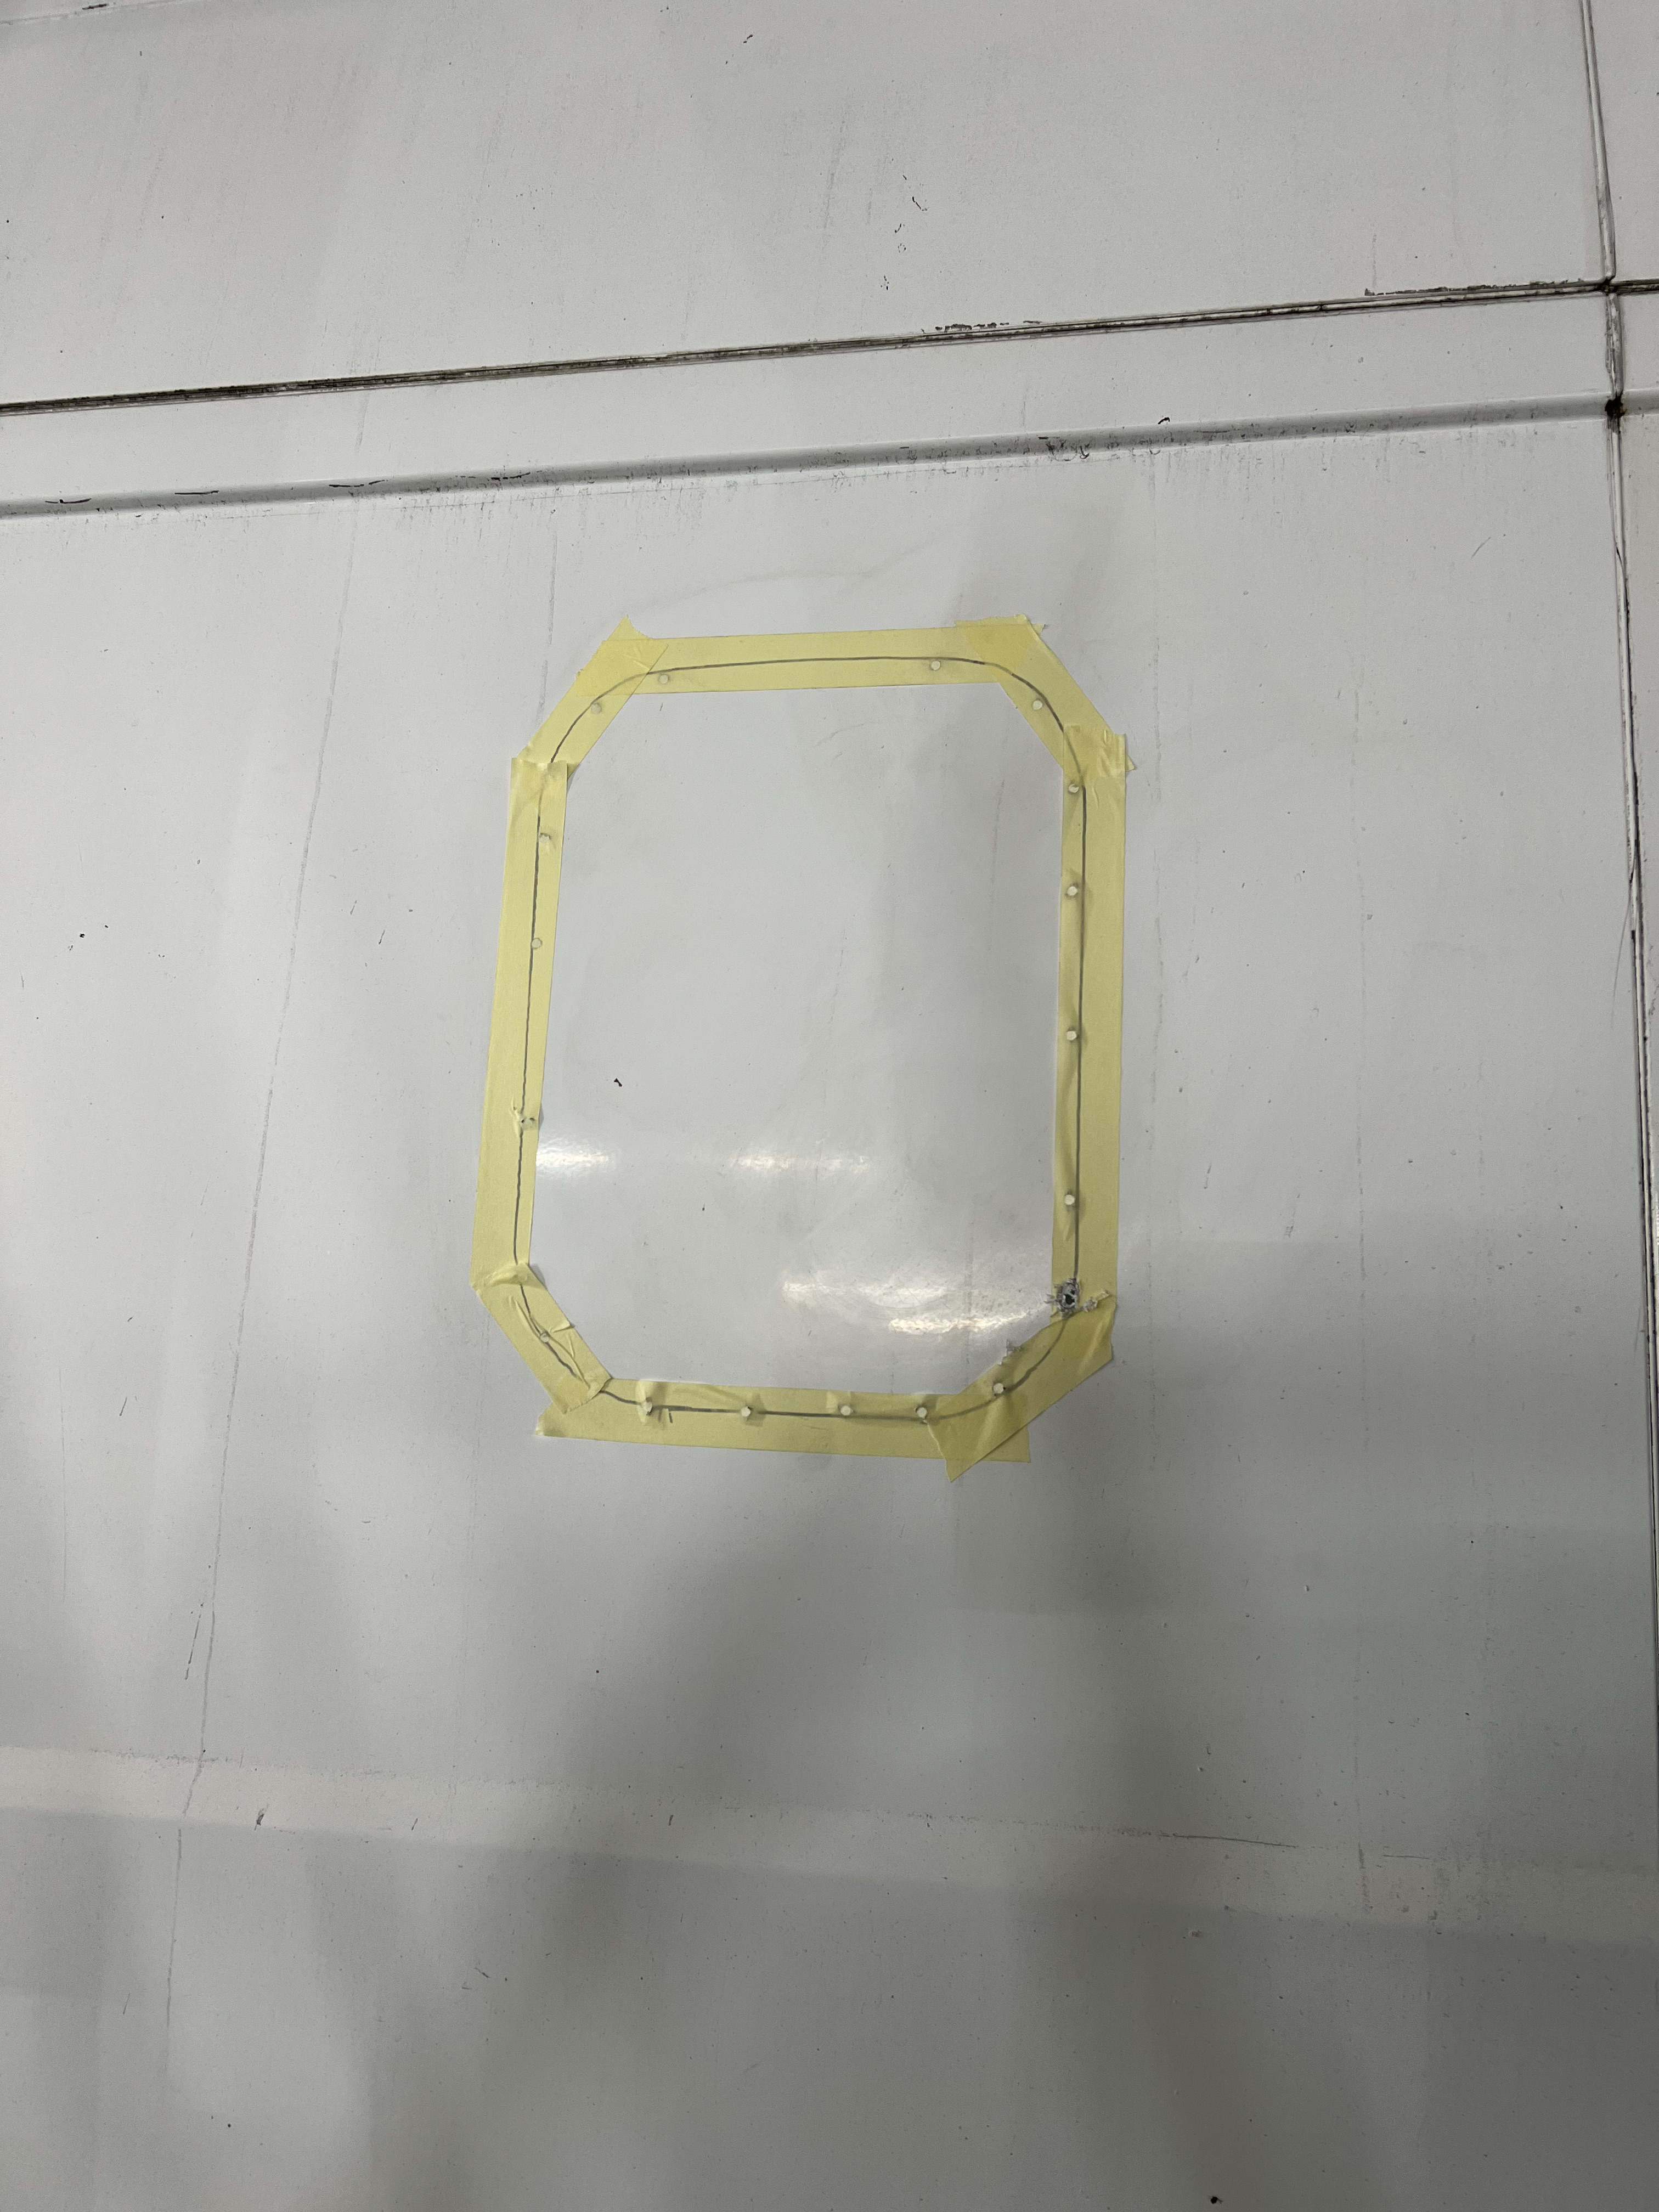
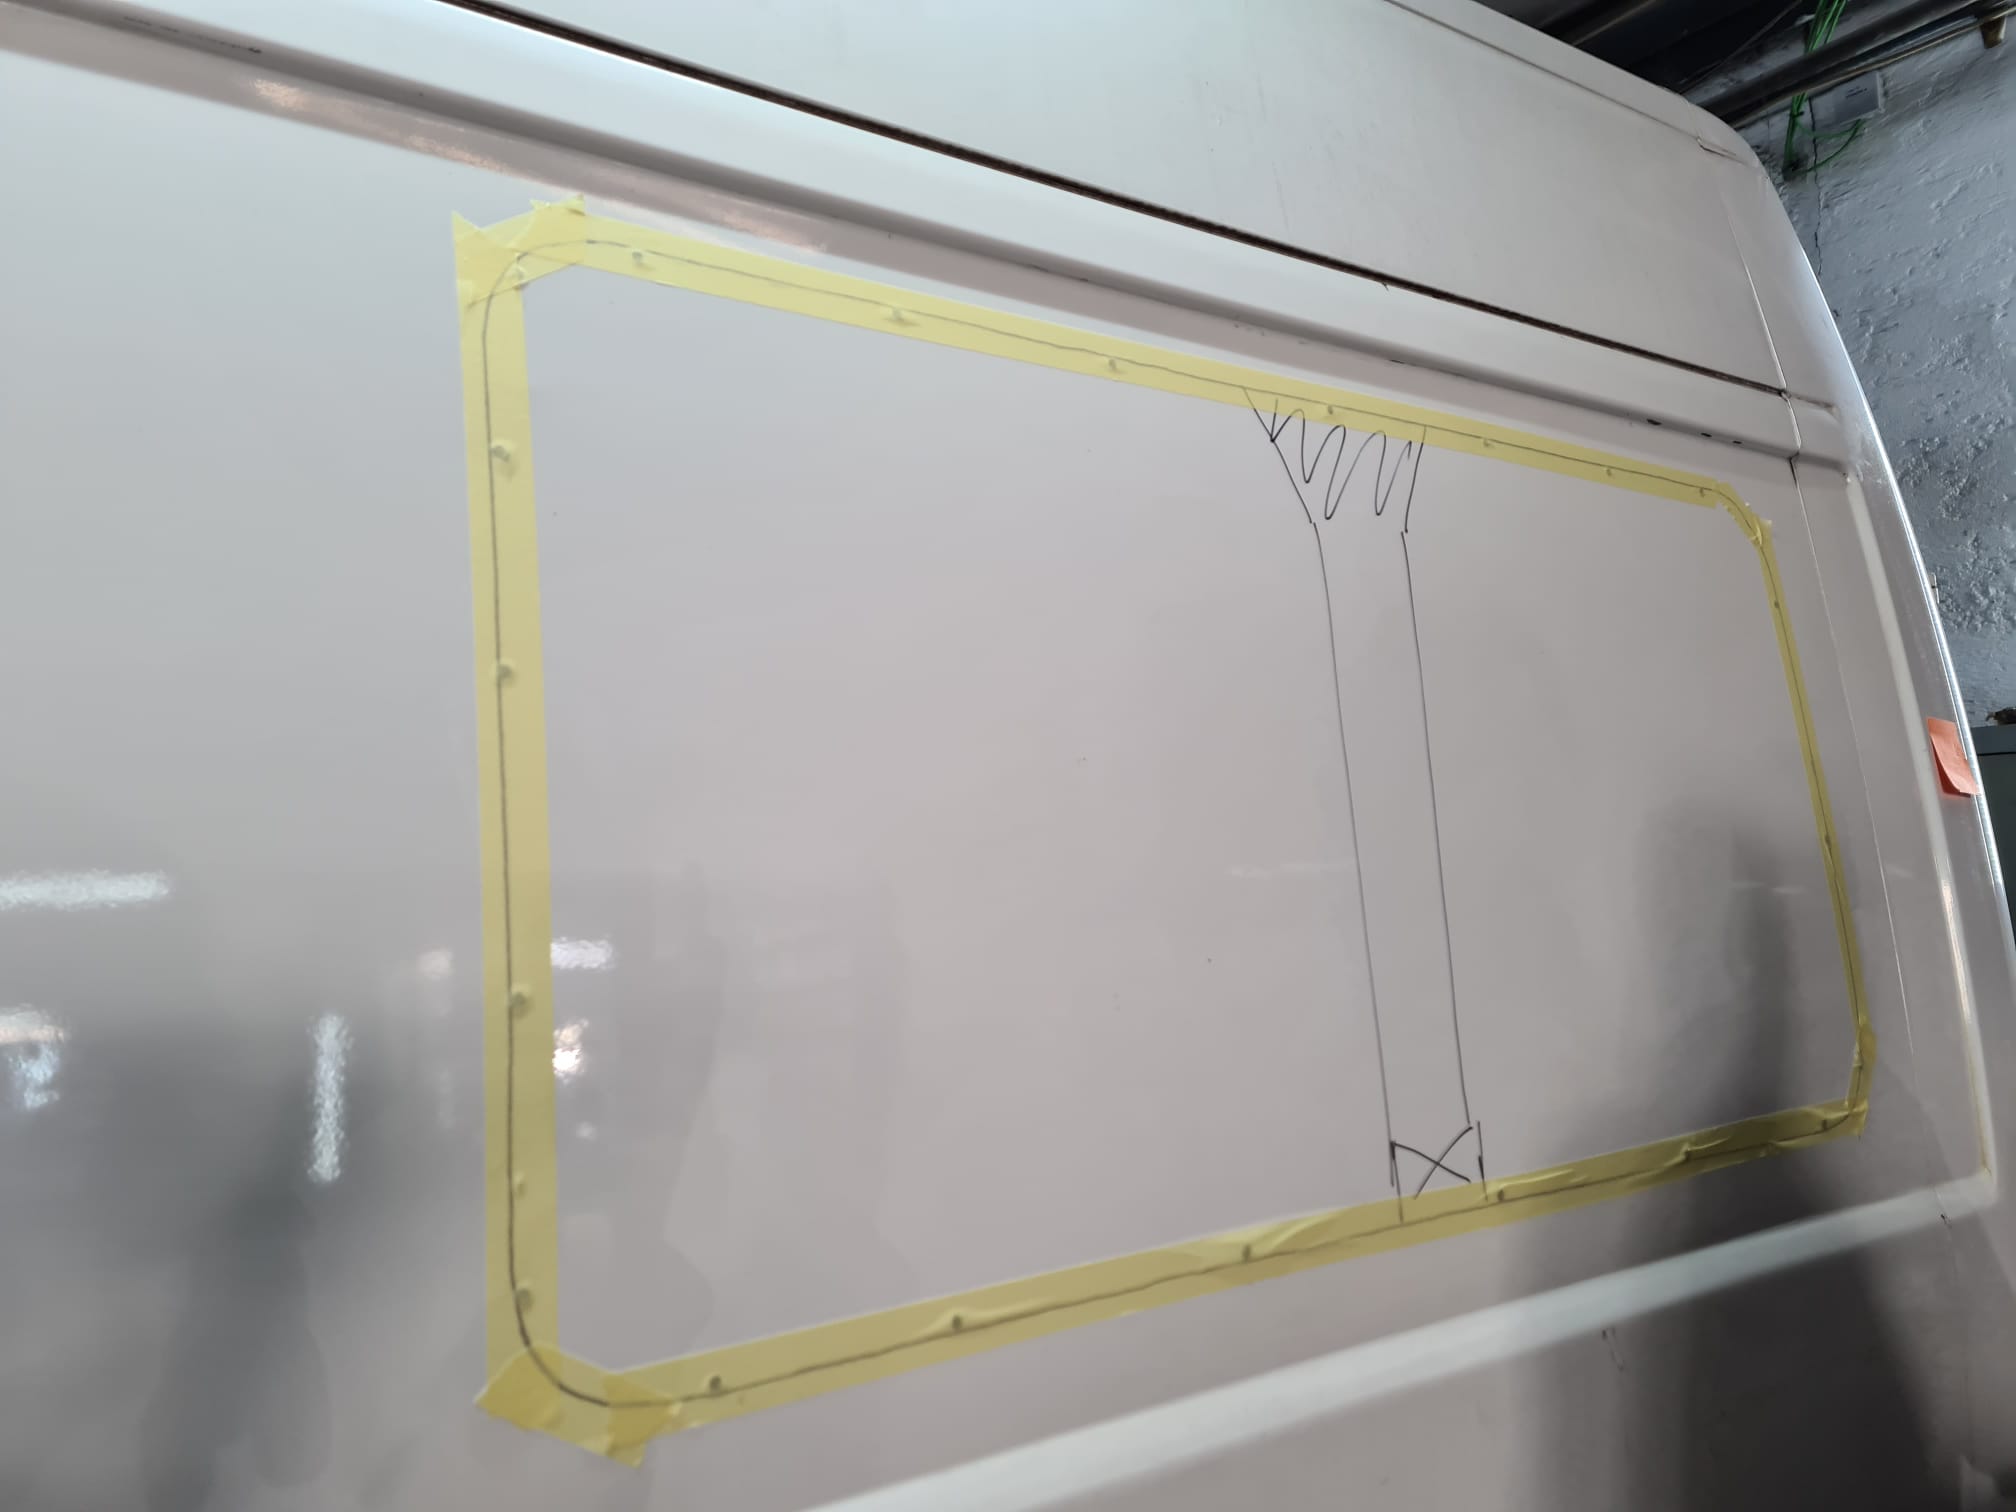
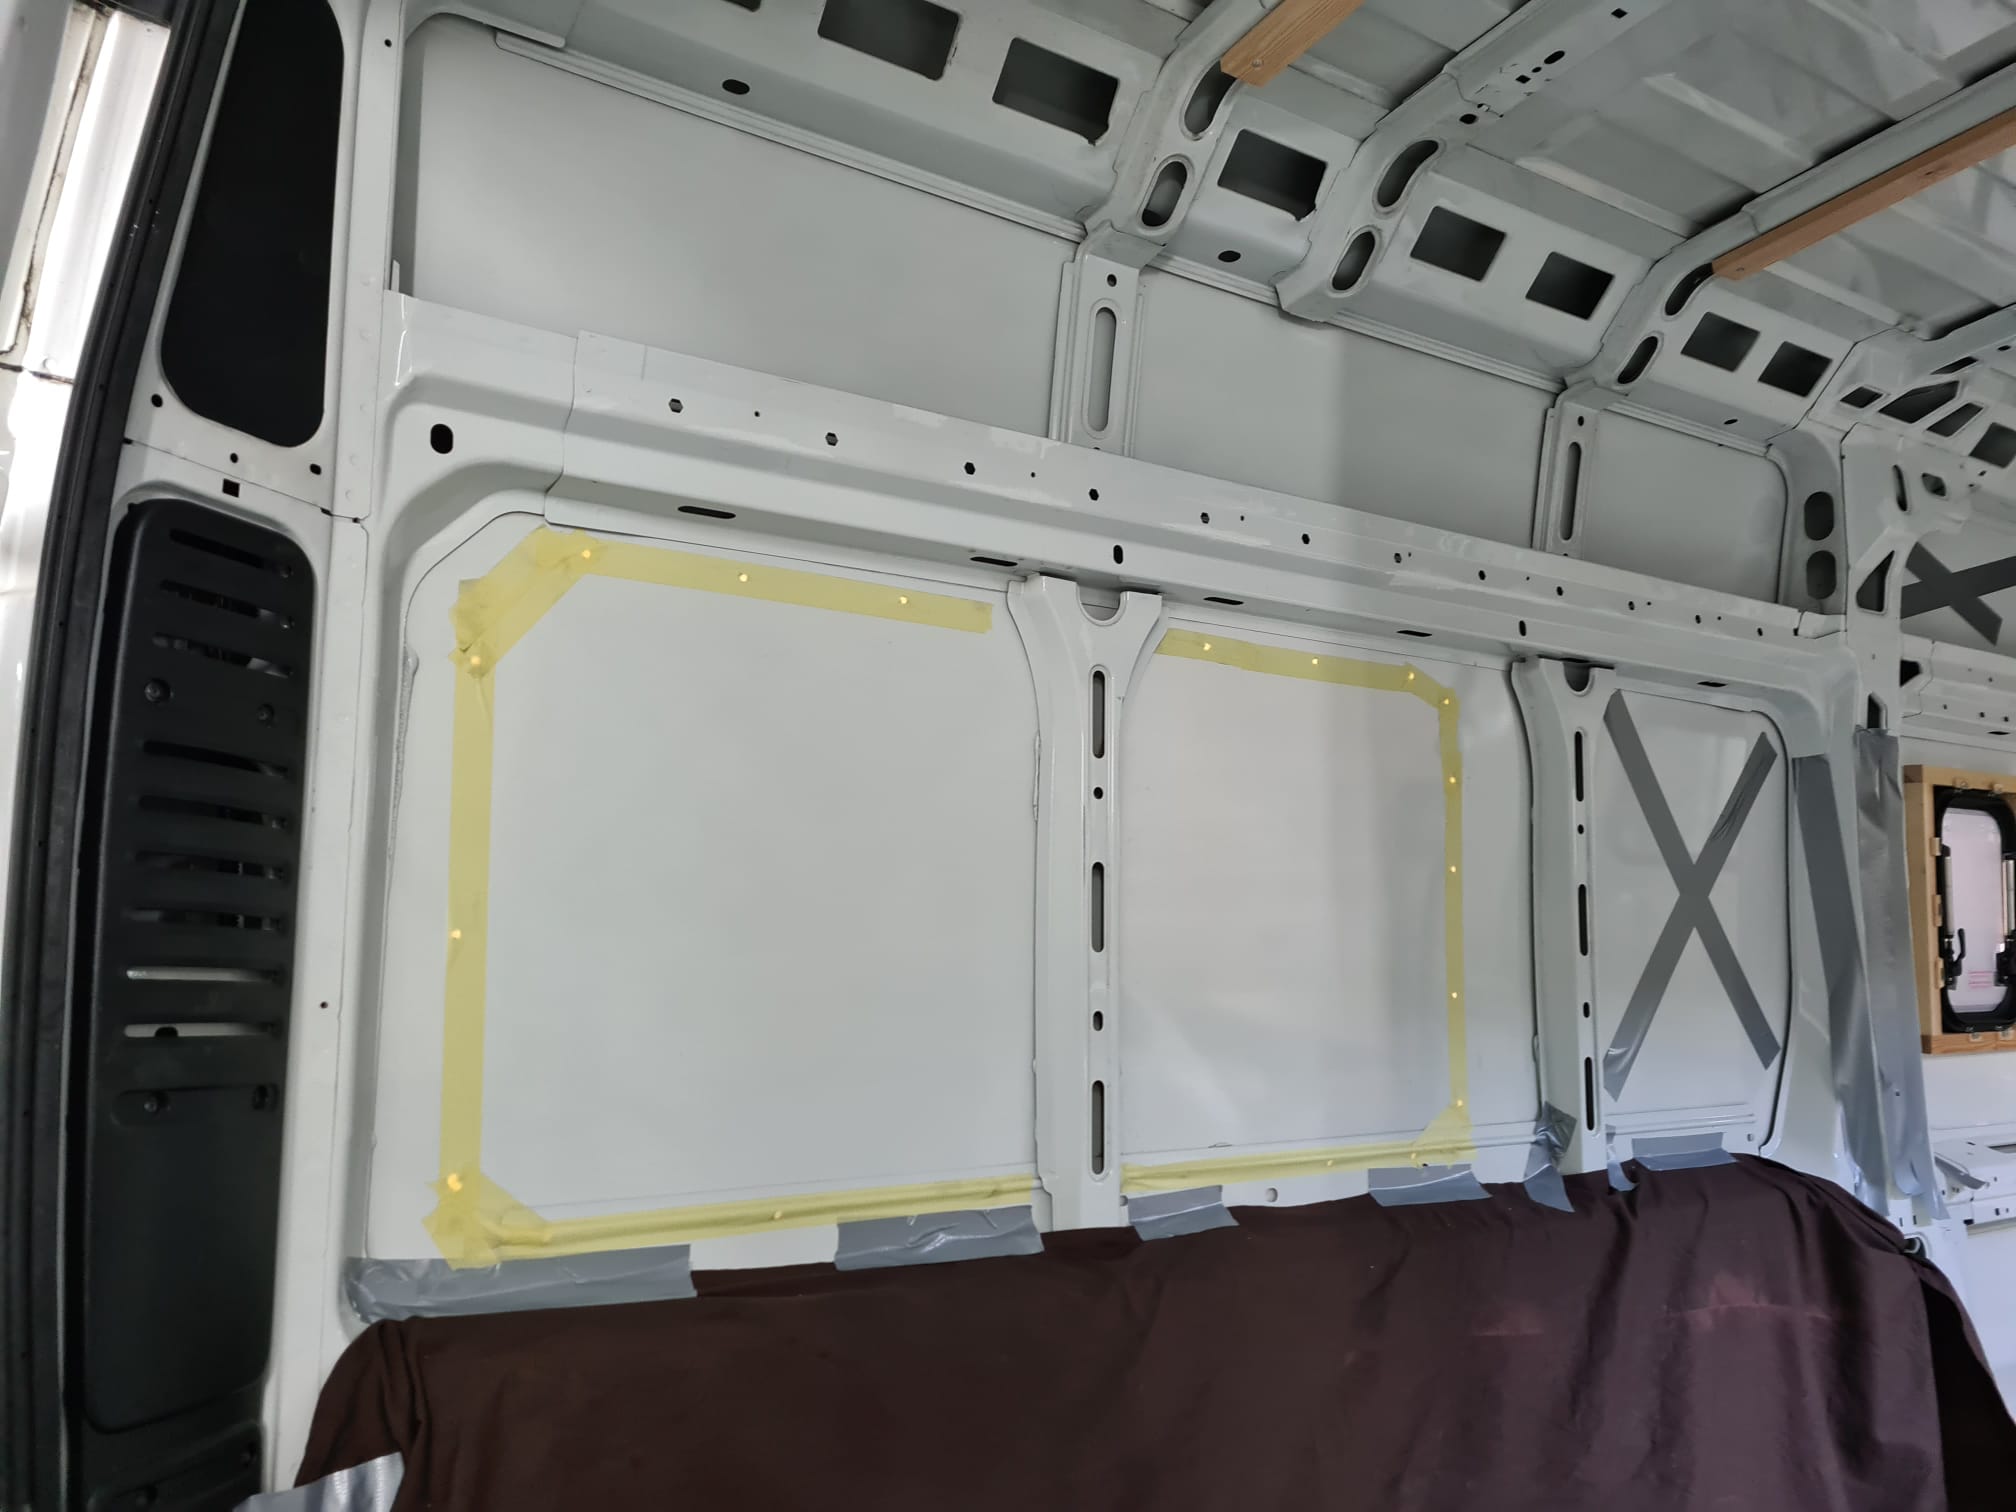
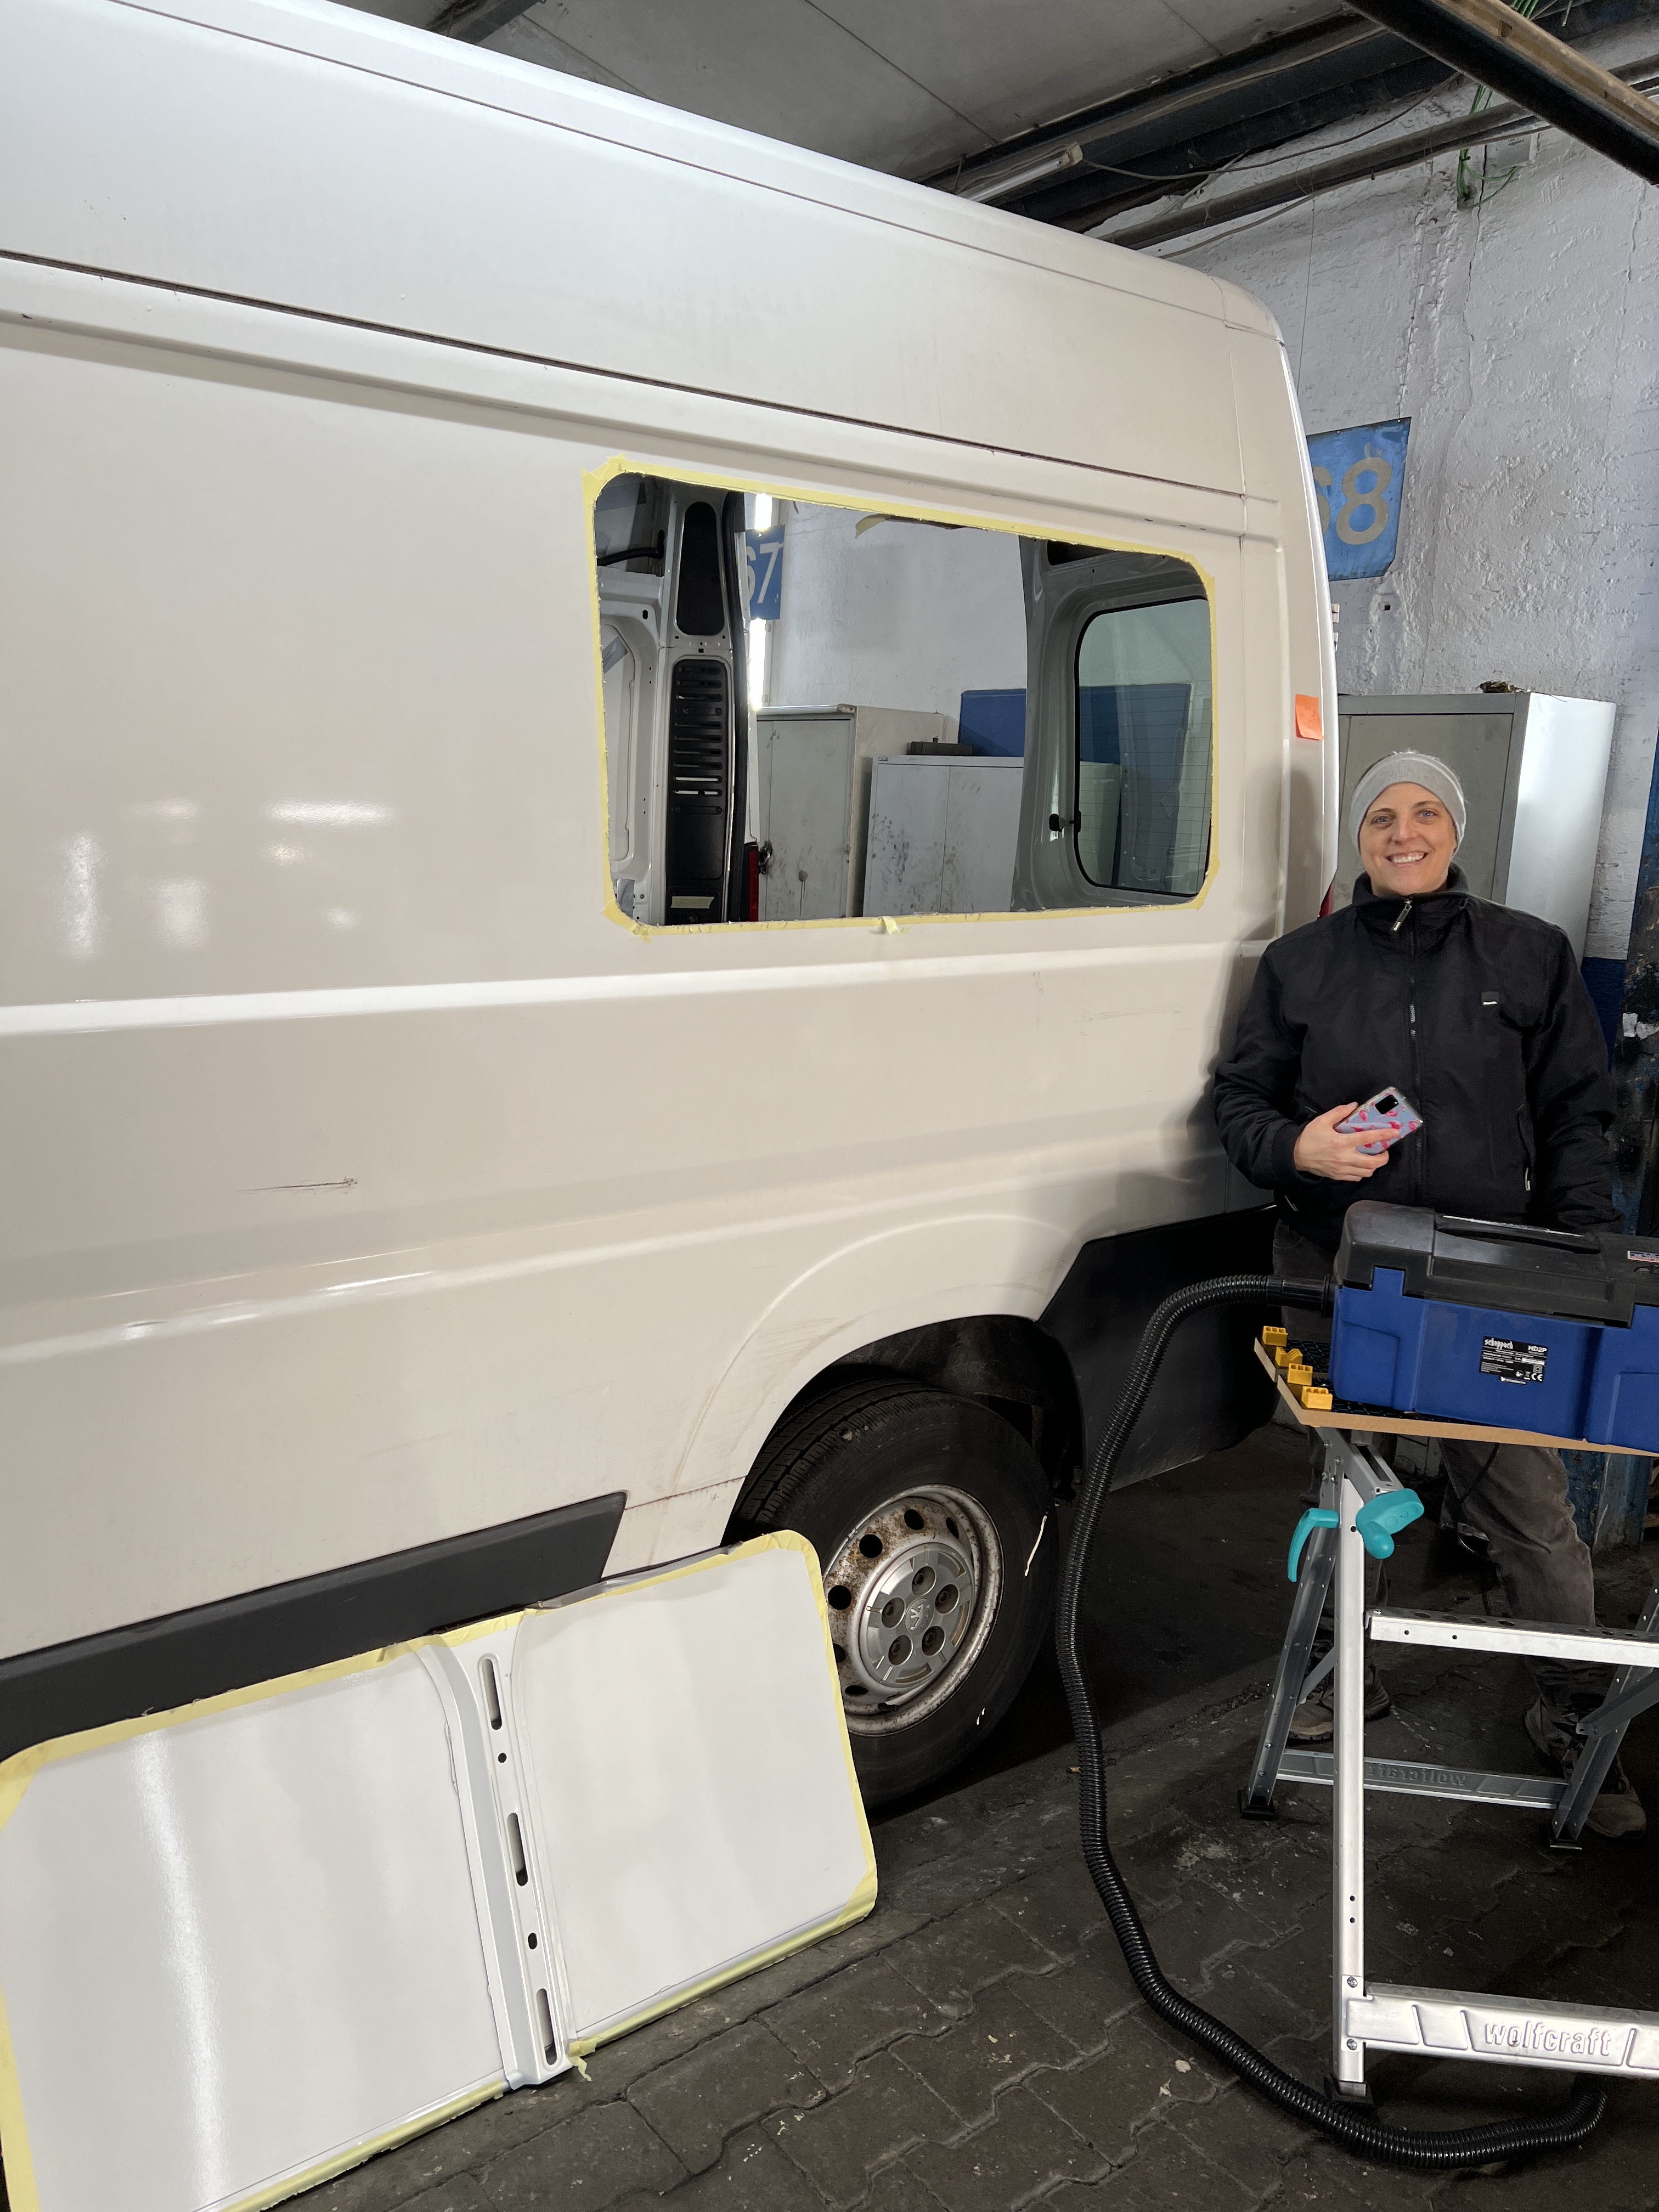
The installation process is much the same though – mark your hole (in this case using a template taken from the actual window), drill and cut it out, file the bare metal and treat with primer, dry fit the window and adjust the hole as needed.


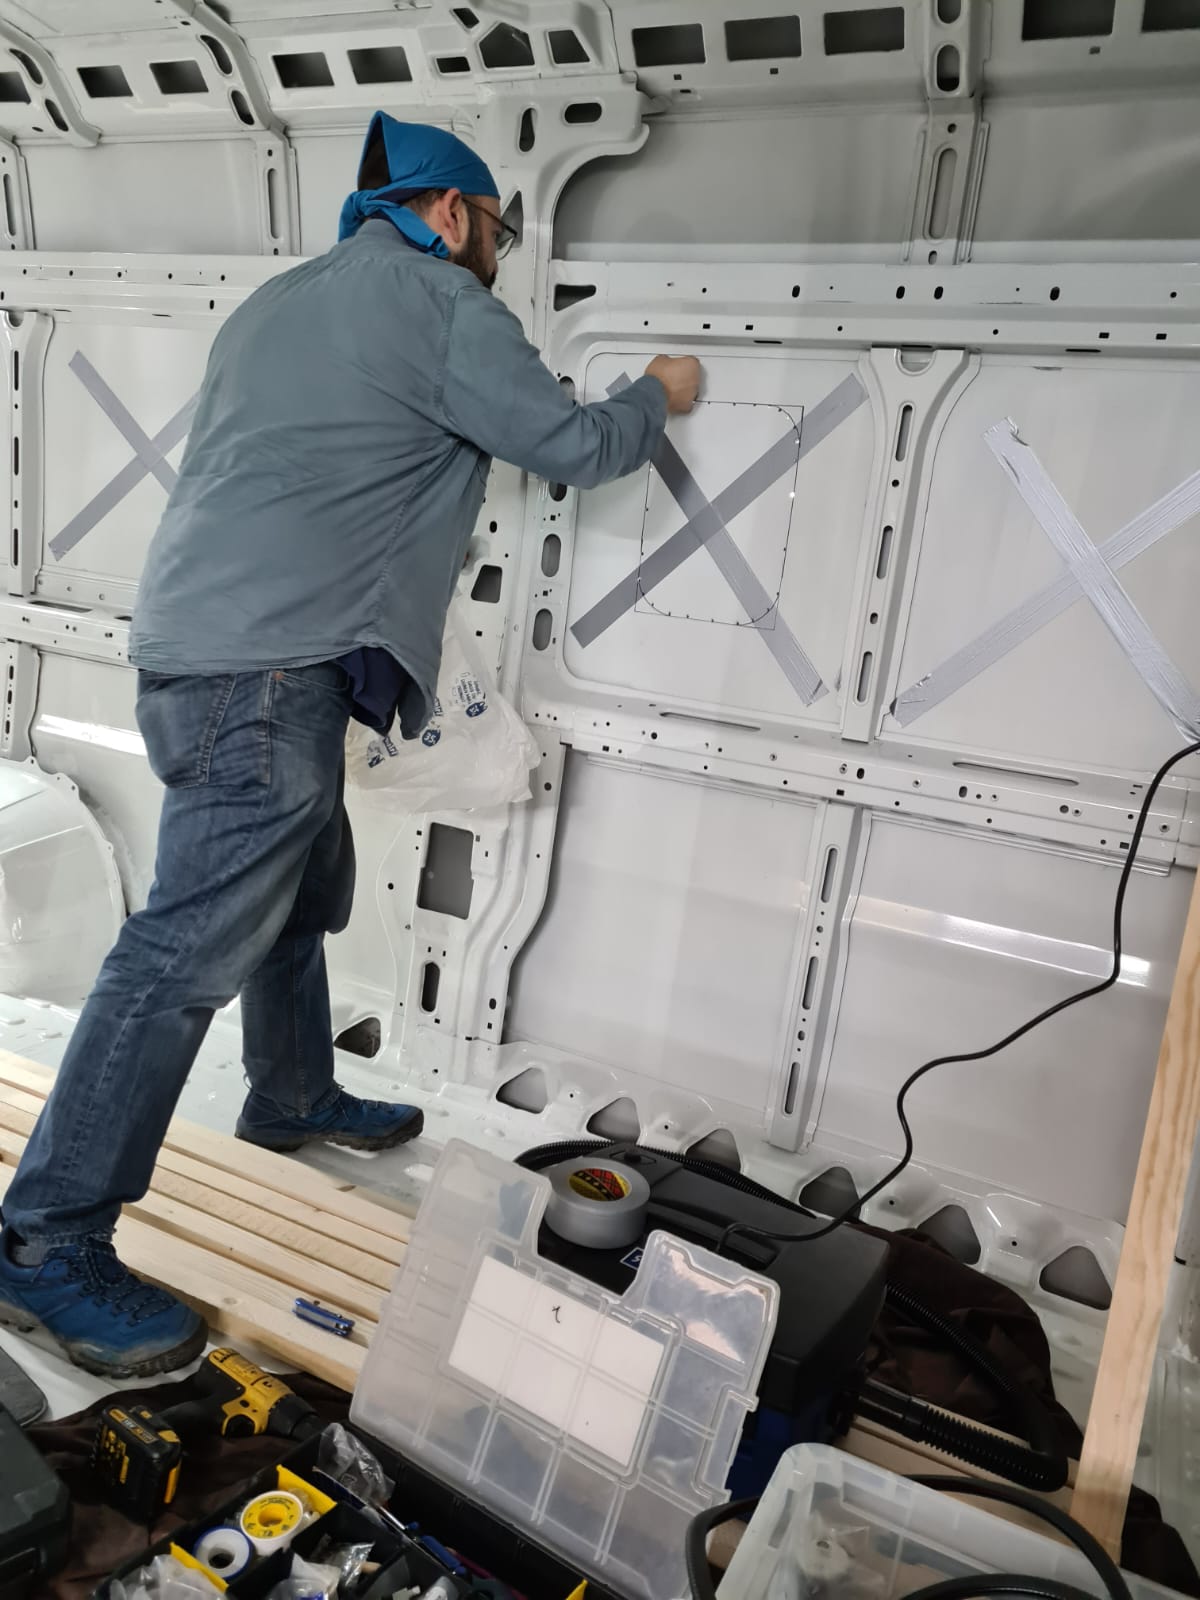
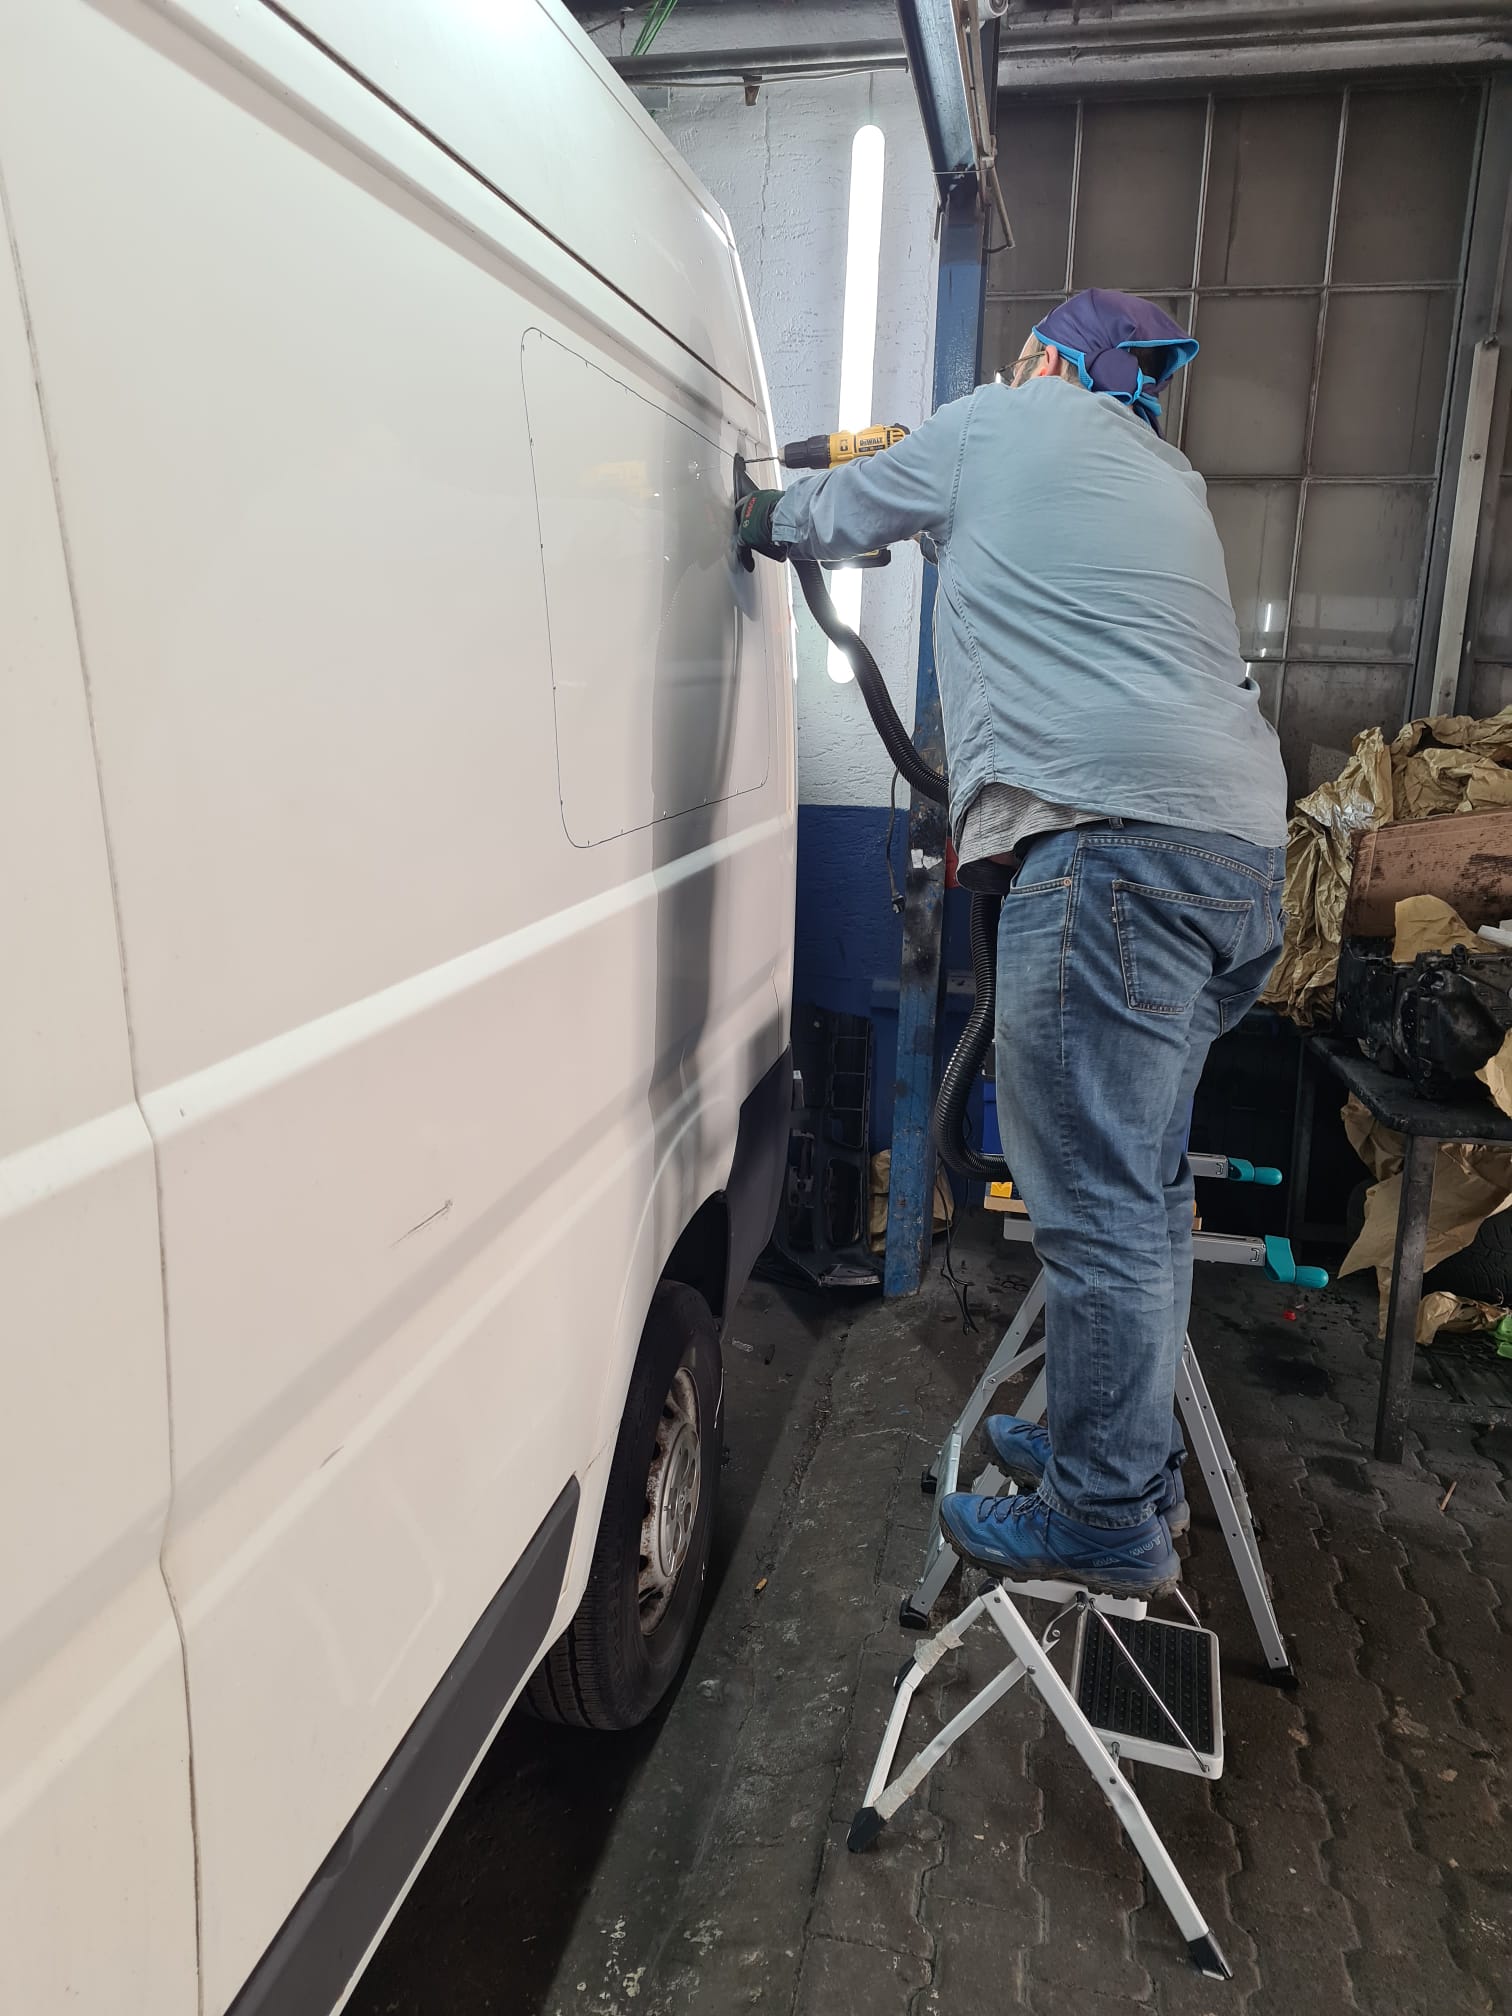
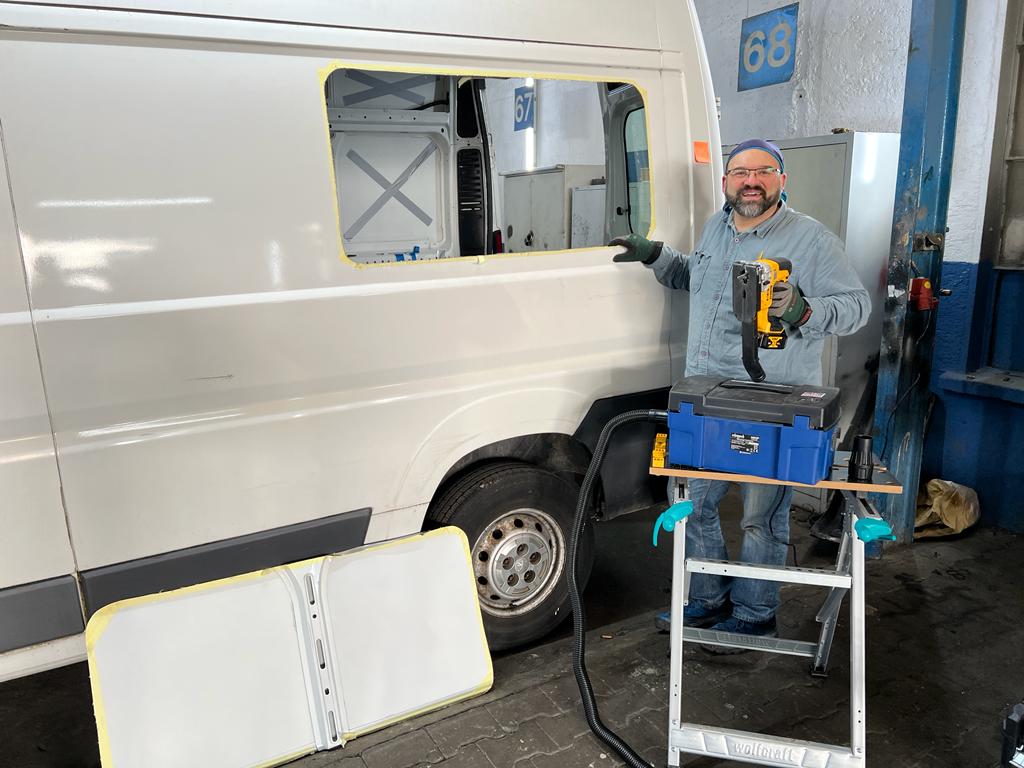
If you thought cutting holes in the roof was nerve-wracking then it pales into insignificance compared to cutting holes in the sides of the van!
Regardless, this is where the similarities end.
Once the rough edges are filed down and treated we applied u-shaped edging trim to cover them and give a nice smooth look and cover any sharp edges.

The next step was to apply a layer of primer around the edges of the window and let it dry. The primer creates a smooth surface for application of the glue and improves the adhesive properties. Once dried we applied the glue. For the window setting we used SikaTack Pro window kit as this contained the glue, primer, and applicator sponge.

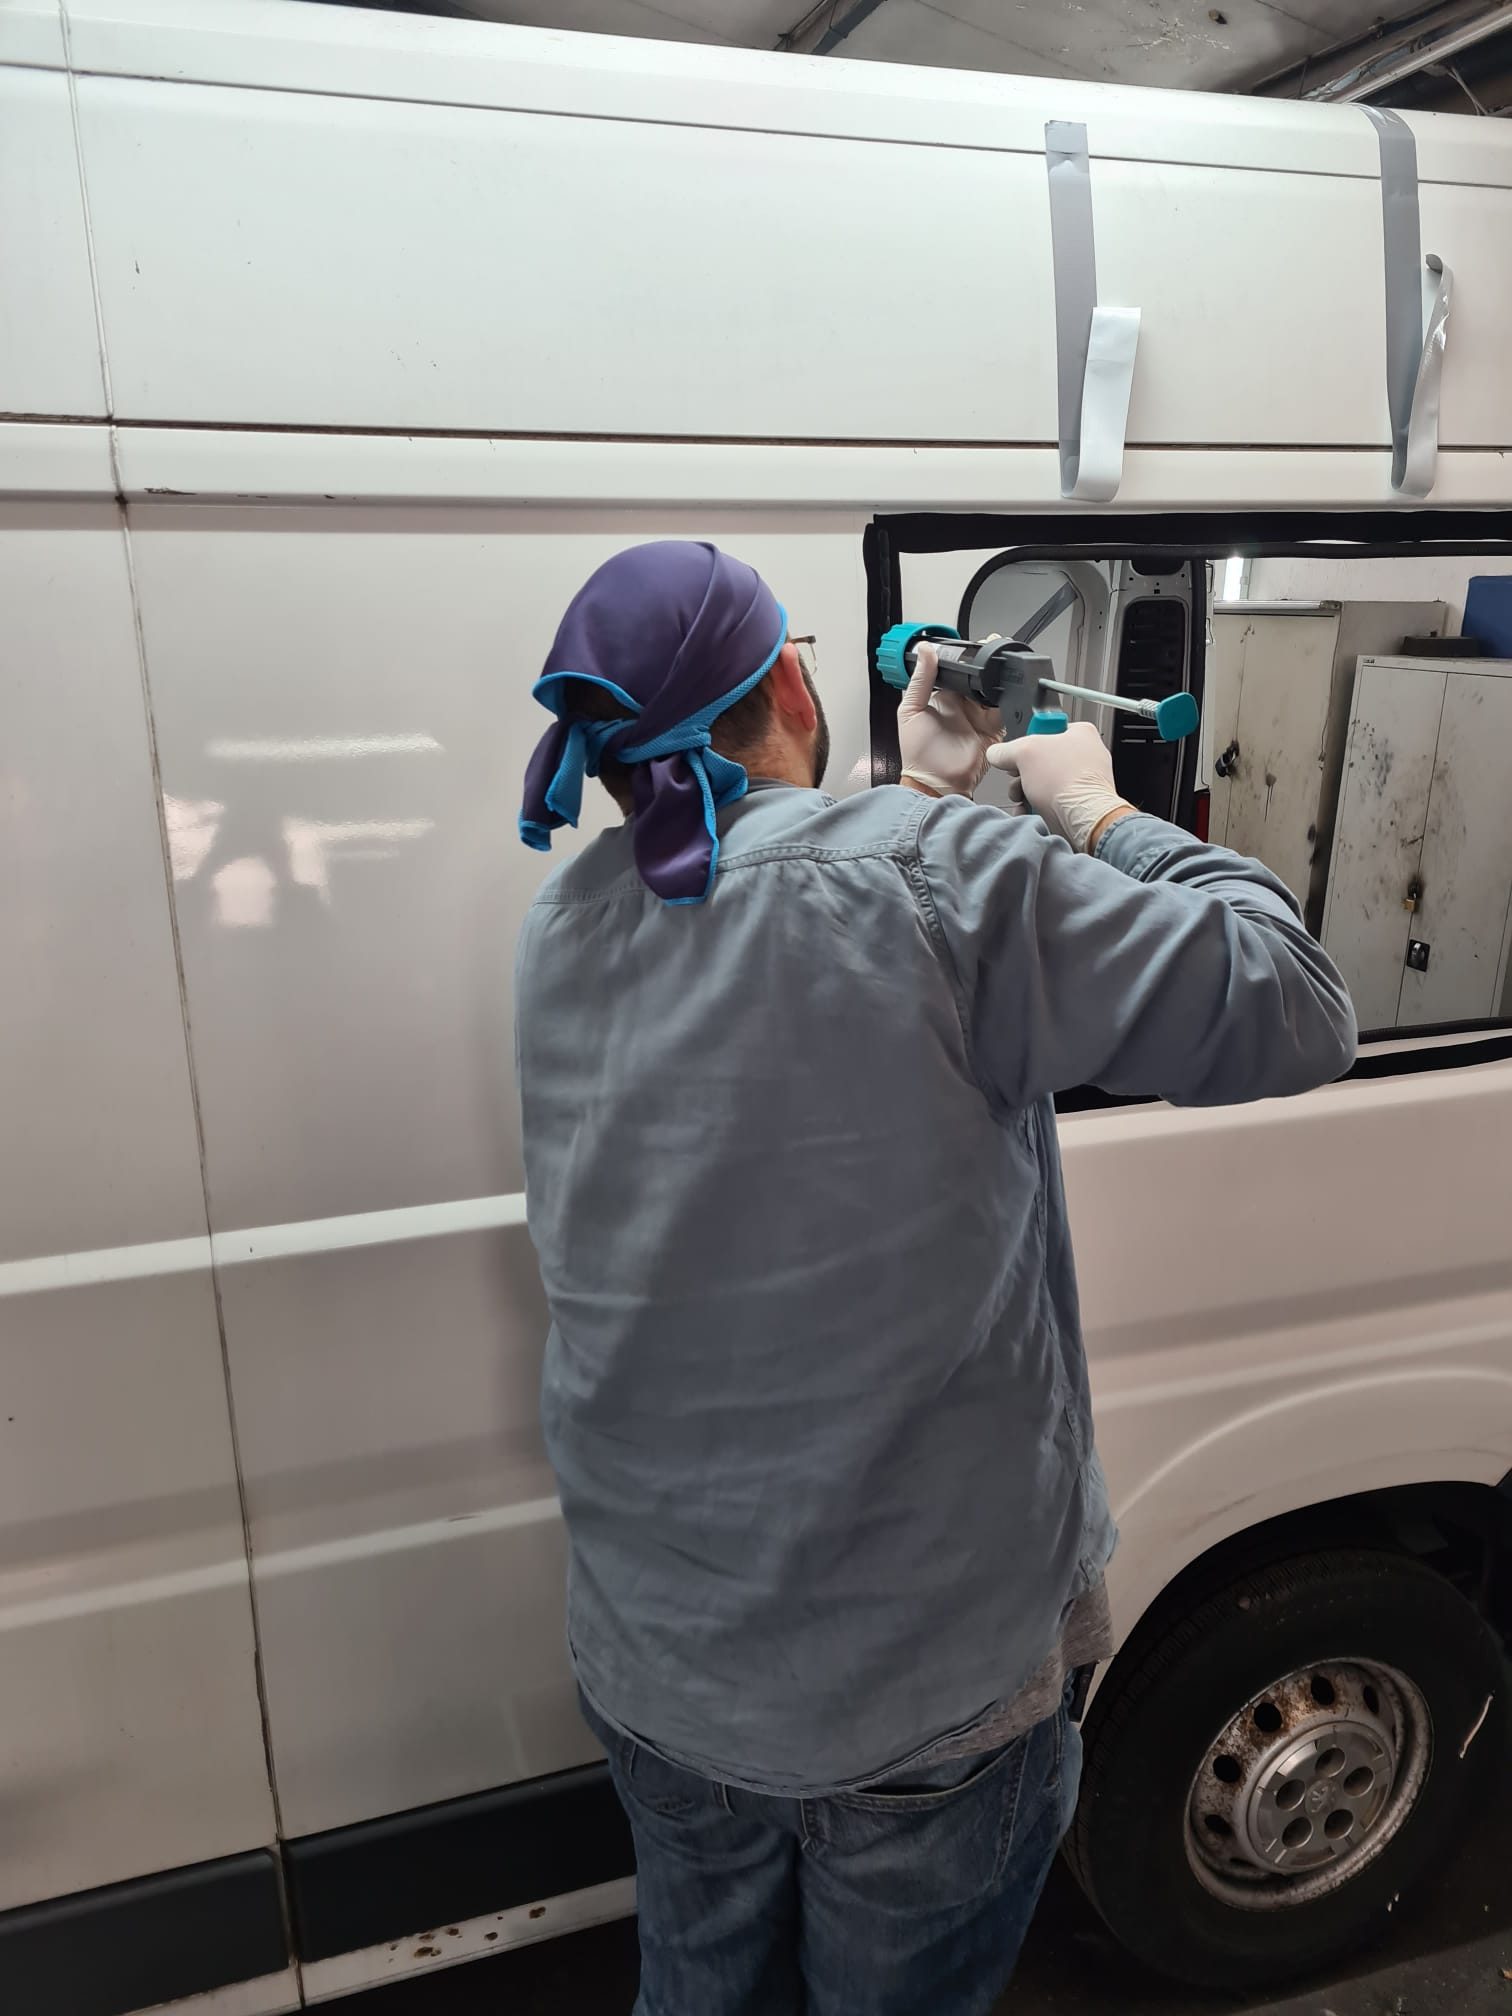
This part was really difficult because the adhesive was really thick, and my arms were aching after I’d applied it to the whole window area. It’s vital that you get a good, thick, uniform beading all around the window ledge otherwise you might get leaks.
Once the glue was applied it was time to fit the window.
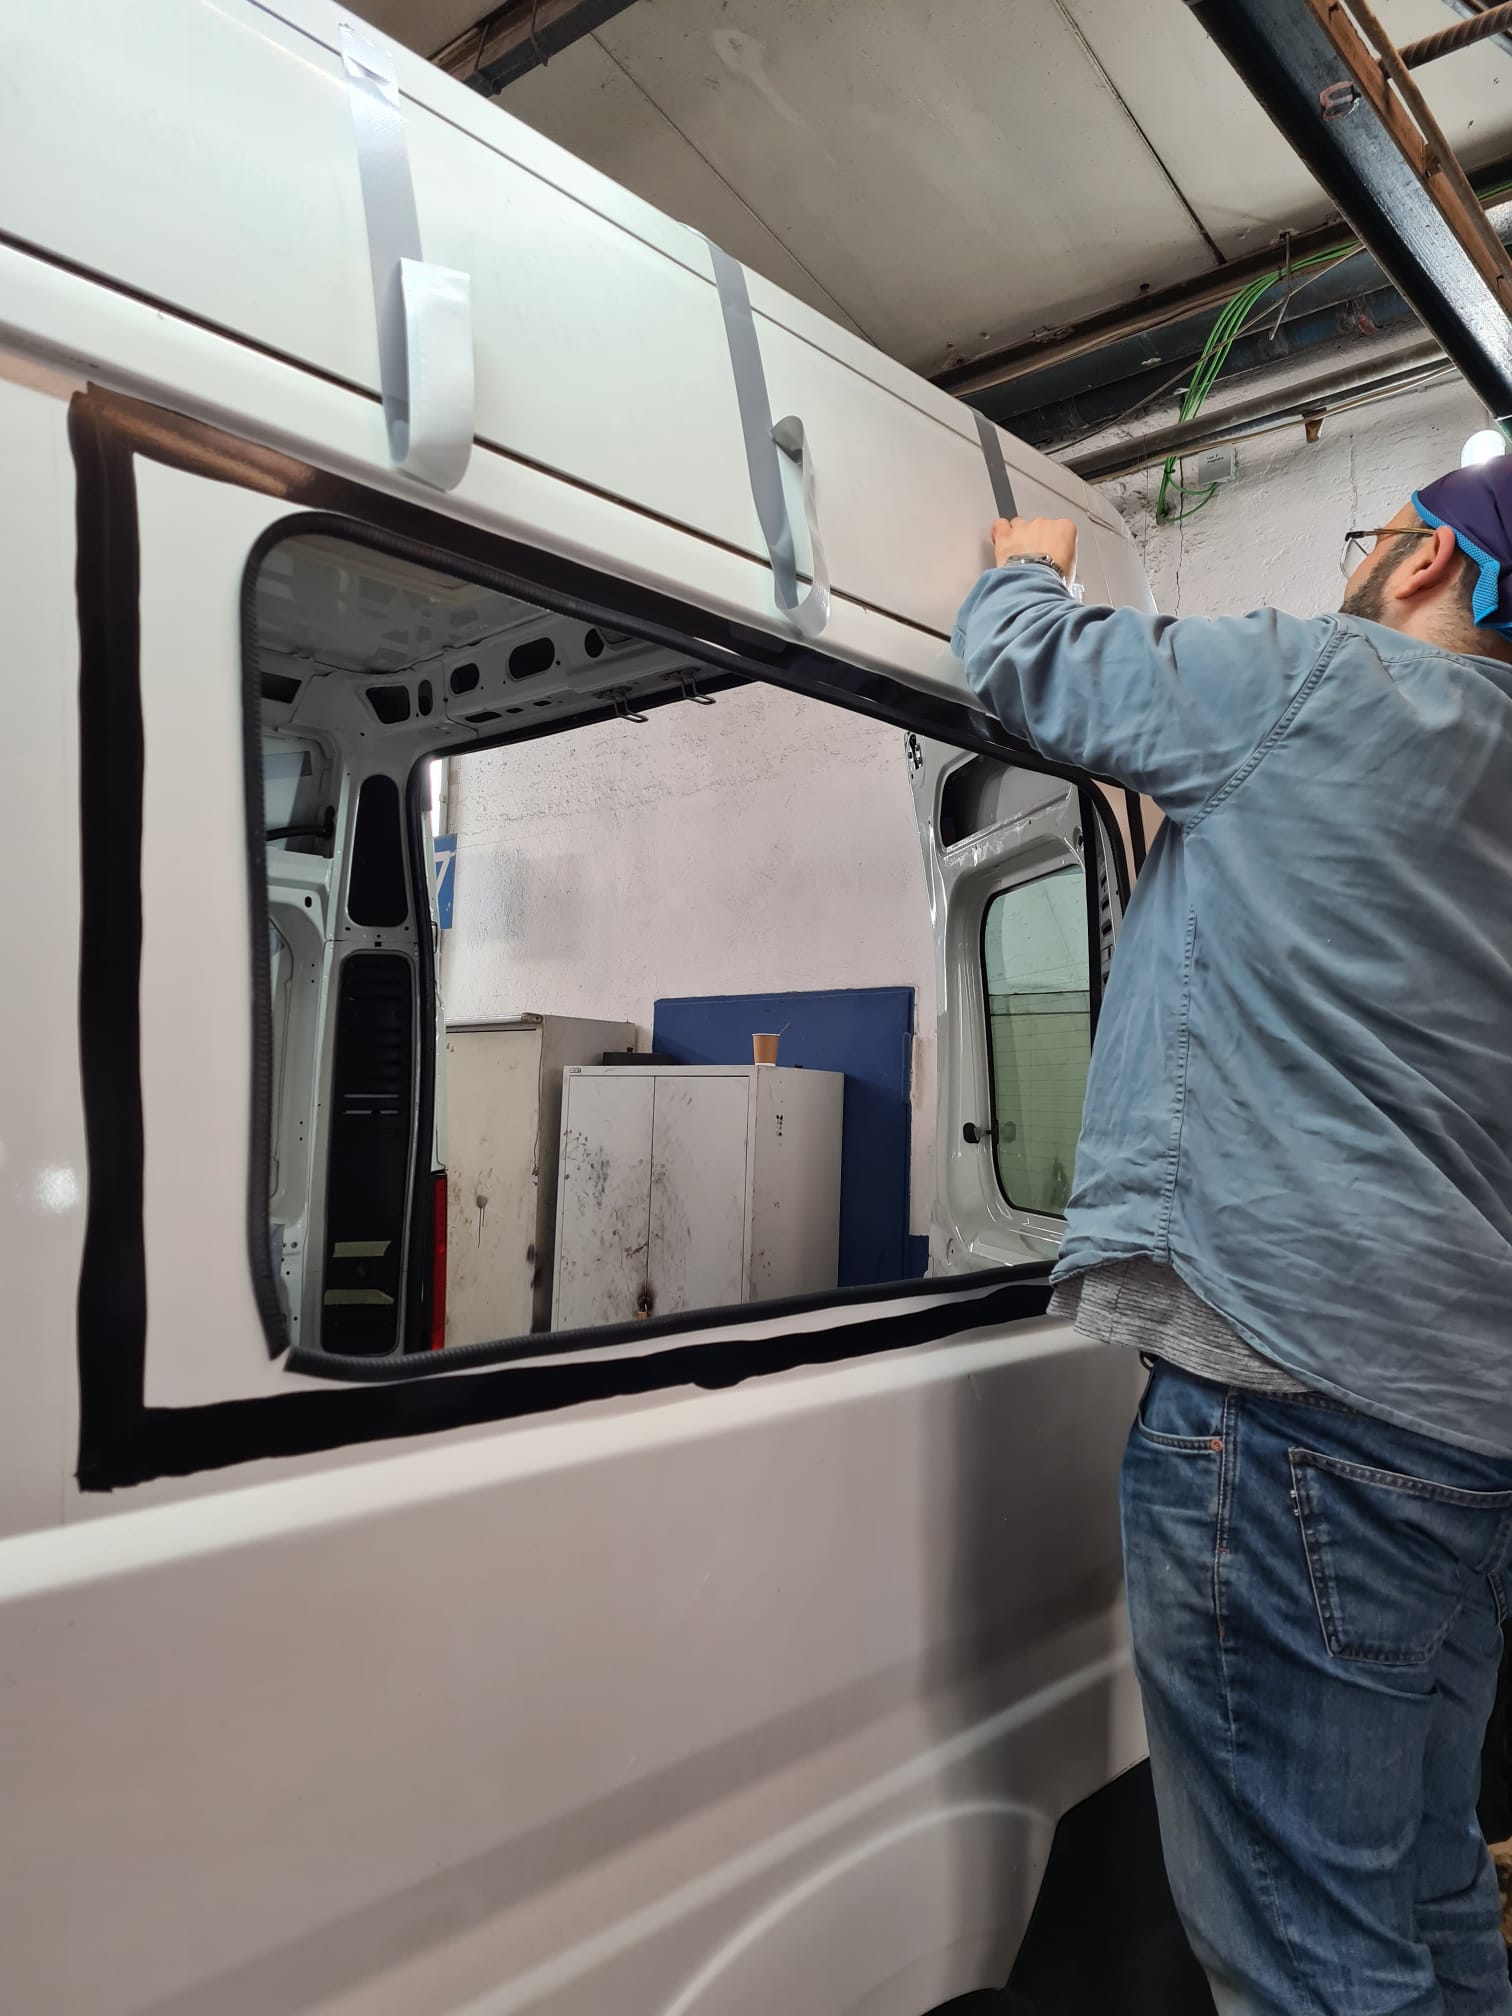


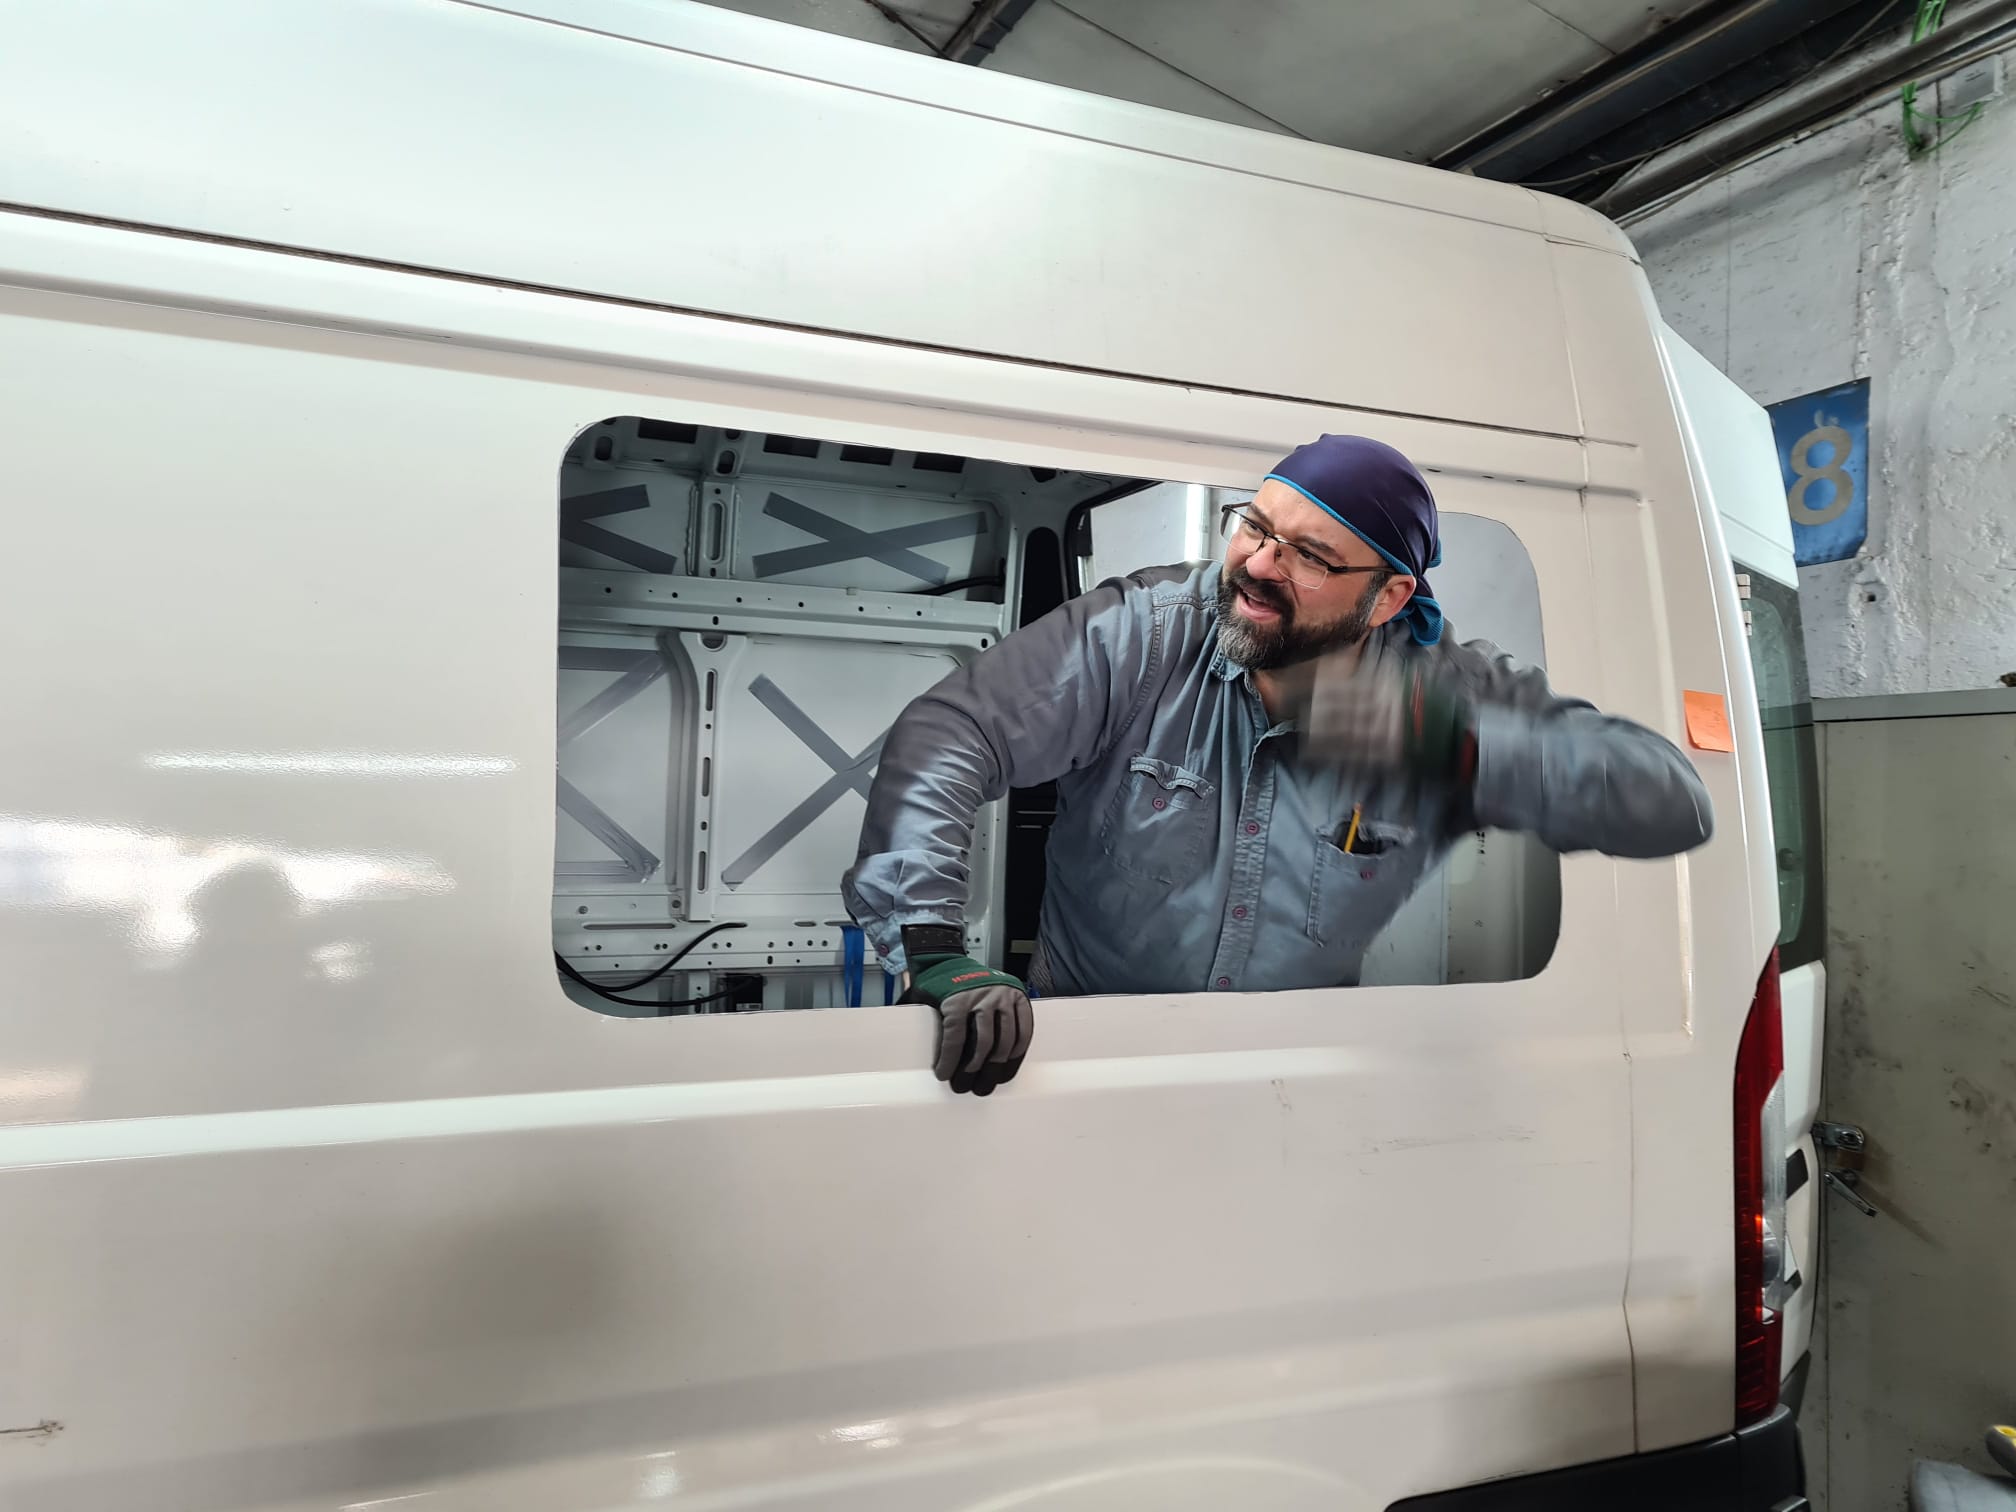
We previously applied tape to the area above the window so we could quickly attach it once the window was in place. Using glazing suckers I gently fitted the window to the hole, adjusted the position until it lined up with the lines and grooves of the van. Then, once happy, applied pressure to the window pushing it into the van then applying the pre-attached tape to hold it in place.
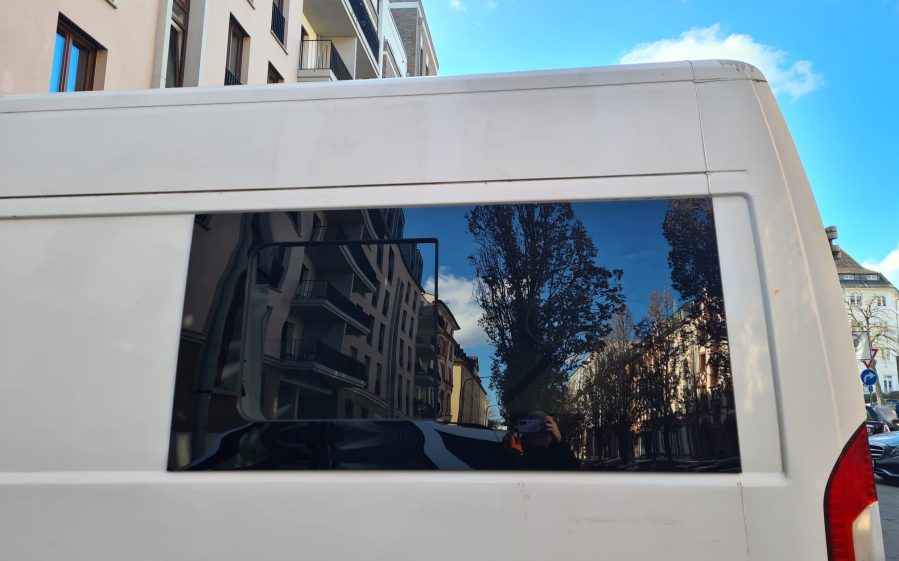
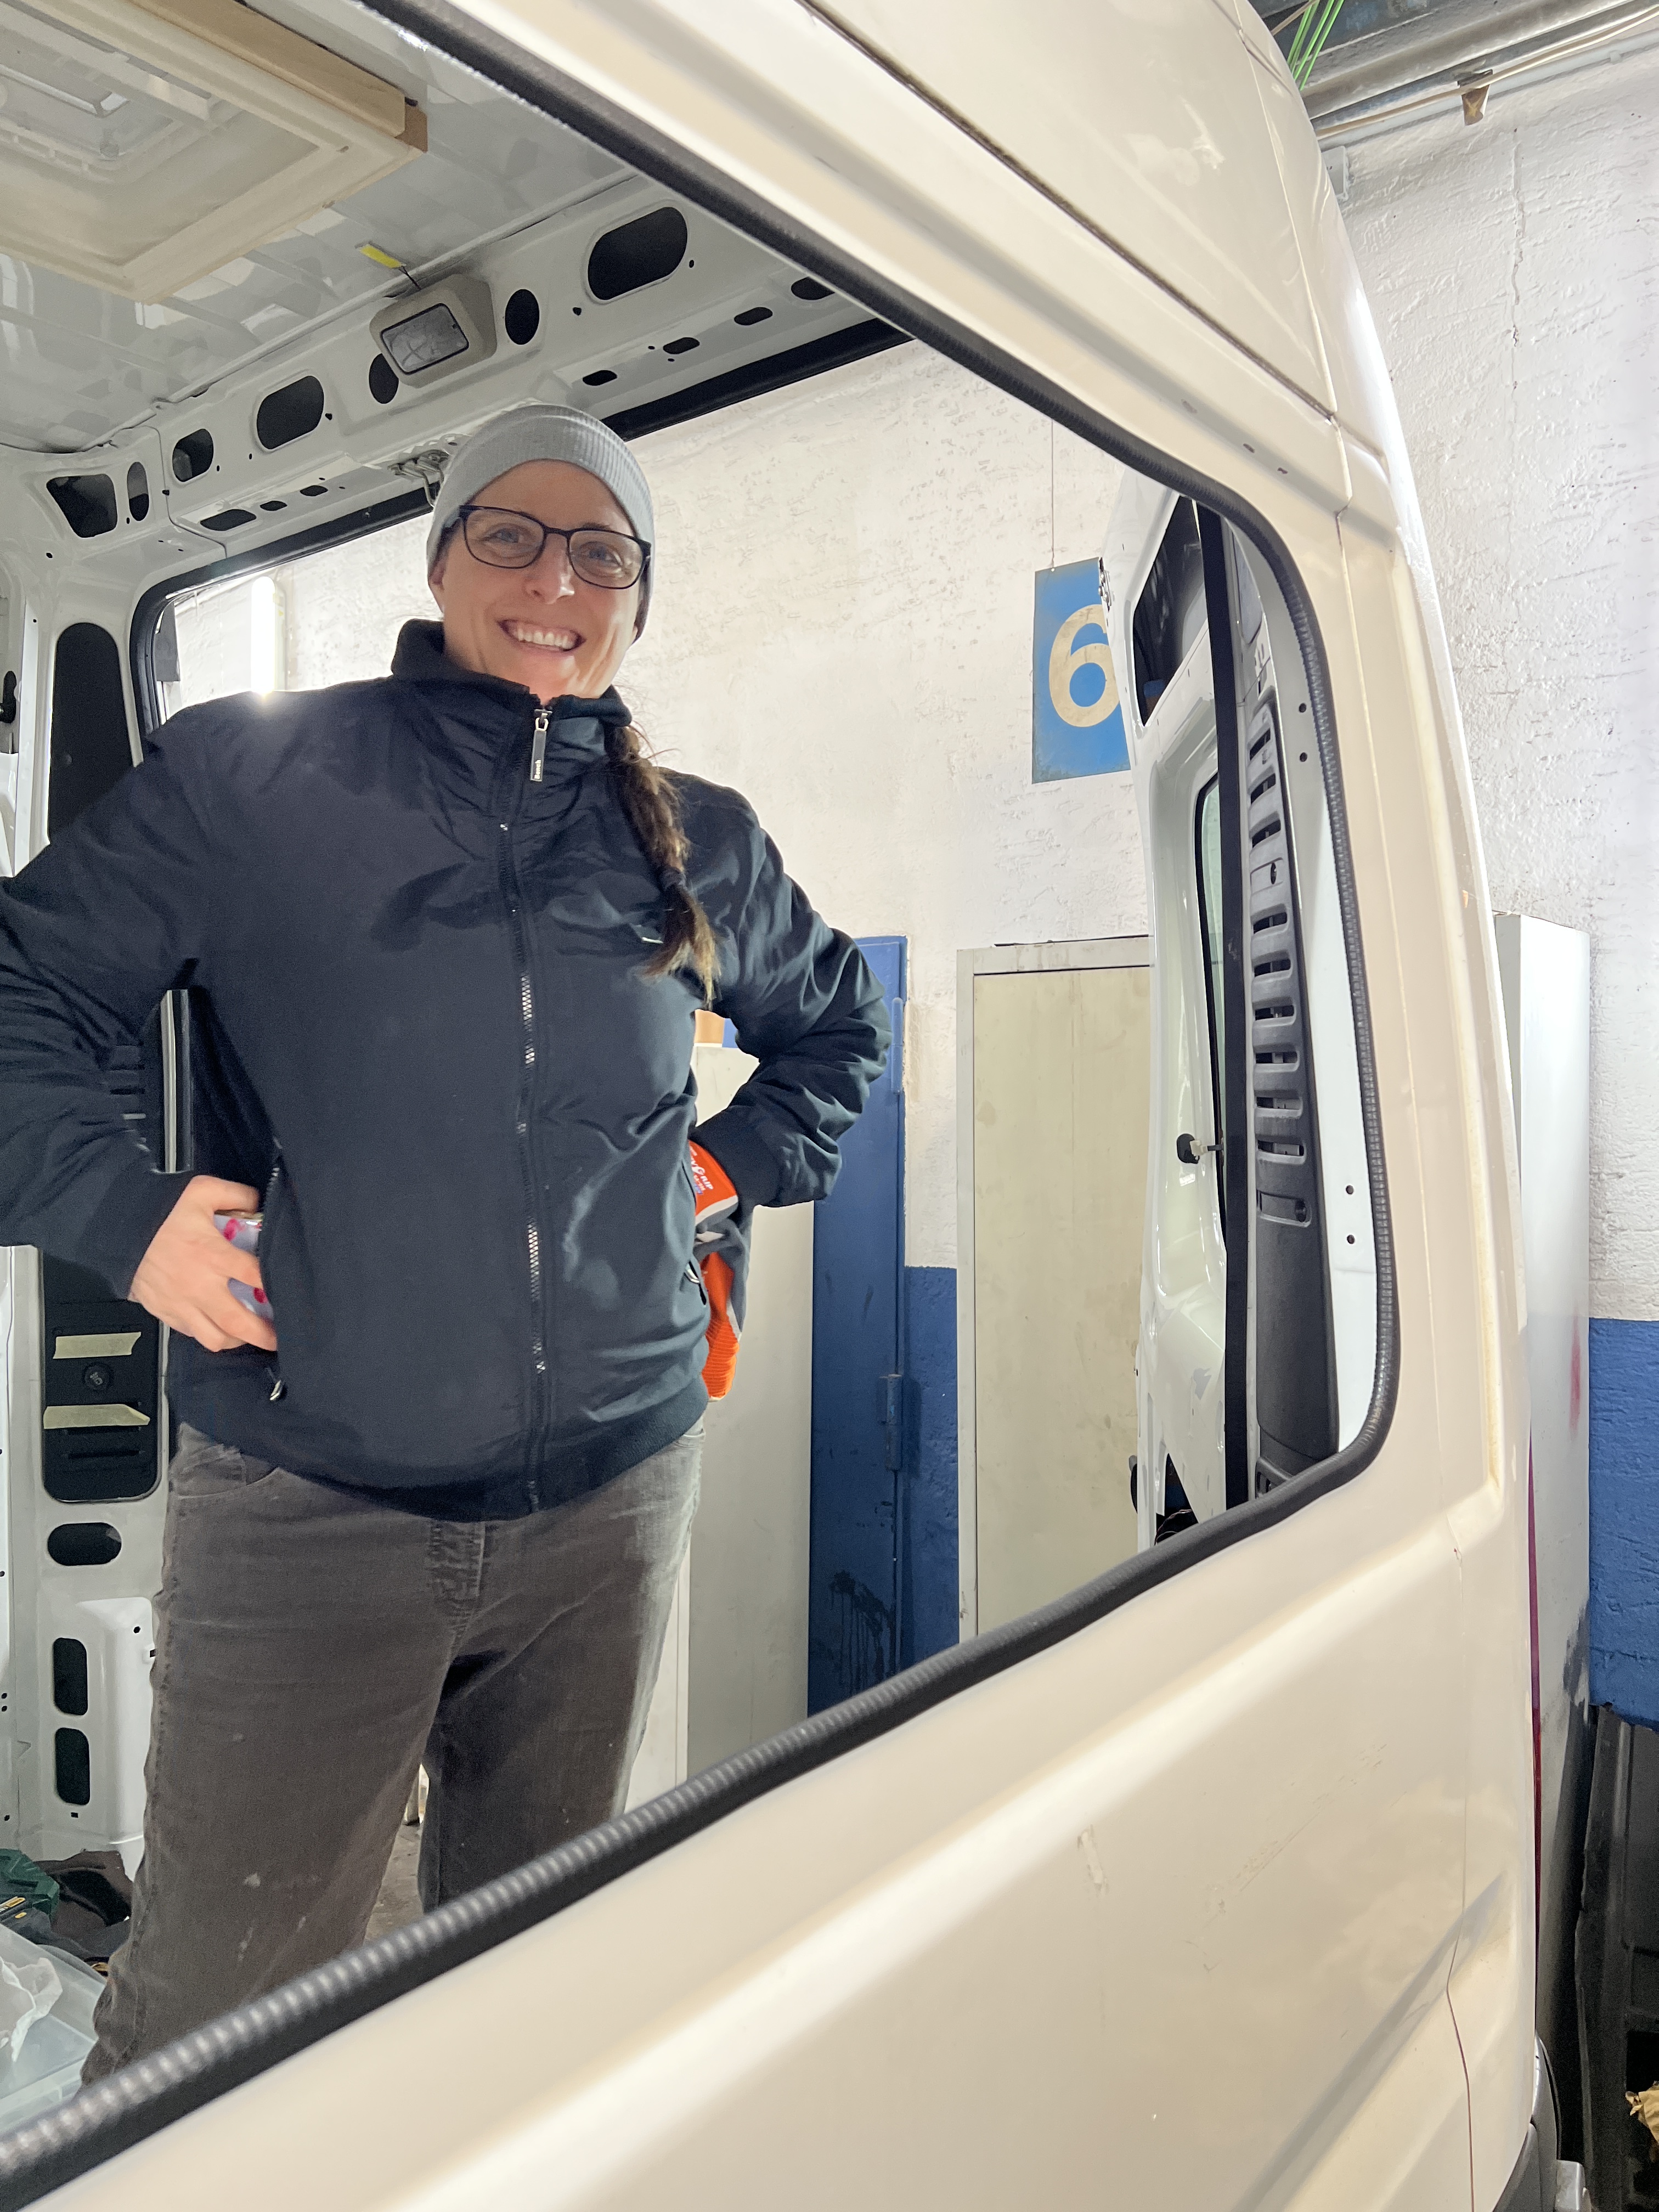
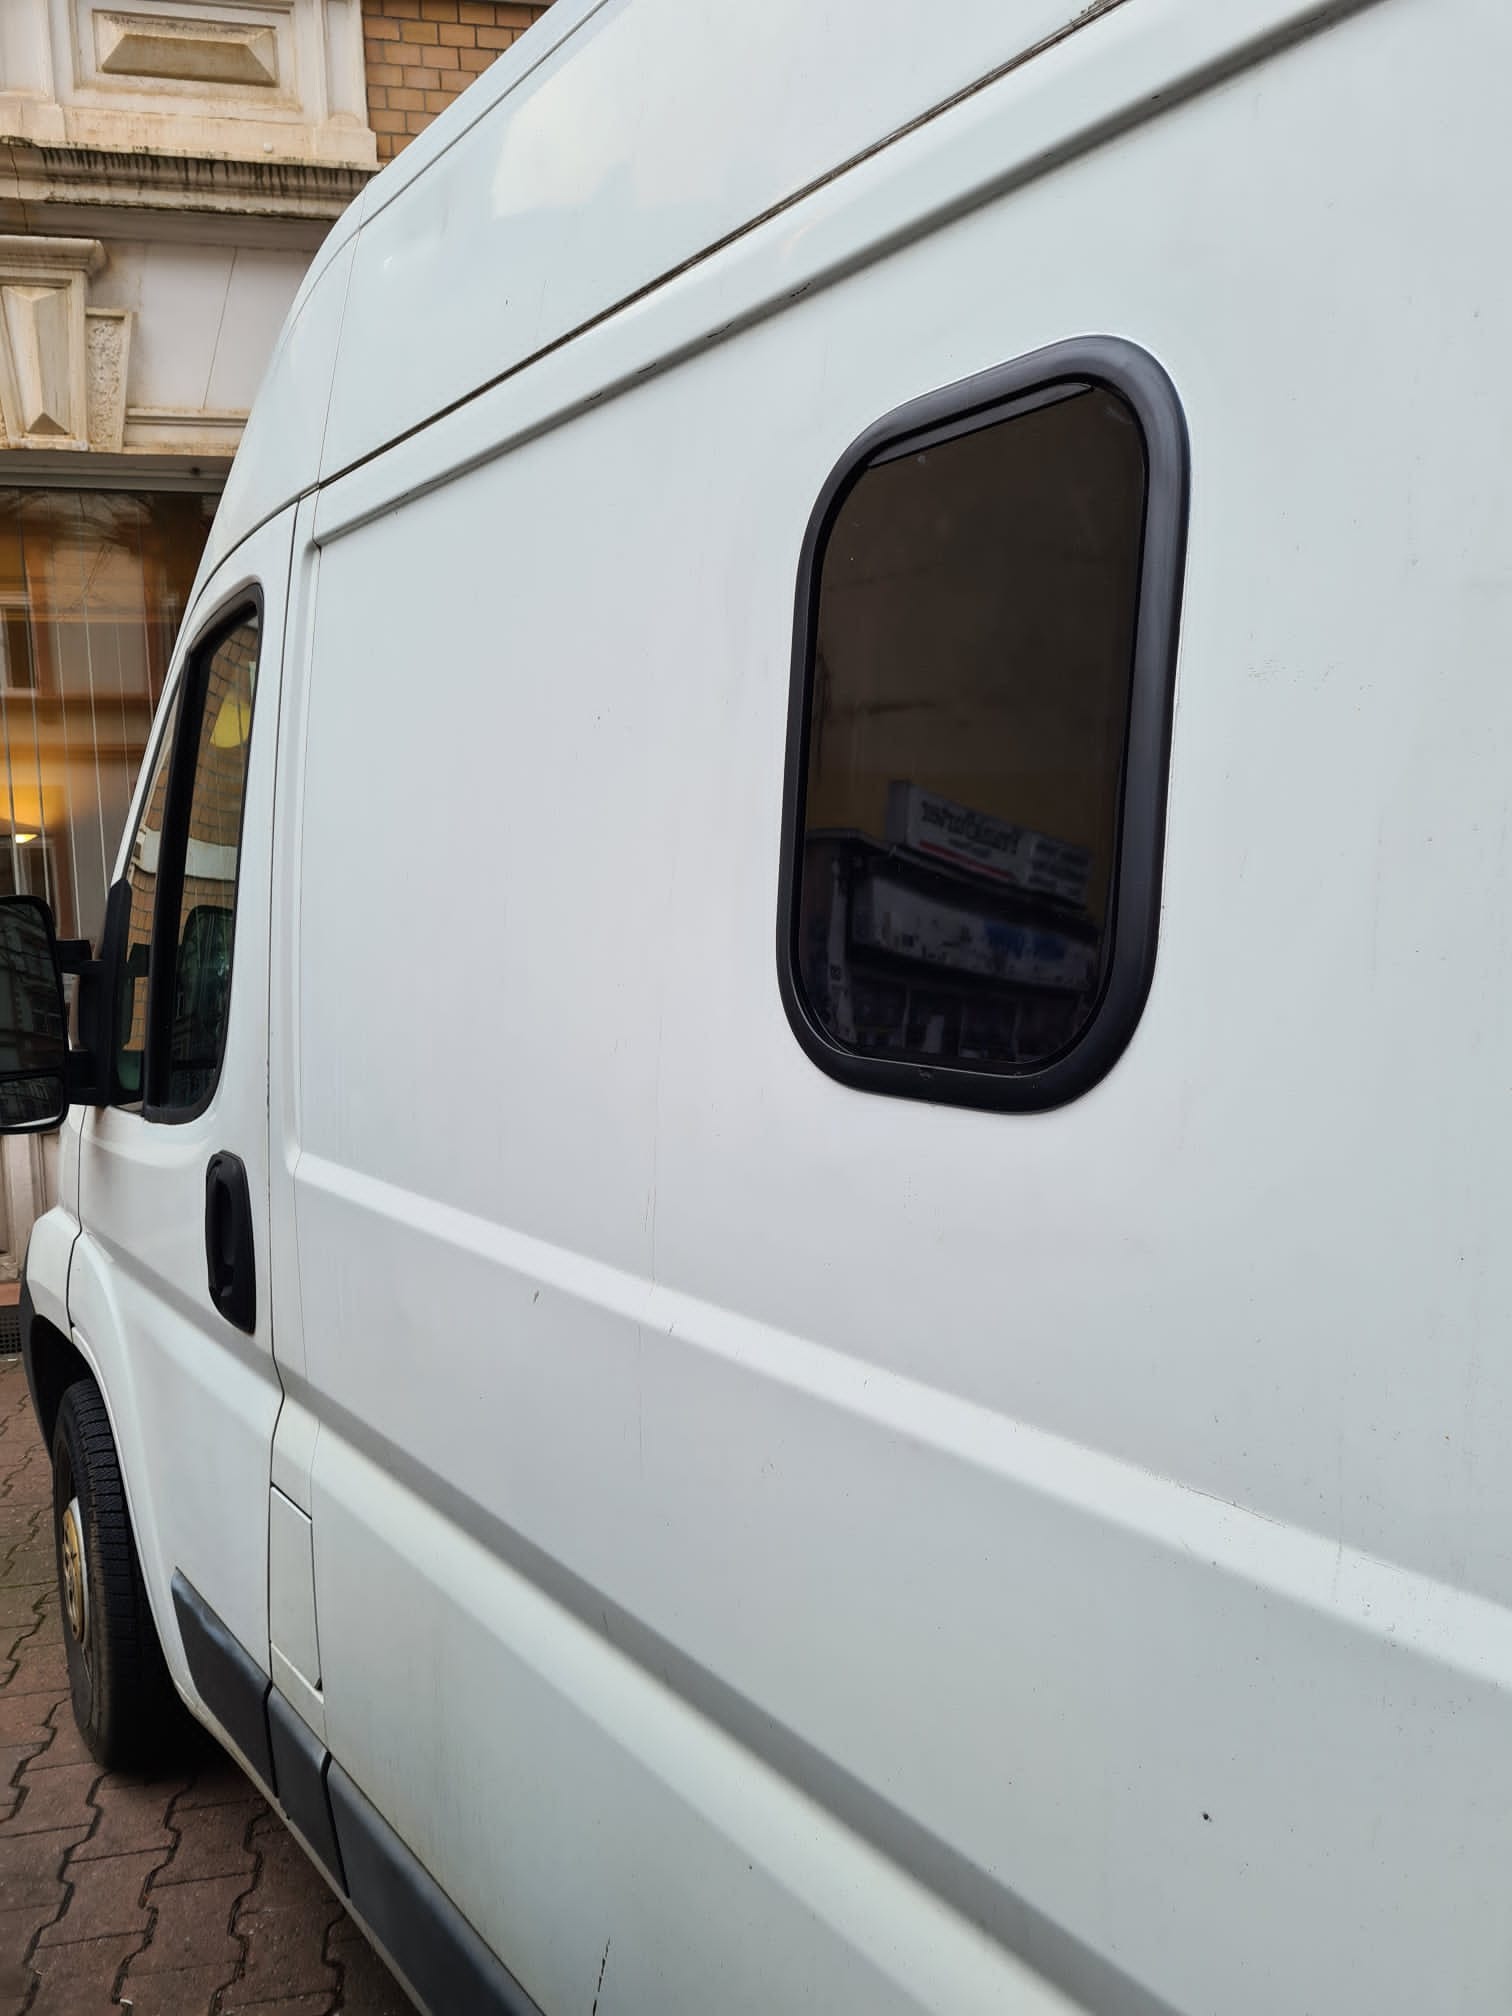
Now just wait for the glue to set. The instructions say you can drive away in thirty minutes. We decided to give it a couple of hours while we did other jobs on the van. The final result was pretty satisfying.

You can see the full gallery here.
Next steps
Next up, read all about the installation of the flooring.
Further Reading
If you’re interested in seeing what equipment and materials we used, or want to watch some of the instructional videos we found useful, then just click the button below.
