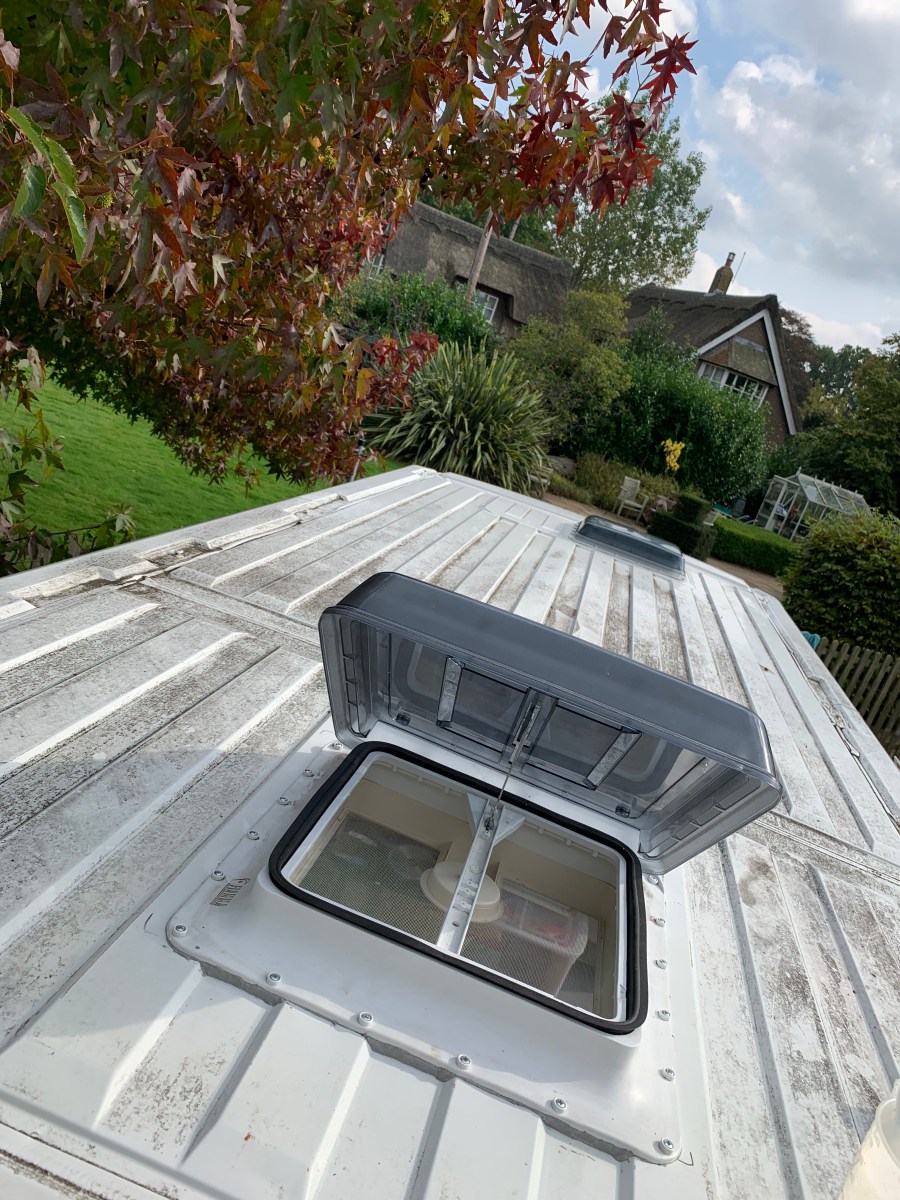
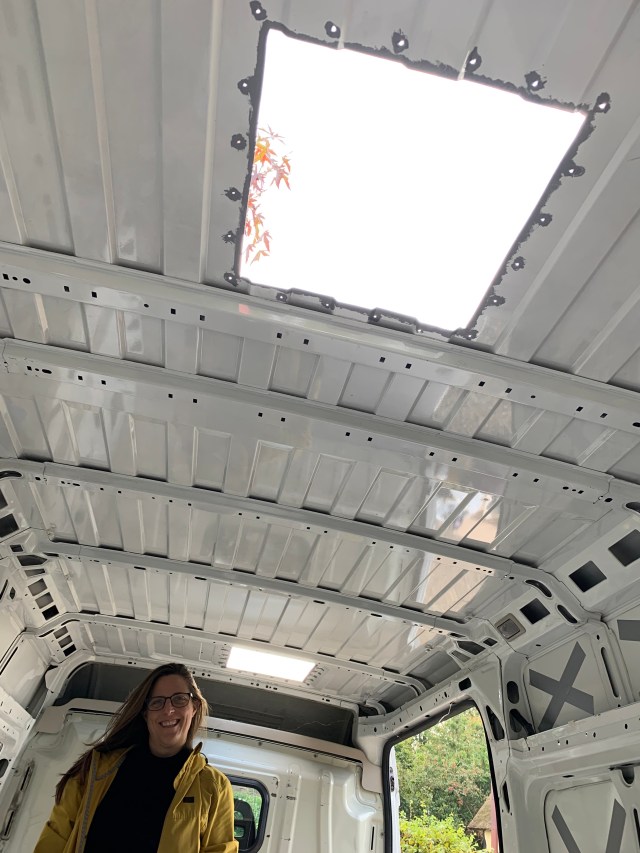
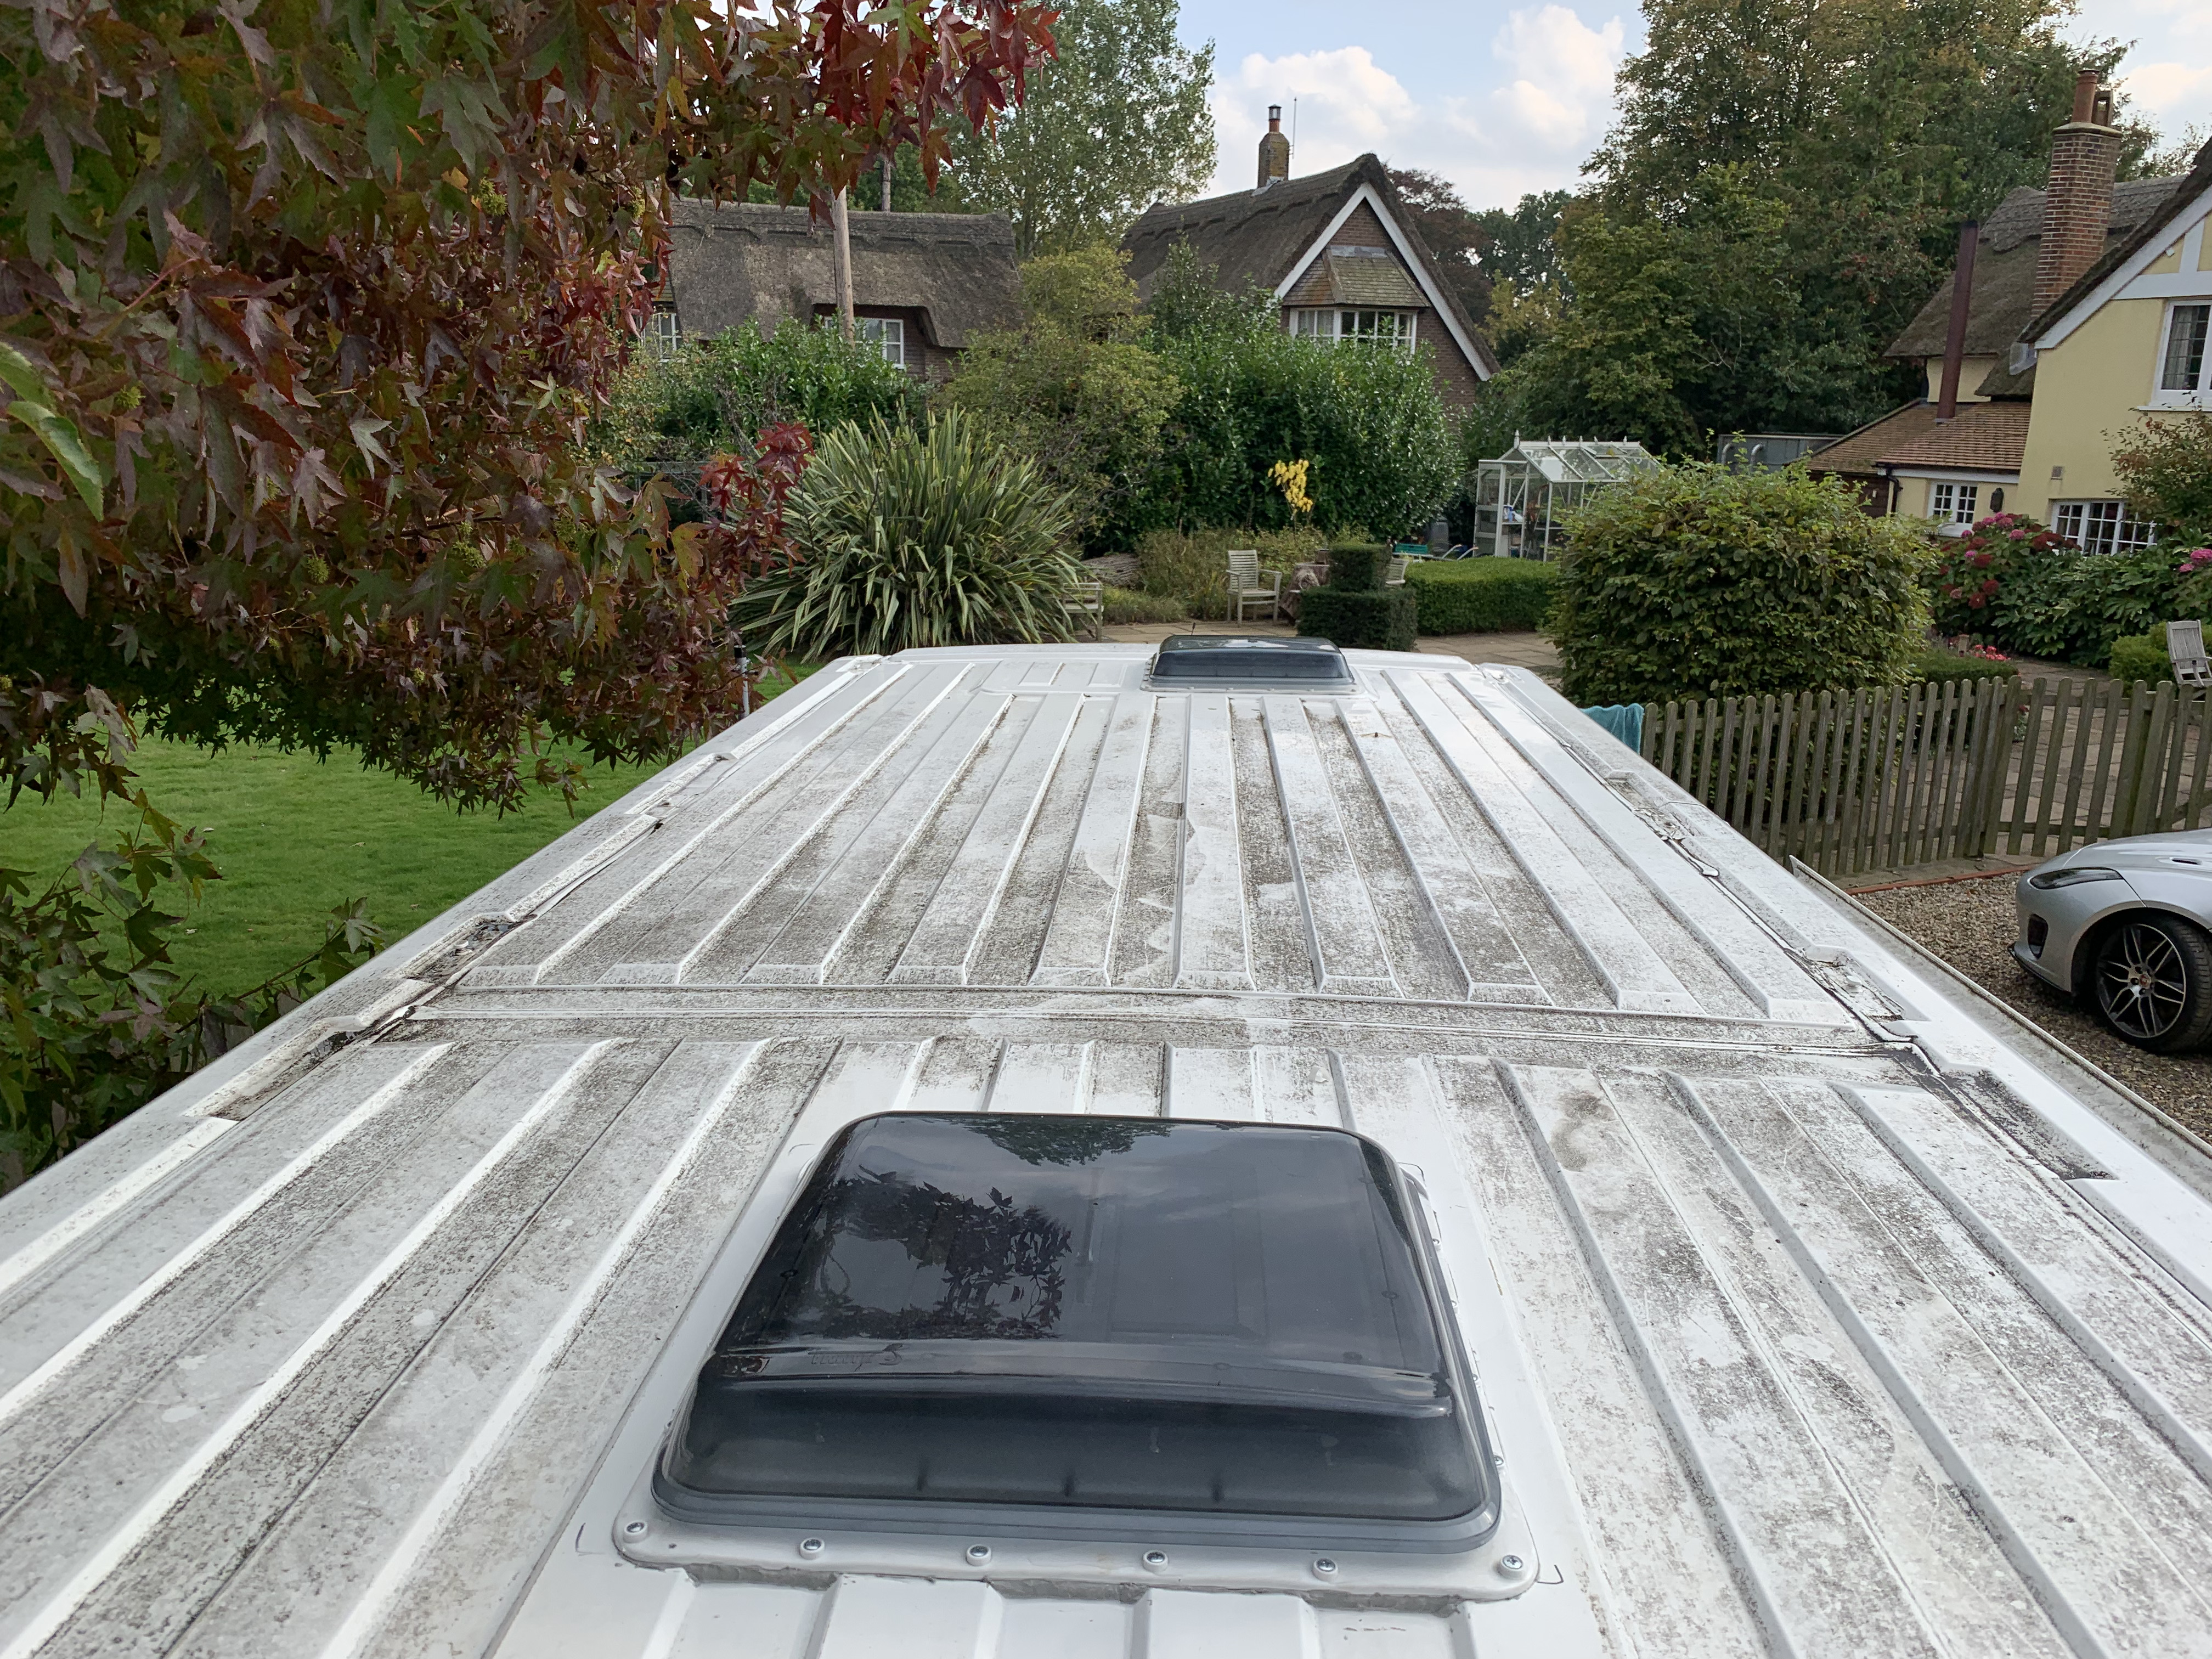
Back in October of 2021 we drove back to the UK and while there we undertook the first major work on the van. We installed two roof lights (or roof windows) and the electric point for hooking the van up to the electrical supply at campsites.
This was the most nerve-wracking part of the job so far as it meant cutting three sizeable holes in a perfectly good van.

Step 1
First thing to do is create a wooden frame that matches the outline of the window. This will sit on the inside of the van under the window, which will be screwed into it to keep the whole thing in place.
Step 2
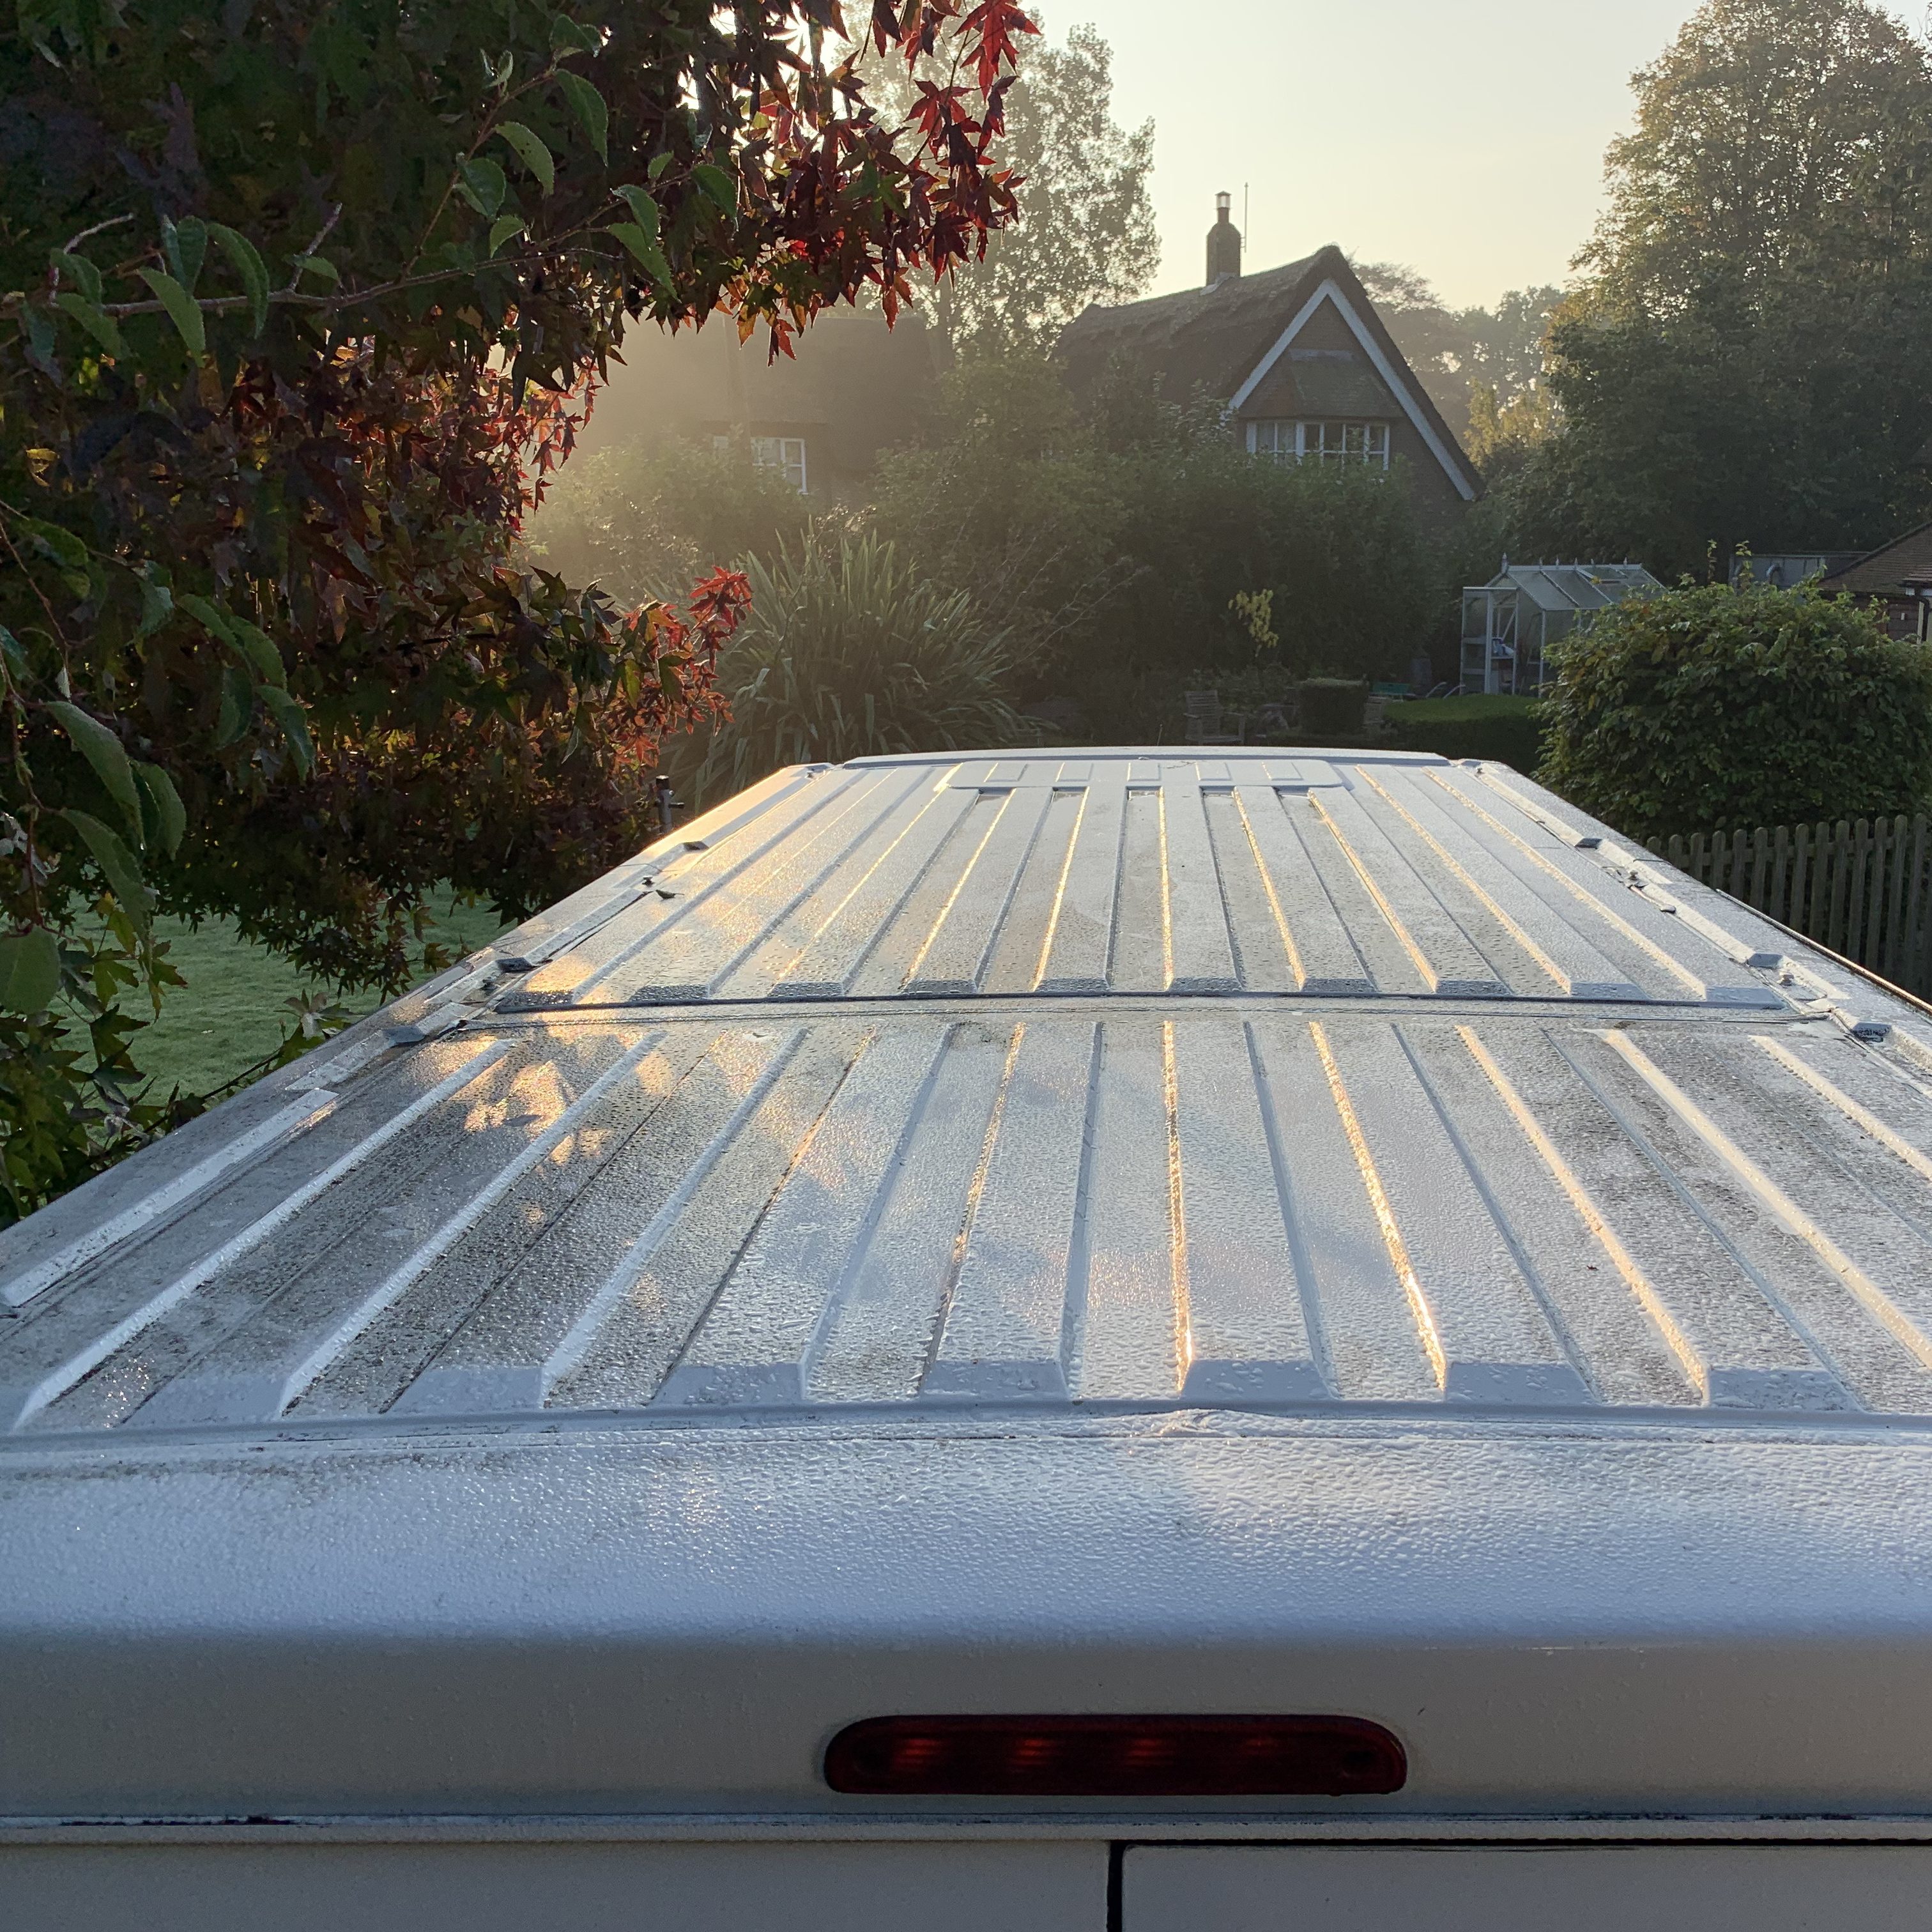
Clean the roof as much as possible using soap and water then a solvent such as isopropyl alcohol (not to be consumed under any circumstances!).
Step 3
Using the window as a template, mark out the shape of the hole required then apply tape to the lines you will be cutting. This helps to prevent shards of metal flying about as these can get into your eyes, scratch the paint work, or worse, sit in the body somewhere and become a starting point for rust.
I also taped a bin bag under the area I was cutting so as to catch any falling shards on the inside. This is a bit fiddly but saves so much effort cleaning up afterwards.
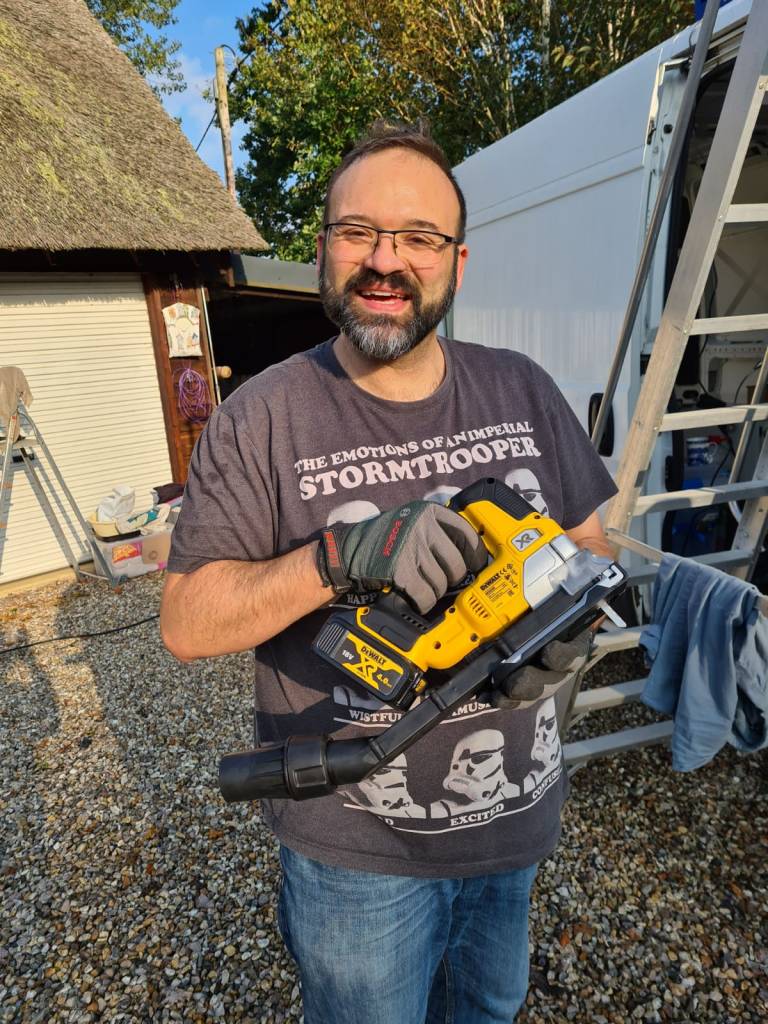
Some people will use an angle grinder here but I opted for a jigsaw as it’s a little gentler and it’s also a lot more useful for other jobs on the van too.
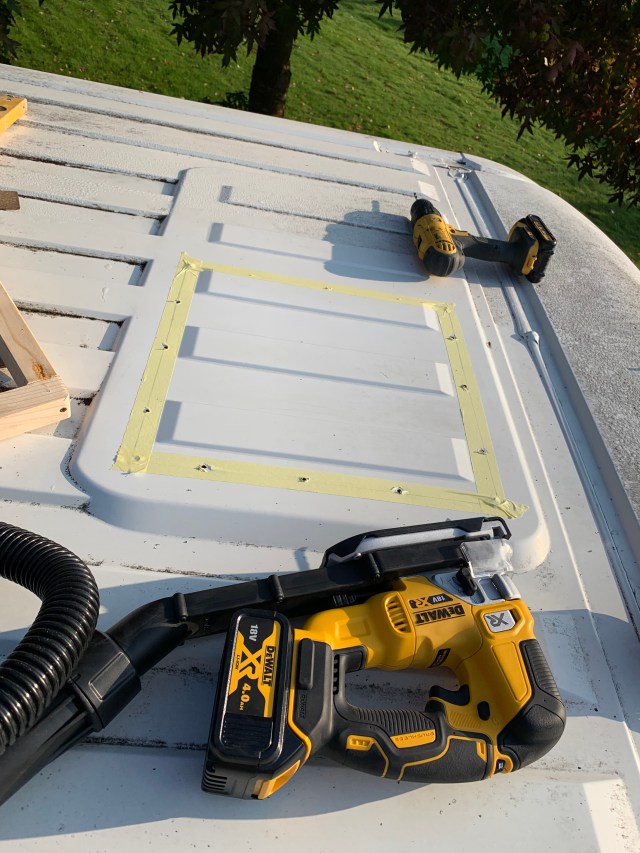
Before cutting it’s a good idea to drill holes along the inside of the cutting line. This helps you get a straighter line as you only need to keep the jigsaw straight over a shorter distance.
Step 4
Cut your hole. You also need to drill guide holes for attaching the window to the van.
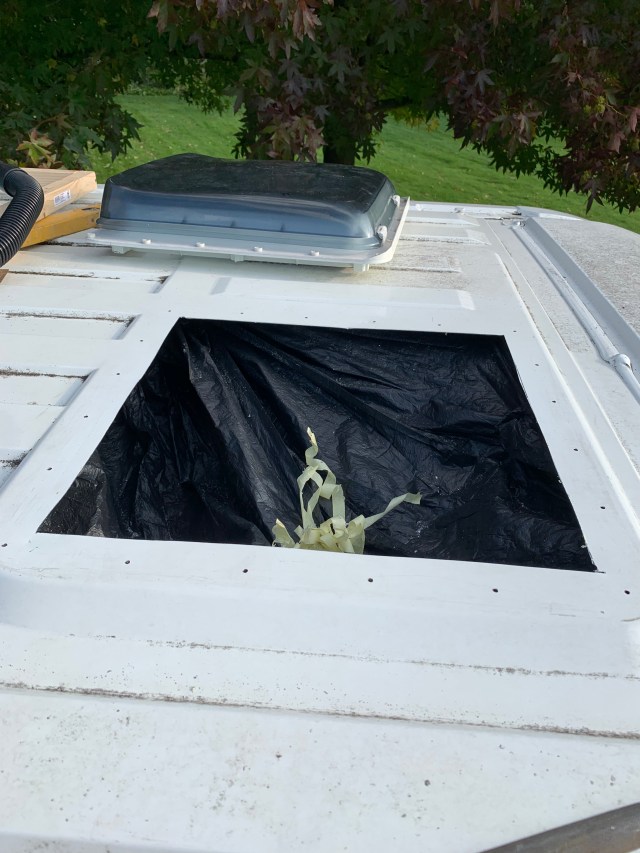
It’s at this point you realise that there is no going back, before now we could have just walked away, sold the van and been done with it. From here you’ve potentially ruined a perfectly good van and there’s nothing to do but finish the project.
Step 5
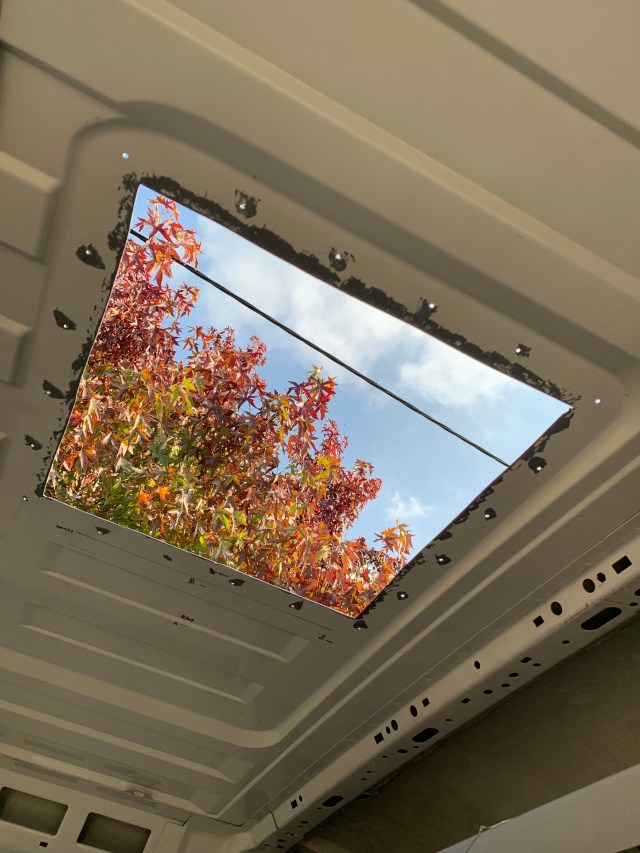
Dry fit the window to see if the hole is the right size, and if not keep removing a bit at a time until it does.
When you’re happy with the fit file down all the sharp edges of the new hole and apply a primer, or other suitable paint, to prevent rusting as this is all bare metal now.
Step 6
Attach a suitable sealant to the underside of the window, this should ideally be a flexible water-tight removable mastic sealant. We used W4 Mastic Sealant Strips.
Some people will use a bonding sealant such as Sikaflex (or similar) but this is not a great idea for the roof because that stuff bonds so well that it’ll never come off! With the W4 stuff this is removable (with some effort) if we ever need to replace the window for any reason.
Step 7
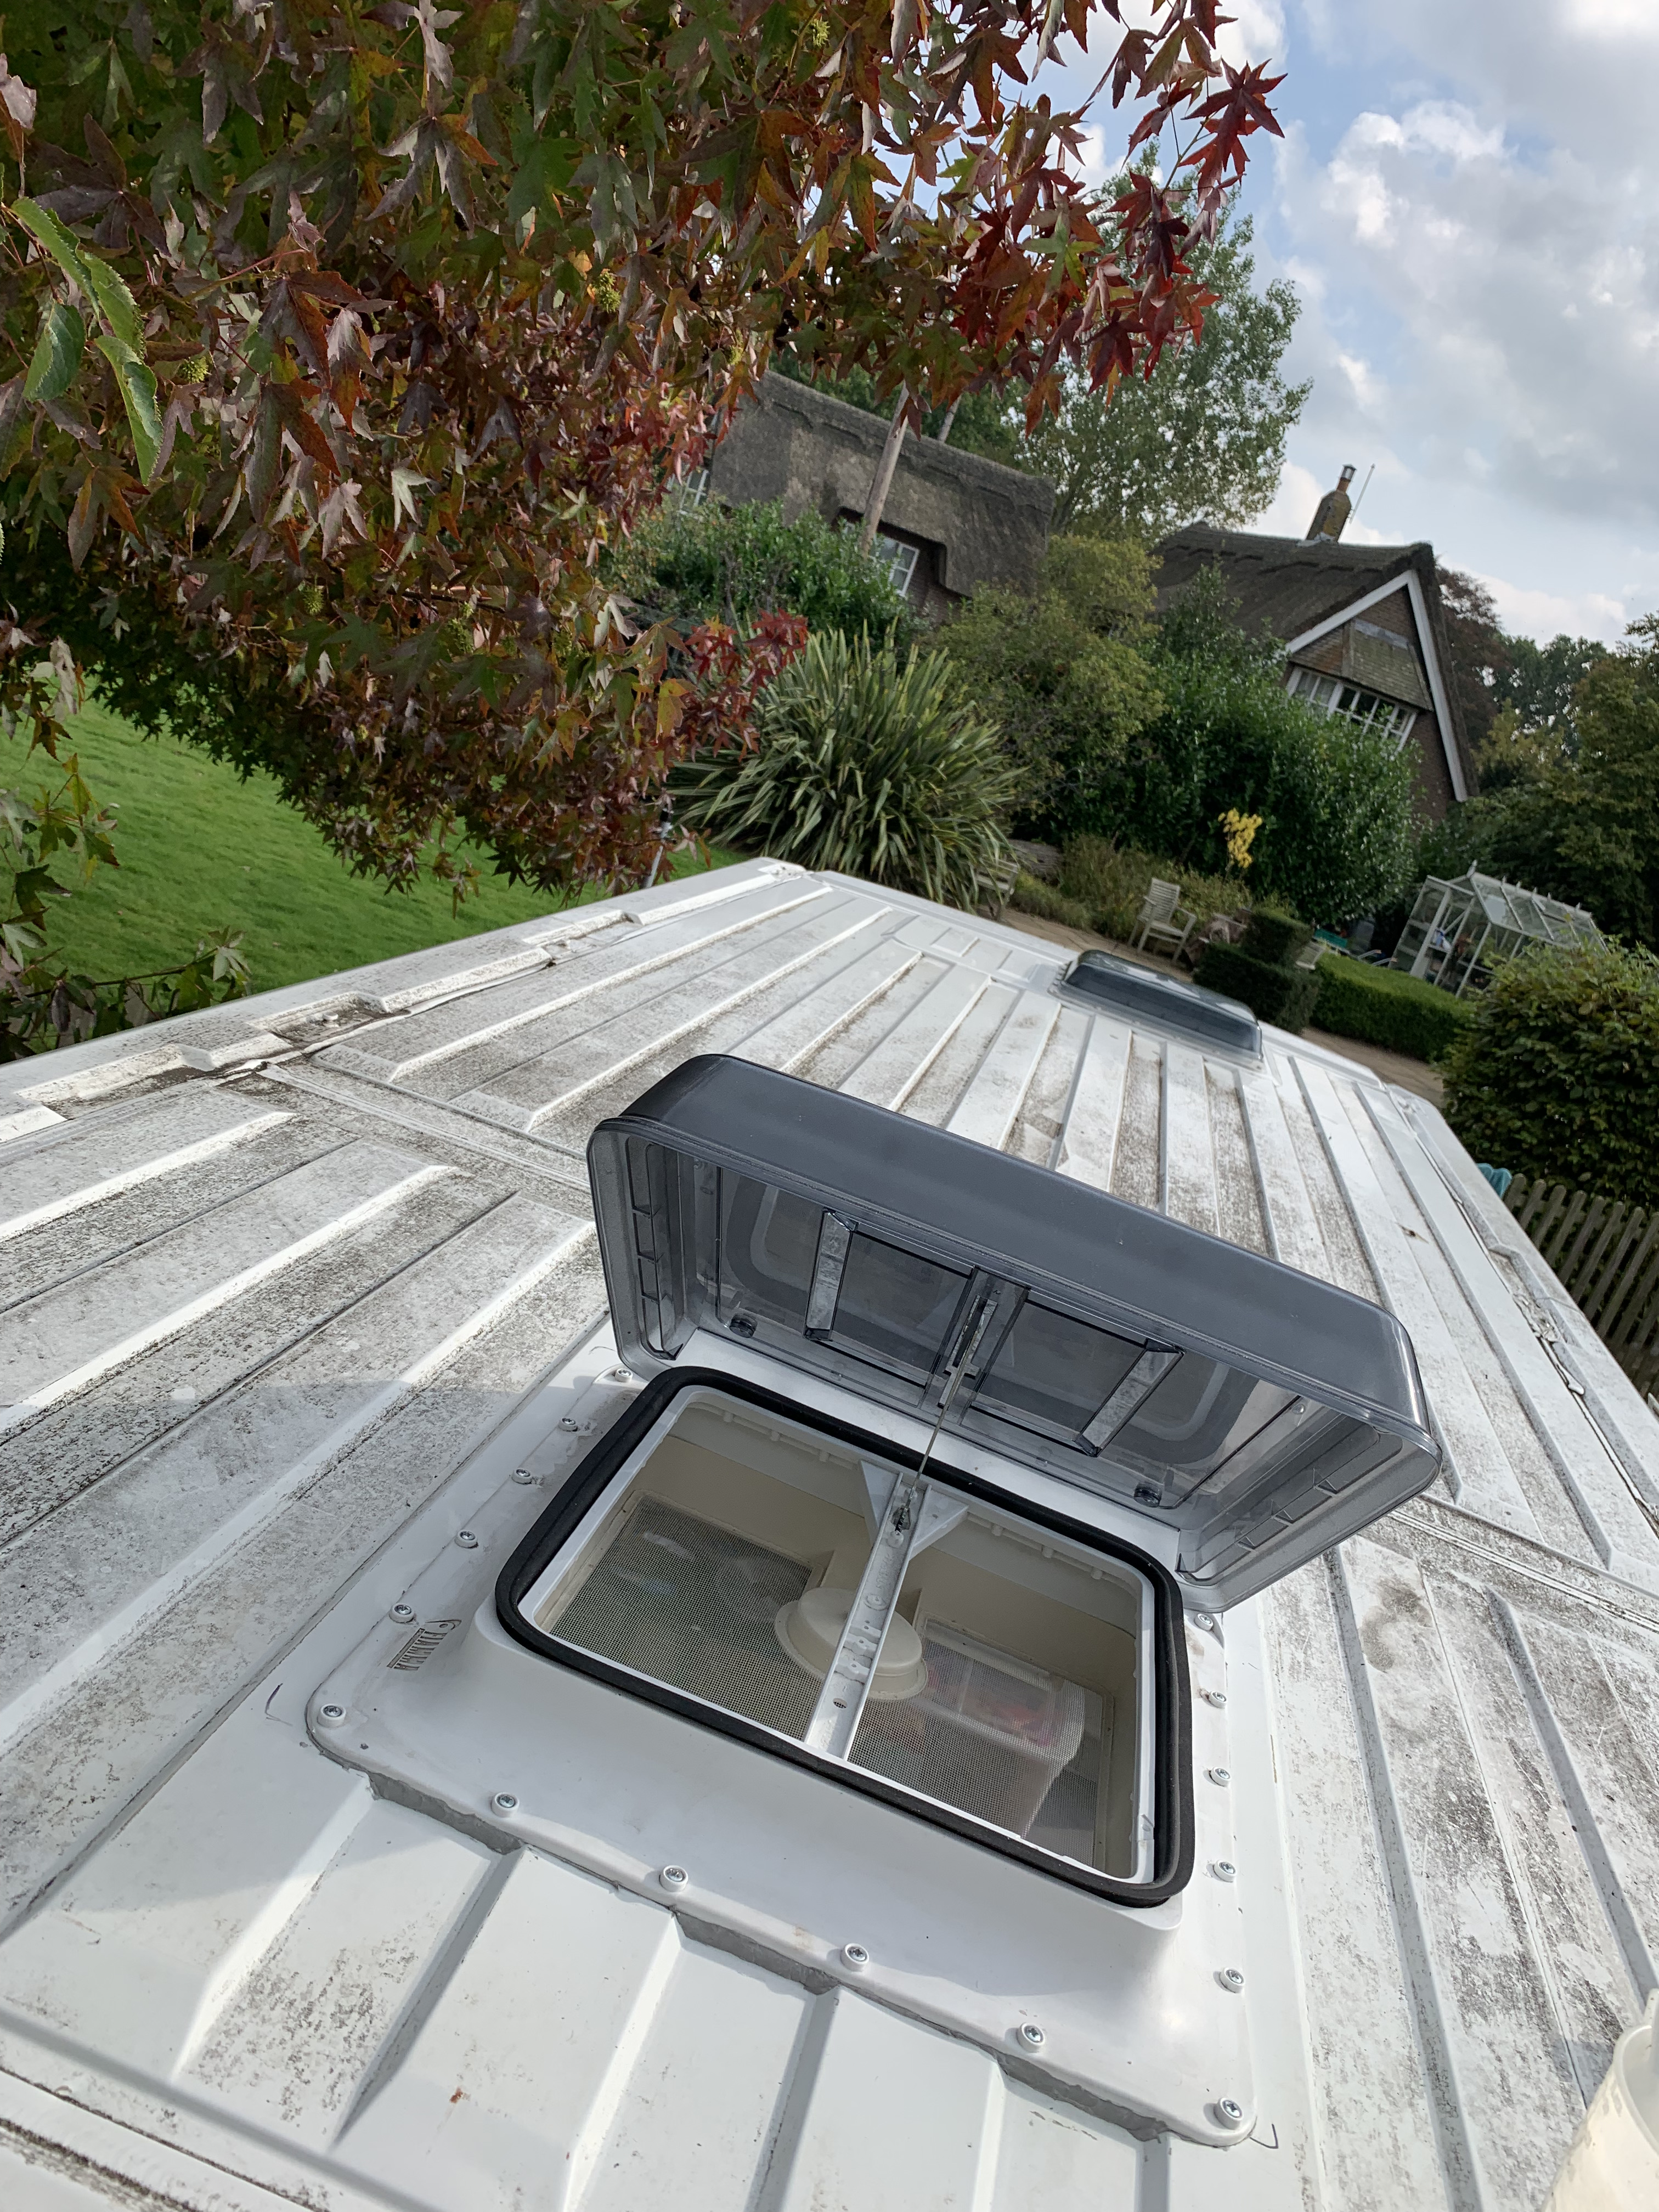
Gently attach the windows and screw into the wooden frame below on the inside of the roof.

Step 8
Check your seal. Best to check the area is completely waterproof now when there is nothing in the van. Just use a bucket, watering can, or hose to drench the area and check inside for any leaks. If you find any just reseat the window and make sure the sealant is covering all those little nooks and crannies.
Step 9
Admire your handy work.
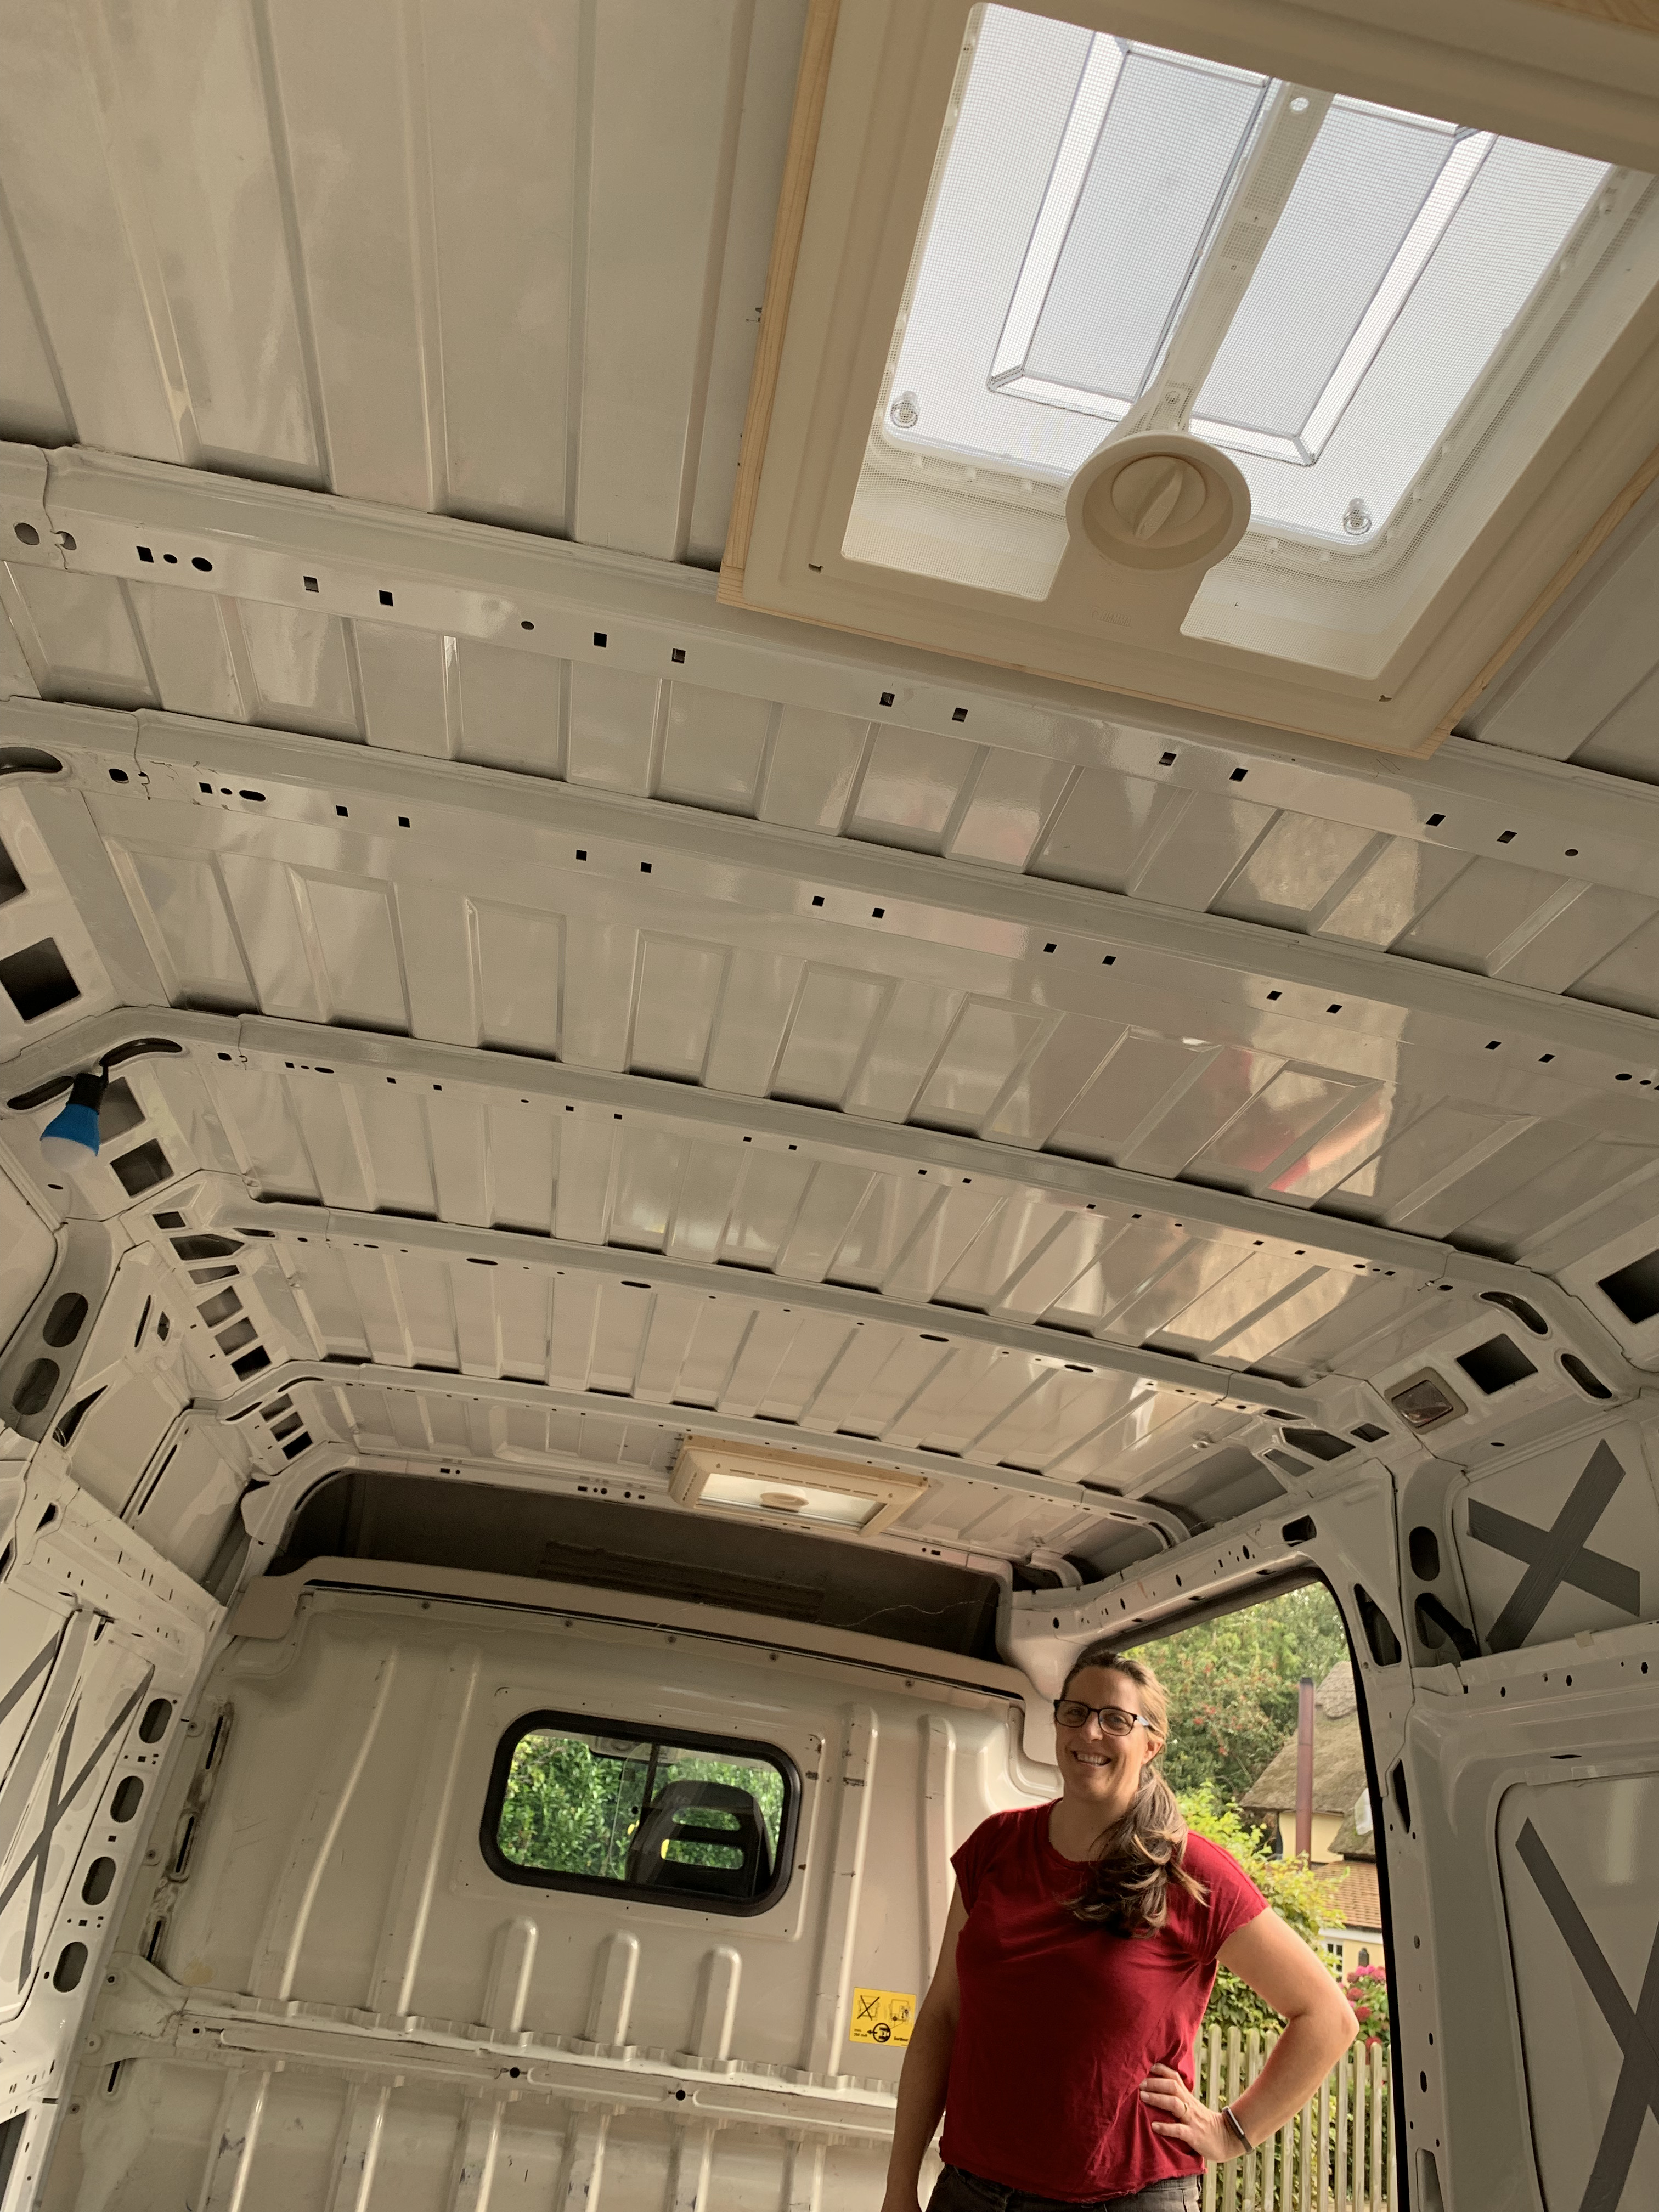
Step 10
Have a well-deserved cold beer!
You can see the full gallery here.
Next steps
Next up, installation of the bonded windows – one sliding window and one hinged bathroom window.
Useful Links
How to install a skylight in a campervan:
How to reseal a leaking motorhome rooflight:

Pingback: Walls, ceiling, and window frames – Viamkarlito